I go through the complete Succubus Nightmare walkthrough and explain what I need to do in each chapter. I cover the puzzles, key items, statues, minigames, and boss fights in the order I encounter them.
Succubus Nightmare Chapter 1 and Chapter 2 Walkthrough
I start with Chapter 1: The Mansion and continue into Chapter 2: The Church, following each objective and puzzle step by step.
Chapter 1: The Mansion
1. Prologue: Breaking the Mirror
Break the Mirror to Leave
I interact with the objects in the room. If I wait too long, a hint tells me to smash the mirror. I pick up a nearby object and use it to break the mirror, then leave the room.
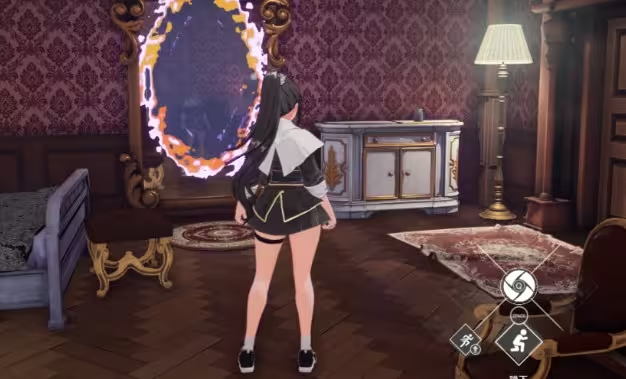
Cross the Broken Bridge Together
I continue forward after leaving the room. Charlotte can jump over the gap, but Ayi cannot. I find a plank and lay it down so Ayi can cross.
First Puzzle: Chamber of Scales
I read the clue on the nearby board.
I add up the three numbers/items above.
I have Ayi sit on the other side to balance the mechanism.
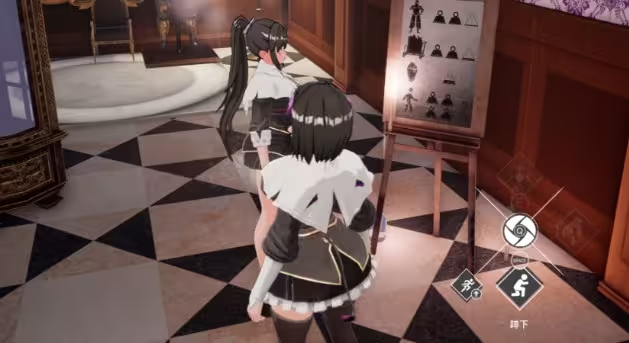
Find the Attic
I open the door and trigger the cutscene. I check the room for a clue, then find the quest item in the next room and put it in the correct place to open the next door.
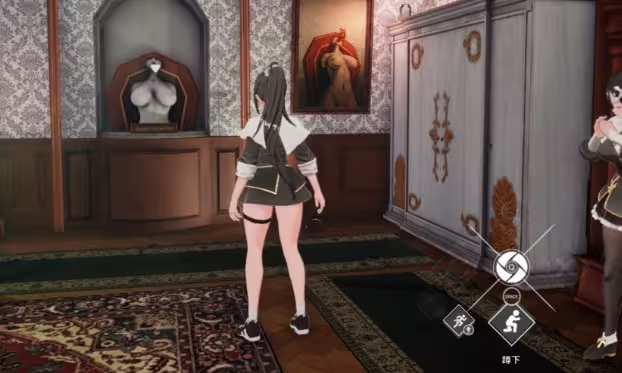
2. Attic, Map, and the Succubus Statue Room
Gas Can in the Attic
I pick up the items along the way and climb up to the attic. I find the gas can and pick it up. There is a note on the wall beside it.
Get the Map
I continue straight and pick up the map. I move the obstacle against the wall to trigger the cutscene and enter the room with the succubus statue.
I search the room for the map to get the clue for the clock puzzle in the starting room: 4:45.
3. Dining Room, Stealth, and Getting the Breast Sculpture
Fireplace Passage
I enter the Dining Room and find a hole behind the fireplace. I throw a bottle into it to put out the flames. If I wait too long, Ayi points out that something is wrong with the fire.
I crawl through the opening and enter the Study.
Stealth in the Study
I use the bottles on the table to distract the enemies. I can also throw a bottle directly at an enemy to stun them.
After dealing with the enemies, I find the door with two levers and ask Ayi to help me enter the next room.
I ignore the room in the lower middle for now and continue straight.
Get the Sculpture
I return to the original room, the Guest Room, and solve the clock puzzle by setting it to 4:45.
I obtain the Breast Sculpture.
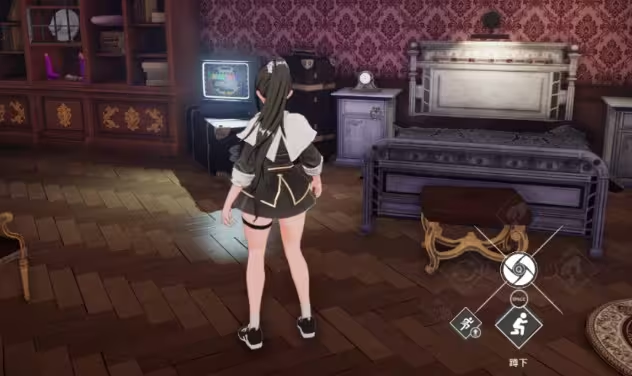
4. Secret Attic Shooting Puzzle and the Ornate Wine Bottle
Start the Generator
I return to the Succubus Statue Room and head to the other side. I use the gas can to start the generator, then pull the lever to reach the Secret Attic.
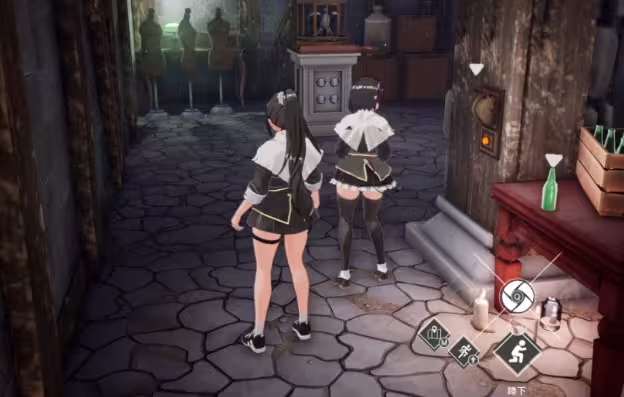
Shooting Minigame
I find 4 targets in total. One is on the outer balcony and one is by the stairway.
If aiming is difficult, I have Ayi operate the mechanism while I focus on lining up my shots.
I clear the minigame to obtain the Eagle Statue.
Wine Cellar Puzzle
I take the elevator down, defeat 2 guards, and enter the Kitchen.
I defeat 2 more guards in the Storage Room and pick up the map.
I enter Cold Storage and defeat 1 guard. I find two vents and take the vent on the right, directly across from the door.
I complete the box-pushing minigame and push the crate all the way in to obtain the Ornate Wine Bottle.
Unlock the Next Area
I take the left vent in Cold Storage or backtrack through the Kitchen.
I ride the elevator back to the Succubus Statue Room and use the Ornate Wine Bottle to open the door.
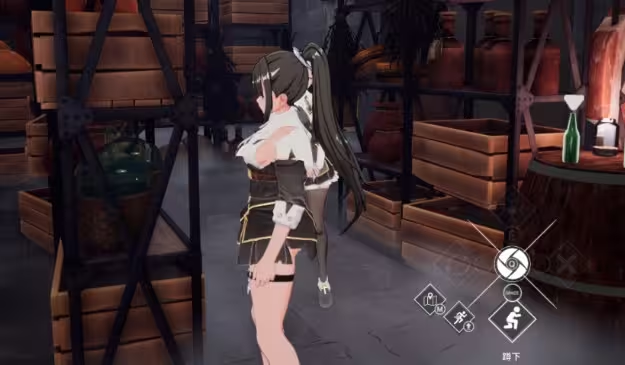
5. Music Room, Bathing Chamber, and Collecting Sculptures
Enter the Music Room
I defeat the 3 guards behind the door and enter the Music Room.
I cannot leave through the downstairs door yet, so I go upstairs.
Bathroom and Getting Dressed
I pull down the chandelier to knock out the guard, then enter the nearby room on the second floor to reach the Bathing Chamber.
I interact with the sign by the door, then have each sister stand on one of the mechanisms to obtain the Tail Sculpture.
I remember to get dressed before leaving the bathroom.
Piano Puzzle
I return to the first floor and follow the succubus’s clue and the hint beside the piano.
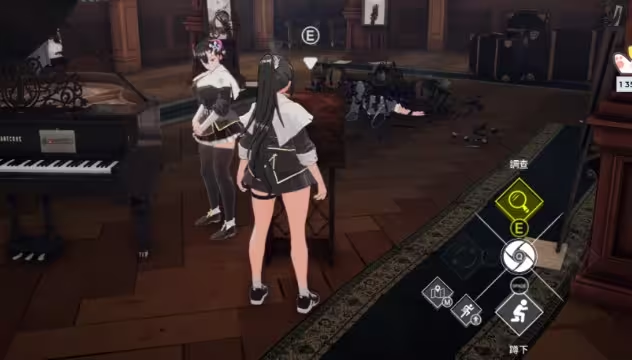
I play the following sequence:
E -> D# -> E -> D# -> E -> B -> D -> C -> A
If I make a mistake, I exit and try again.
I clear the puzzle to obtain the Golden Key.
6. The Hall of Pleasure, Floor-Panel Minigame, and Succubus Boss Fight
Open the Hidden Passage
I return to the Chamber of Scales from the Music Room and head to the Master Bedroom.
I put the Eagle Statue on the bookshelf to open the secret room and reach the Hall of Pleasure.
Floor-Panel Puzzle
I have Charlotte jump over the pool and step on the white area.
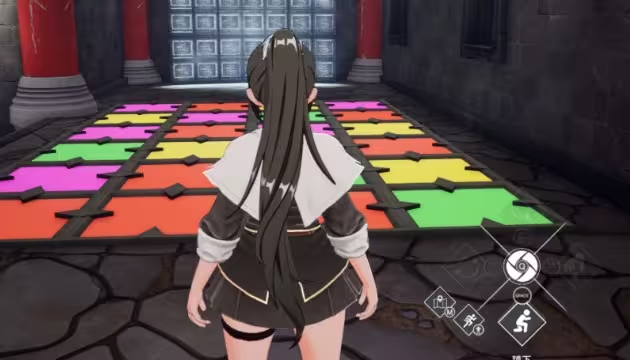
The TV wall displays the color sequence:
Green -> Yellow -> Green -> Green -> Yellow -> Green -> Pink -> Red -> Pink -> Red
I complete the sequence to obtain the Butt Sculpture.
Harvest Vault Minigame
I use the vents to return to the room near the elevator.
I take the elevator down to the room beside the Study.
I use the Golden Key on the basement entrance.
I have each sister complete one of the minigames to obtain the Horn Sculpture.
Boss Fight
I return to the Succubus Statue Room and place all the Sculptures: Breast, Tail, Butt, and Horn.
This triggers the battle.
To win, I smash the enemy with 3 chandeliers. I move the carts beneath the chandelier so the enemy crashes into them, then have Ayi operate the mechanism to drop the chandeliers.
Chapter 2: The Church
1. Church Hall and Collecting the Three Colored Statues
Yellow Statue in the Priest’s Office
I interact with the broken ladder and push Ayi up. I wait for her to lower the ladder on the other side.
I climb to the 2nd floor and enter the second doorway to reach the Priest’s Office.
I pick up the map and the Yellow Statue.
I place the statue on the correct pedestal to open the first-floor door to the Angelic Chamber.
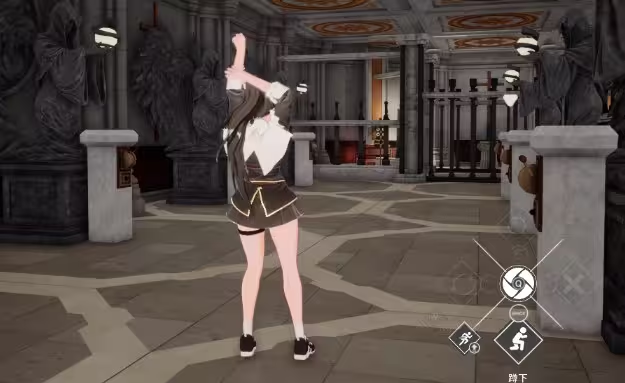
Angelic Chamber – Blue Statue
I enter the room with 6 angel statues.
I watch the order in which the statues light up and pull the corresponding levers in the same order.
I repeat this 3 times to clear the puzzle and obtain the Blue Statue.
Bell Tower – Green Statue
I go to the 2F Bell Tower through the Graveyard. I can also pick up the map and a Photograph at the far end.
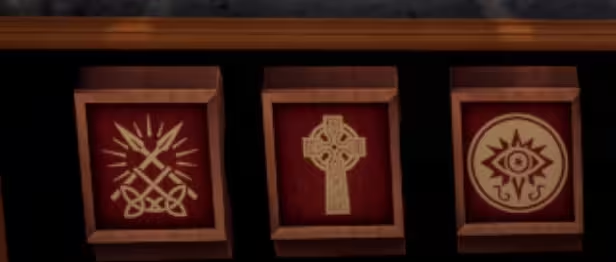
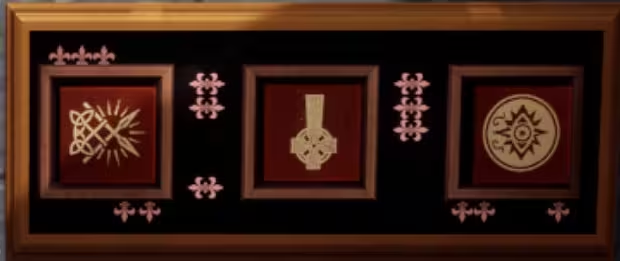
I use the telescope to find and view the symbols.
I adjust the mechanisms on the left and right sides of the corridor according to the clues and match the symbols to obtain the Green Statue.
2. Lasers and the Combination Lock
Two-Person Lever and Opening the Yellow Door
I return to the first floor and place the Green Statue to open the door on the other side.
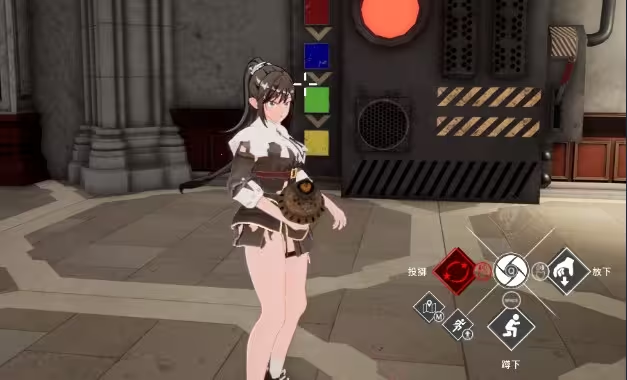
I go to the Quarantine Zone with the four colored devices and move the switches in this order:
Red -> Blue -> Green -> Yellow
When I reach the Green Light, the mechanism jams. I have Ayi go next door and open the Yellow Light.
Ayi gets captured, so I rescue her before the timer runs out.
I pull the levers on both sides at the same time to enter the next room together.
Resting Chamber – Laser Puzzle
I enter the small room and get the Valve.
I install it on the laser pedestal that is missing a valve.
I interact with Pedestal No. 2 once, then interact with Pedestal No. 4 twice.
I do this in that order and do not touch any other pedestals. The exit gate opens.
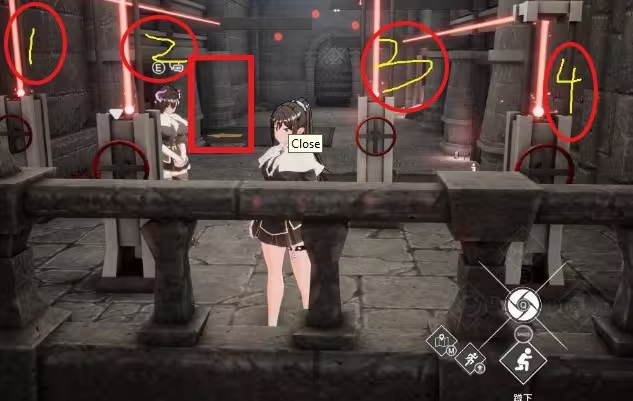
Library – Combination Door
I head up the path and use the Investigate key (Q) to look around and find the number 351.
I combine it with the Photograph from the Graveyard to work out the code: 476.
I enter the code to open the door and enter the Library.
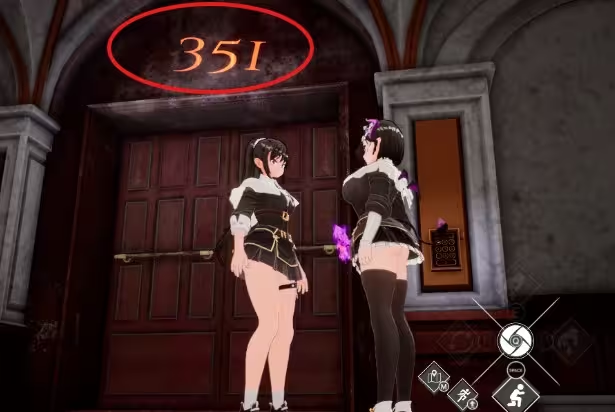
Red Statue
I arrange the mechanisms according to the clue on the Study floor to obtain the Red Statue.
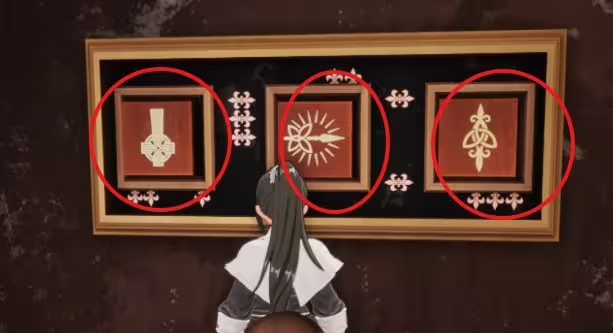
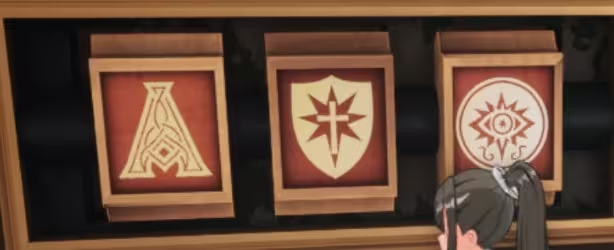
3. The Ballista, Dungeon Icons, and the Timed Escape
Open the Hidden Passage
I return to the hall and place the Red and Blue Statue on the pedestals to open the passage behind the piano.
I talk to the chalice below to trigger the story cutscene.
Reunite with Ayi
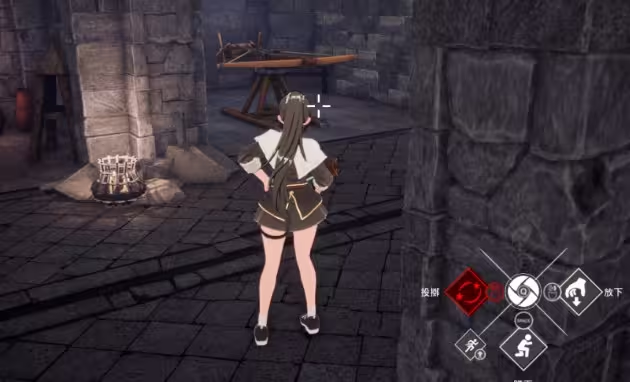
I walk to the hole in the wall and get the Iron Arrow.
After encountering the ballista, the cutscene plays.
I continue straight to the Ritual Chamber to reunite with Ayi, then return to the ballista to open the wooden door beside it.
Cell Mechanism and the Wine Jar
I pass through the wooden door and obtain the Red Handle.
I check the icons displayed in each cell and match them to the correct cell slot on the mechanism.
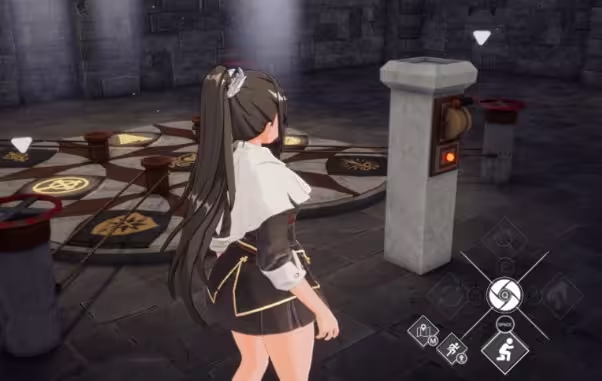
I avoid opening cells that contain enemies.
I enter the correct cell to obtain the Wine Jar.
I use the Red Handle to continue.
Opening the Door / Bridge of Suffering Timed Escape
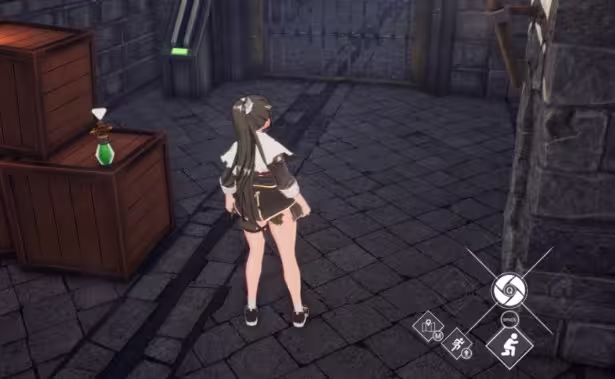
I trigger the cutscene in front of the gate, then push Ayi up through the hole in the wall.
She helps me open the door from the other side. I move the 2 switches before the time runs out. If I am too slow, it is an instant Game Over.
After getting through, I pull the switch to lower the gate, then use the Wine Jar at the chalice.
Final Boss Fight
Phase 1: Chase
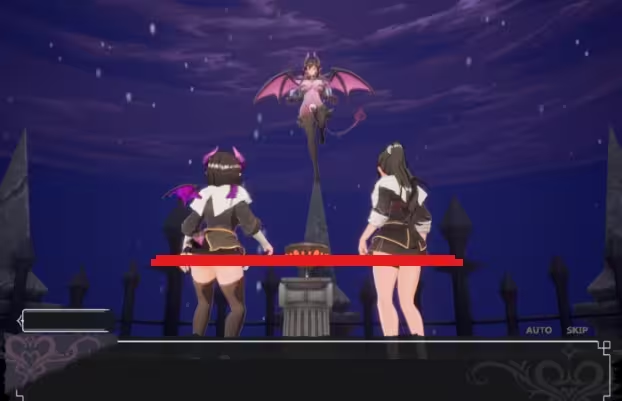
I hide behind obstacles to avoid the attacks and wait for Ayi to hit the succubus with a rock, then attack while it is stunned.
If I am spotted, I run to create distance. I repeat the attack 3 times to finish this phase.
Phase 2: Final Showdown
Early on, I draw the boss’s attention to buy time. Later, the boss summons minions, so I take them out first. Killing the minions fills the energy gauge in the upper-right corner.
I fill the gauge completely to win the game.