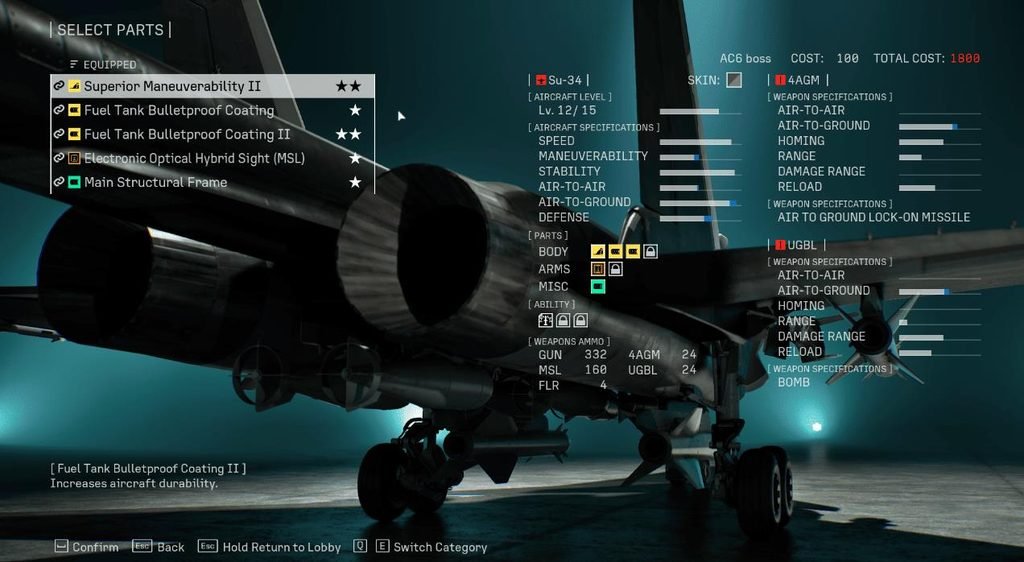
Emergency Sorties in Ace Combat 8: Wings of Theveil give me a limited amount of time to take down powerful bosses, including the Arsenal Bird, Alicorn, and Chandelier. In this guide, I cover how Emergency Sorties work, their rewards, boss mechanics, attack patterns, timings, weak points, and recommended aircraft setups.
About Emergency Sorties
It seems that for every 1-12 missions, I get either a Scramble or an Emergency Sortie. It is roughly 50/50 which one appears. There is also a 1/3 chance that I get one of these bosses.
The sortie has a time limit of 8 minutes. If I do not complete it, I fail the mission and cannot try it again until another Emergency Sortie appears.
I can only do the sortie once. I then have to complete at least 1 regular mission before another sortie or scramble can appear.
The reward is 3 General Purpose Upgrade Blueprints, or 2 if I already did one, as the daily cap is 5. These are used to upgrade the level cap of any plane.
Machine guns are really good against all the bosses.
Having at least 1 player on an EW craft with ECMs & ESMs helps a lot, as the buff reduces missile reload time.
I have done 152 missions, with 17 Scrambles and 13 Emergency Sorties. From what I have found, it is around a 20% chance for a Scramble or Emergency Sortie to appear.
Arsenal Bird
Notes
I thin out the UAVs but focus on the bird, as the sortie is timed.
I take out the pulse lasers on the wings if possible. I destroy them when going underneath the bird.
The shield does approximately 9% damage per second while I stay inside it.
Helios Missiles
I start off in front of the bird and close the distance while avoiding the Helios missiles. They appear as red circles on my minimap.
I have 10 seconds to dodge from the moment I see the red circles.
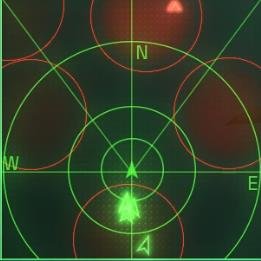
Alternatively, if I am brave enough, I can speed past the missiles and time it so I do not get hit.
Main Propellers
I line up behind the bird and attack the main propellers with missiles.
These are fairly simple to take out.
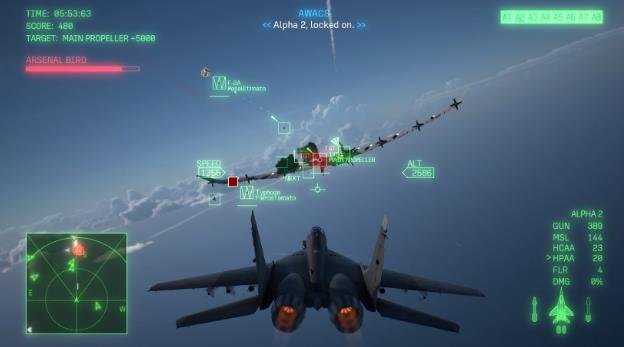
I use the machine gun here.
Sub Propellers
I do the same thing as with the main propellers, but there are 6 in total, 3 on each side.
If I have large AoE missiles such as MPBM, I use them on the 2nd propeller to the left or the 2nd propeller to the right. This can hit 3 propellers at once and deal more damage.
Partway through the fight, when the bird uses its shield, a squad of fighters will arrive to help it. From what I have seen, these are F-15Js, Typhoons, and Rafaels.
I take them out while the bird has its shield up.
Joints and Hooks
I attack the joints from behind and the hooks from below.
Angle for joints
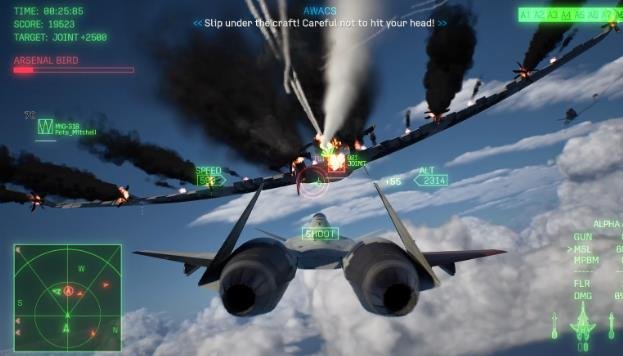
Angle for the hooks
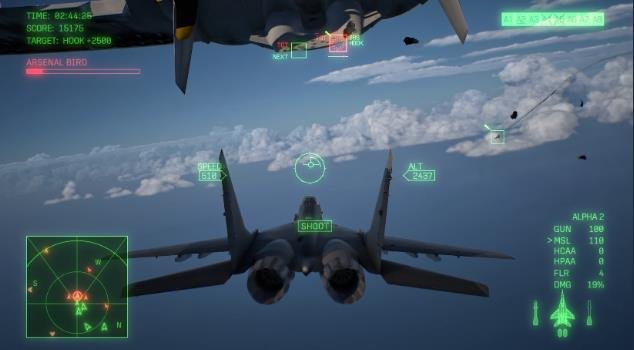
I watch out for the pulse lasers on either side of the wings when going underneath. I try to destroy them or act as a decoy for my teammates, as they deal a lot of damage.
I also watch out for the front laser if I am going in front of the bird.
Core Unit
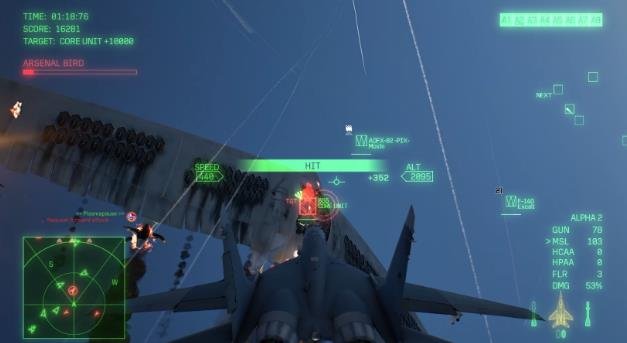
I can hit the core from below.
Again, I watch out for the pulse lasers underneath the wings.
I destroy the core and the sortie is done.
Setup
Work in progress
So far, I think the Typhoon with 4AAM and the F-14D are really good for this one.
Alicorn
Notes
I take out at least one railgun, as this makes everyone’s lives a lot easier.
I also take out some of the CIWS with the machine gun. The CIWS can knock out incoming missiles and bombs.
Destroy Ballast Tanks
I start off on the Alicorn’s left side.
There are 4 ballast tanks, 2 on either side.
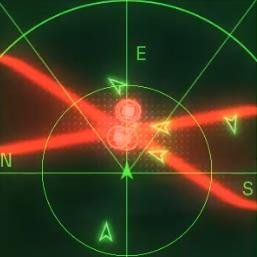
As soon as HQ finishes their speech, the Alicorn fires the railguns. The hitbox is indicated by these red lines.
Just like the Helios missiles from the Arsenal Bird, I have 10 seconds from when the red lines appear to dodge them.
The railguns follow 2 random players for 4 seconds before staying still and firing after 6 seconds.
I try to stay in the narrow part of the railgun hitbox to avoid it.
2 hits from the railgun will kill me.
The Alicorn will submerge at specific mission times, as listed below.
I take out UAVs and fighters and prepare for when it surfaces again.
Destroy the Core
The Alicorn activates the ECM jammer and more fighters and UAVs appear. It will also show its main rail cannon.
The ECM jammer is located behind the railgun:
The rail cannon core can be hit from the front and sides of the Alicorn.
I line myself up and take it out.
Angle from the front
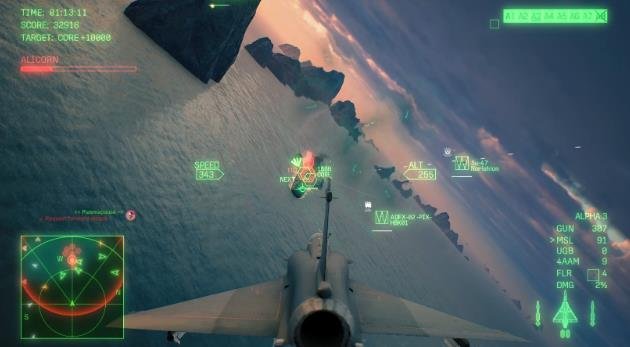
Angle from the side
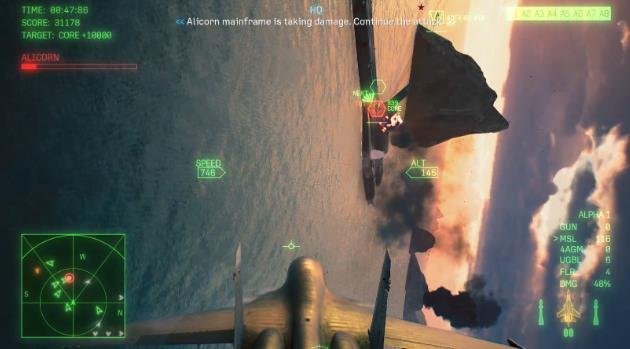
Occasionally, the Alicorn will send out shield UAVs to protect the core.
Similar to the Arsenal Bird, I wait until the shield goes down, which takes 20 seconds, and then attack.
And that’s it, I’m done.
Alicorn Dive Timings and Resurface Spots
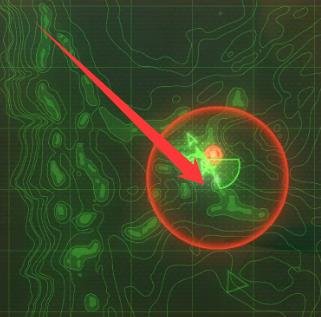
The Alicorn will submerge at 06:45 on the mission timer and resurface at 06:00 here:
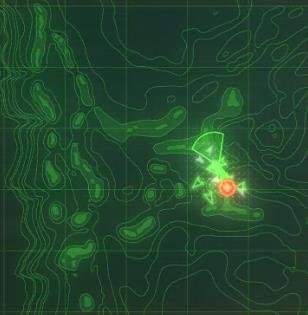
The Alicorn will submerge again at 05:00 and resurface at 04:20 here:
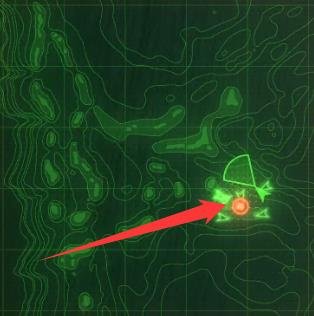
The Alicorn will submerge at 03:15 and resurface at 02:40 here:
I don’t know if it submerges again after 02:40 because in every party I have been in, they usually destroy the ballast tanks before then.
Setup
I recommend using LAGM and/or LASM.
The A-10 with LAGM is really good.
Chandelier
Notes
The Ex-SAMs will fire a barrage of missiles.
The boss will occasionally load a warhead, which must be destroyed.
Destroy Shielding & Cooling Units
I start off in front of the Chandelier.
There are 6 shielded cooling units, 2 in the front and 4 behind the Chandelier.
I have to destroy the shield first and then shoot inside to hit the cooling unit.
Angle for the cooling unit
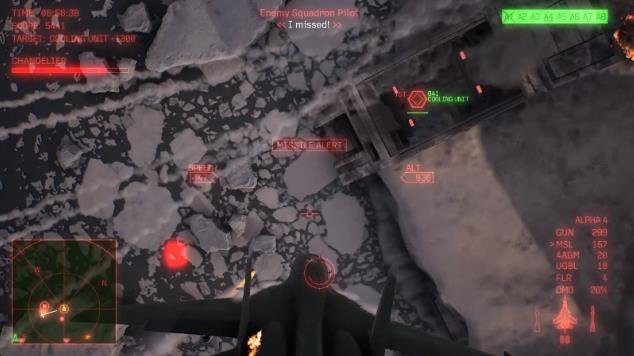
After all 4 cooling units are destroyed, another 6 will appear, 3 on either side.
I line myself up for a bombing run and take them all out.
Destroy the Chamber
The railgun opens up and the chamber is exposed.
I can fly into the gun from any point, as the gap is wide enough.
I have to fly into the gun to shoot the chamber.
I remember to fly back out, then rinse and repeat until it goes down.
Image
Destroy the Back Up Units
I have to do an underground tunnel run to hit them.
The entry points are at the front and back of the Chandelier.
I find it easier to approach from the back because there is a lot of AA fire and the steel pylons are in the way when approaching from the front.
Destroy the Chamber… Again
The chamber will open again.
I do the same thing as before. I fly through the chamber and finish it off.
Warheads
The Chandelier will attempt to load a warhead.
If it successfully loads 2 warheads, it is an automatic mission failure, according to AWACS.
The warheads have a huge target on them, and their hitbox is gigantic.
I have to go to the front of the Chandelier to hit them, as they travel along the conveyor belt trench.
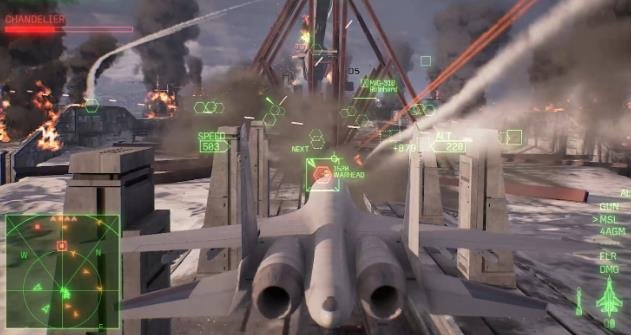
It takes around 40 seconds, maybe longer, for the Chandelier to load one.
I don’t know for sure, as I have never seen them load yet.
Estimated Warhead Timings
These are estimates and depend on whether the railgun is ready to fire:
- 05:00
- 04:00
- 03:00-02:00 or later, depending on whether I got the chamber open or not
- 01:00-00:30 — I would just ignore this one. It is game over if the timer reaches zero anyway.
Setup
UGBs are good for the shielding and cooling units.
One side note: AGMs will not hit the targets in the tunnel or chamber, but UGBs will.