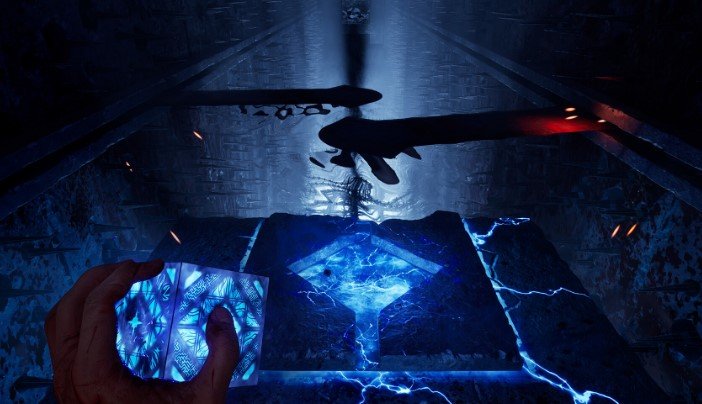
I explain the loot differences between Hard and Hellraiser difficulty, combat tips for dealing with dangerous enemies, and the locations of all 11 save tokens in Clive Barker’s Hellraiser: Revival. I also show where I use my saves throughout the game and how I access the other endings after completing Hellraiser difficulty.
Clive Barker’s Hellraiser: Revival – All Codes and Puzzle Solutions
All Save Tokens, Loot Locations, and Combat Tips
Looting and Combat Tips
In terms of looting resources, I play through the game on Hard and Hellraiser, and I find the actual physical locations of loot are almost identical, with only 1 or 2 missing items between them. Enemies do not drop much loot on Hard, and they seem to drop slightly less on Hellraiser as well.
Remember I need my flashlight on when looting in the dark. If it is dark enough, the game will not let me loot an item or container even if I know it is there. I find loot boxes and enemy drops in water are the most prone to becoming impossible to pick up. I never have issues on regular terrain.
The sprinting gimps (enemies dressed in all black) who just melee attack with their hands are very deadly. I do not hesitate to use ammo, gas cans, and bear traps to make sections with large amounts of them easier.
The cultists with SMGs are very deadly on Hellraiser, so I do not fight them in the open. Armored cultists die in one shot from bear traps. I find this very useful, especially with telegraphed spawns such as the Iron Maidens, as I can save ammo and thin out rooms quickly.
If a cultist has no head armor, or I have broken that armor, all cultists die from one bullet to the head. I often use the revolver to break the armor and then tap one bullet from the pistol or SMG to finish them off.
This does not apply to the Unworthy creatures, as they are tankier than regular cultists. I make good use of the ability to throw sawblades or flames, ideally hitting multiple targets at once.
The chain ultimate ability I get towards the end is incredibly powerful and absolutely should be used in horde situations, on bosses, and on the mini-boss Embracers.
Save Tokens in Order
Save Token 1
I find the 1st save token right after I fight my first enemy with the knife.
Save Token 2
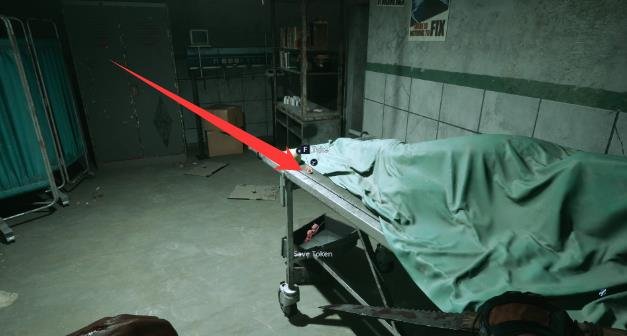
I find the 2nd save token inside a locked container in the room with the ladder I can climb, which has a save point at the top.
Save Token 3
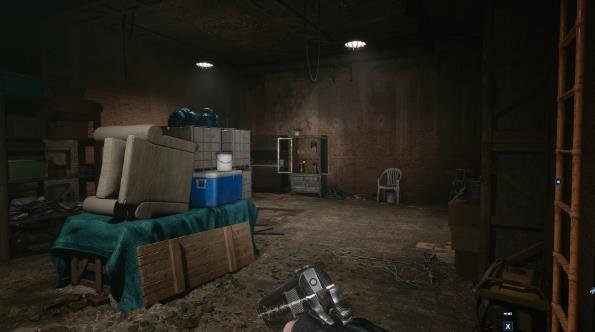
I can buy the 3rd save token from the merchant as soon as I meet her.
Save Token 4
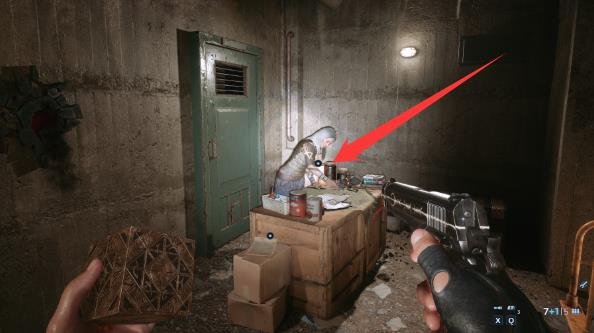
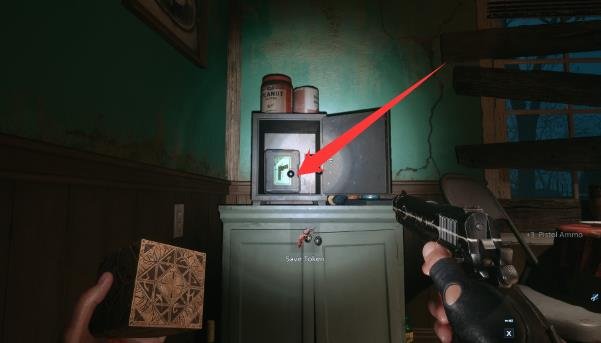
I find the 4th save token inside the code-locked safe in the cabin at the top of the cemetery.
Save Token 5
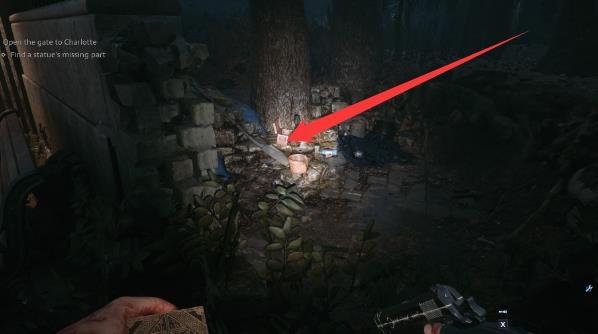
I find the 5th save token inside a flower pot near the merchant when she is in the central area with the gates that require different statue parts. There is a gap in the wall next to her.
Save Token 6
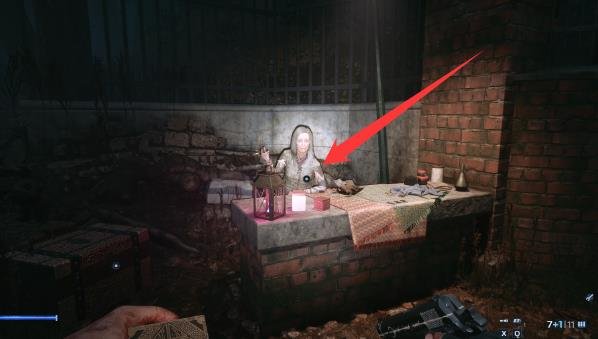
I can buy the 6th save token from the merchant after I survive the cabin sequence.
Save Token 7
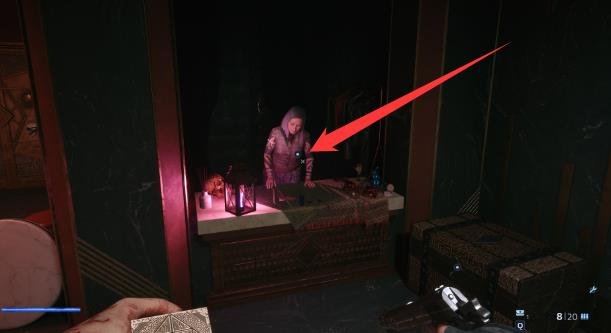
I can buy the 7th save token from the merchant when I return to the clubhouse.
Save Token 8
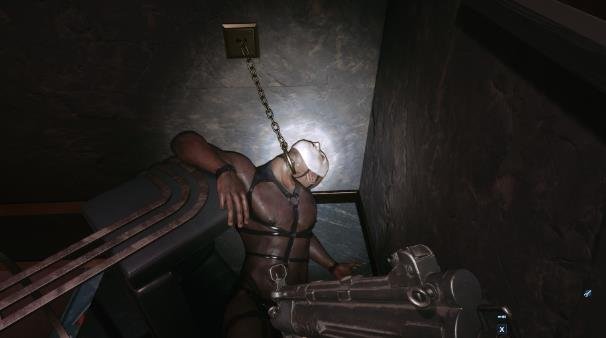
I find the 8th save token on this body after I retrieve the peephole insert and climb up a ladder.
Save Token 9
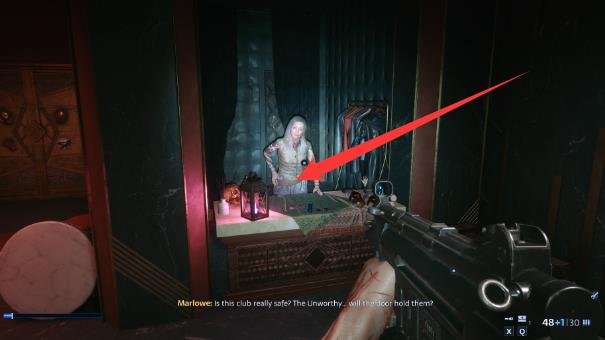
I can buy the 9th save token from the merchant right before I access the sex rooms, which are behind the door with the sex positions lock.
Save Token 10
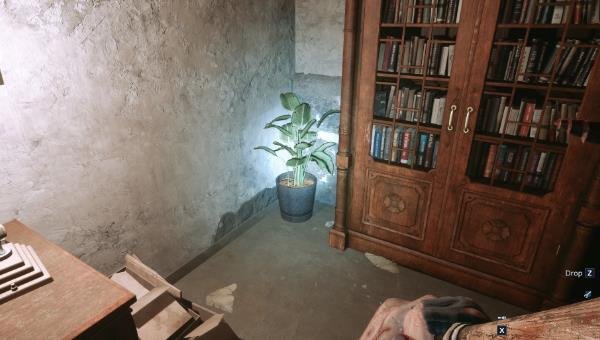
I find the 10th save token inside this plant after the 2nd Bruno fight, upstairs in the little office space.
Save Token 11
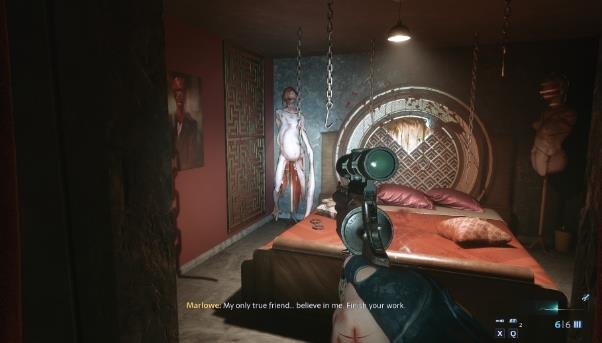
I find the 11th save token after I use the elevator key. I enter the bedroom attached to the room with a window watching over Bruno’s surgery. The token is attached to the body on the left.
Where I Use My Saves
This is the sequence I personally use my saves for. Obviously, I adjust this based on what areas give me the most trouble. I always try to loot as much as possible before each save so that I minimize how much I need to do again if I reload.
- When I go up the yellow ladder in the room that also has a save token.
- At the house at the top of the graveyard, before the stealth section.
- After using the boltcutters, I run back to save before fighting Bruno.
- Before I start the cabin sequence, I run back to use a save.
- Before fighting Charlotte.
- Before the voyeur room stealth section with Sister of Mercy.
- Before fighting Sister of Mercy.
- At the start of Industrial Estate, next to Zora.
- After fighting Bruno again, before using the elevator key.
- Right before the giant room with water, lots of enemies, and sawblades I can move around.
- Before fighting Marlowe.
How I Unlock the Other Endings on Hellraiser
I actually just press Continue from the main menu after the credits, and it lets me pick endings again, even on Hellraiser difficulty, despite normally giving me no autosaves.
If this does not work for some reason, I can instead reload a save and redo Marlowe, or move a save around so I have one after the boss. If I move a save, I personally skip where I use my 10th save.