In this Dressmaker tips and tricks guide, I cover the useful things I learn while making dresses, working with fabrics and patterns, and completing commissions. I also explain how I use the different filters, manage my materials, improve my sewing quality, and make the most of the tools available in the game.
Dressmaker Tips and Tricks
Sewing Tips
In Settings, I turn on “Sewing Assist” to help me achieve 100% quality while sewing. I just go slowly around corners by pressing S on my keyboard a few times.
I can ignore straightening the patterns if I want to maximise my space on the fabric. I make up for the drop in quality by making sure my sewing is 100%.
I need to be careful when un-sewing patterns. If I un-sew something while putting all the parts together, I need to sew it again.
If I am unable to un-sew something, it might be blocked by something pinned onto it.
Patterns and Designs
I filter my designs by category. I click on the category name, such as Sleeve, and filter by styles like Gothic, Romantic, and others. This becomes more useful as I unlock more options.
I make sure to always filter. Resetting it sometimes removes the filtering, so I need to set it again.
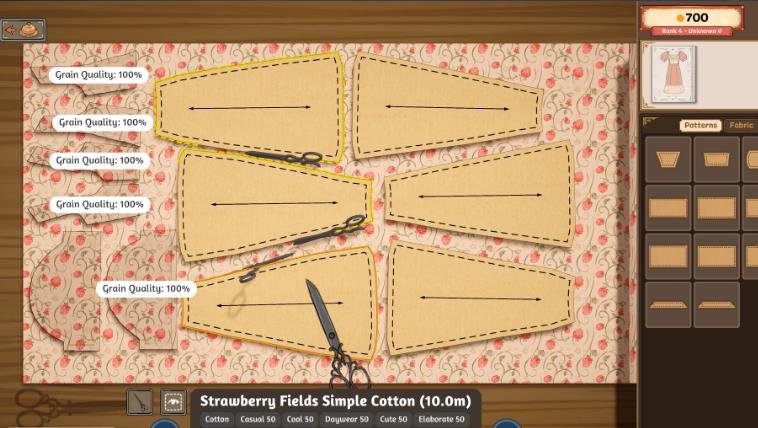
When I cut the fabric, I hover over the pattern pieces to see their names. This helps me identify which pieces match the different areas of my design.
If I am unsure which pattern piece I need, I hover over it until its name appears.
When drafting a dress, I can find smaller versions underneath some of the four main parts. These are shown with dots.
If I am unable to finalize a dress, I have probably missed a pattern or something is not sewn properly.
Fabrics and Accessories
I also filter my bought fabrics and accessories. I check the filters first because I may already have what I need.
When I add accessories or fabric to the design page, it gets starred and moves to the top of the list when I cut patterns or decorate dresses.
I can also drag fabrics onto the design page to pin them to the top of my fabric list.
When I make a dress with multiple colors or fabrics, I use the pencil in the book to color the different parts of the sketch. I then pin the fabrics I want to use to the top of the list.
Burlac is a free material, so I use it to make off-rack dresses and sell them.
If I accidentally buy a lot of a material I do not need, I make a quick dress with it and sell it. This helps me get my money back and even make more.
Understanding Design Values
While drafting my initial idea, I use the different lines and bars to understand my design values.
| Indicator | What it means |
|---|---|
| Yellow line | Where I want to be |
| Dark green bar | What I definitely have |
| Striped green bar | The value can range from the lowest to the highest part of the bar depending on how much fabric I use |
| Gold bar | A trait I want |
| Red bar | A trait I want to avoid |
| Grey | There is no impact |
Some patterns, fabrics, and accessories give negative values.
I do not need to hit every requirement mark in the initial design. My fabrics contribute a lot, while accessories do not contribute as much.
When a requirement says “max,” I just stay under that number or even at 0.
Money and Commissions
I can sell off-rack dresses that are not for a commission to make extra money.
I get paid the commission money after creating the dress.
Other Useful Tips
Gifting a dress increases my level with the person I gift it to. This allows me to reach the next level and unlock new patterns for my sketches.
The pigeon, once I unlock it early on, allows me to invite certain characters into my store and make a dress for them.
I change the mannequin colour, background, and lighting.
I recycle cut patterns if I do not like the fabric or make a mistake. I just drag it from the side menu and a small option pops up.
Instead of measuring someone again, I can load their measurements using the button underneath Confirm.
In Settings, I can turn on “Accessory Rotation Gizmo” to get the full X, Y, and Z rotation options for advanced decorations.
I hope you enjoy the guide.