Queen’s Domain – Get True Holy Sword Akunra & Jigeki’s Lens

Queen’s Domain – Get True Holy Sword Akunra & Jigeki’s Lens

By Editorial / November 3, 2026 / Guide / 4 minutes of reading

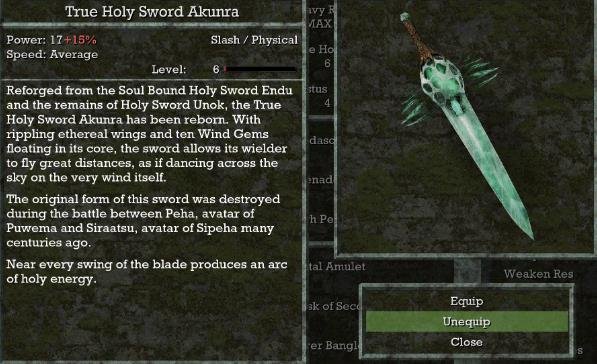
In this guide, I show how to get the True Holy Sword Akunra with 10 Dash in Queen’s Domain. I cover the route through Rotting Cavern, the Temple, and the locations of all the required seals. I explain where to find each seal and how to complete the final steps to obtain the True Holy Sword Akunra.

Queen’s Domain – All Book Locations and Pandora Blade Guide

True Holy Sword Akunra Location Guide

1. I Start from the Point & The Cave
First-person view in a green cave; a red box highlights a ruined stone structure entrance. Player holds a shield and blue weapon.

I use this spot as the starting point since it is the easiest one to find.
A wider view of the dark, mossy cave interior. A long red arrow points forward down a stone path toward a distant, warm orange glow and a glowing blue item on the left.

I head towards the ruined stone structure and enter the cave (follow the red box).
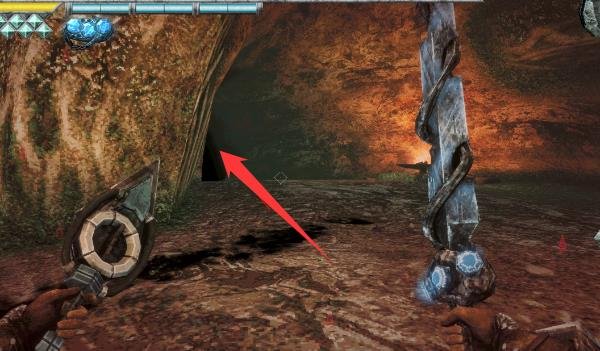
First-person perspective showing a dark cave opening on the left. The player wields a circular shield with a glowing blue crystal and a spiked, icy weapon. A red arrow points toward a dark, rectangular doorway.

Then I continue through the cave by following the path ahead (red arrow).
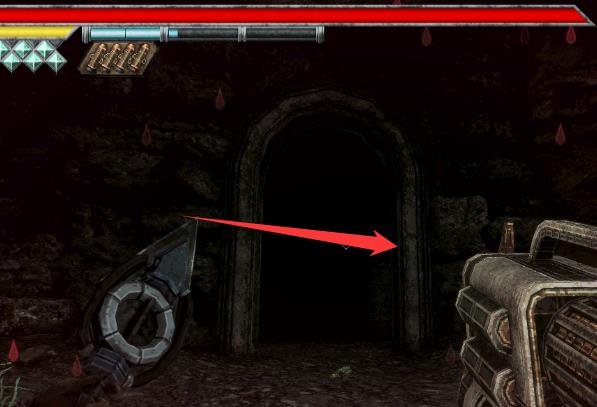
First-person view facing a dark, arched stone doorway in a gloomy environment. A red arrow points straight into the pitch-black opening. The player is holding a spiked shield and a large, mechanical-looking cannon weapon. UI elements show health and ammo.

At the end of the cave, I reach an opening like this. I immediately turn right and enter the dark opening (follow the red arrow).
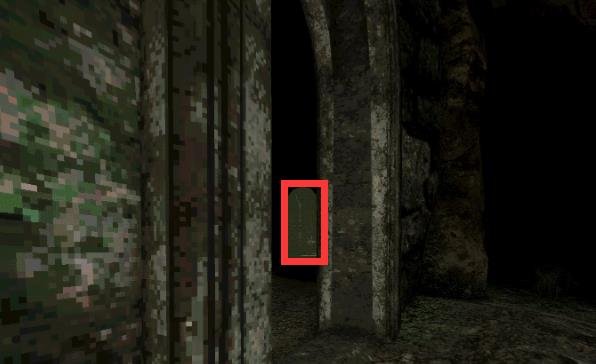
A close-up view of ruined stone pillars and walls in a dark, mossy environment. A red rectangular box highlights a narrow, dark passageway or recess between the stone columns.

2. I reach Rotting Cavern

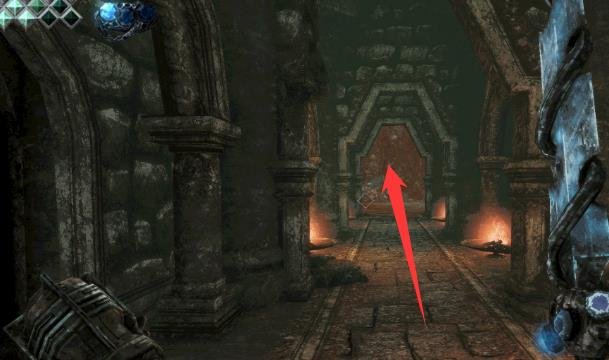
First-person view looking down a long, stone-paved corridor inside ancient ruins. Stone pillars line the sides, and fire braziers illuminate the area. A red arrow points straight down the hall toward an arched doorway. The player holds a shield and an icy weapon.

I continue forward until I reach the teleport for Rotting Cavern. This is the halfway point.
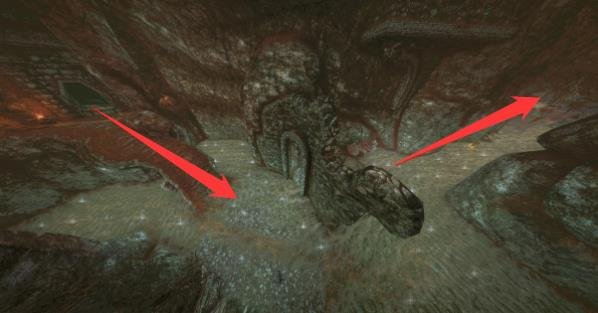
A high-angle, wide shot of a large, cavernous underground area with shallow water. A central stone structure features an arched doorway. Red lines point out various pathways across the rocky, watery terrain.

Note: I don’t recommend rushing towards the teleport while dashing. The enemy or hazard can hit me during a dash and remove all my dash charges.
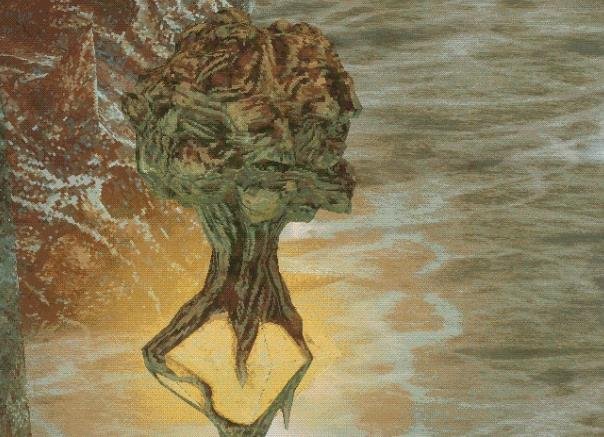
A close-up of a floating, grotesque, tree-like head statue hovering above a glowing yellow diamond shape, set against a backdrop of murky, swirling water.

3. How I clear the Location & The Temple

I gradually clear the area to open the path leading to the passage. I follow the route shown in the screenshots below.
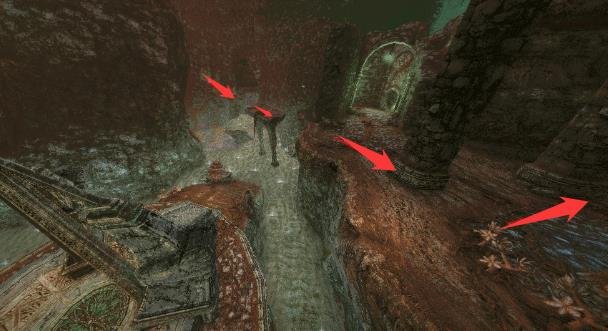
A high-angle view of a rocky, underground water cavern. Several red arrows point toward different ledges and a raised stone platform that features a glowing green circular design.
  • I look for the narrow passage near the pillars (follow the red box).
  • After, I continue through the underground ruins (red arrow).
  • I reach a large, open cavern with water. The path splits left and right, so I follow the red arrows.
  • Next, I encounter a floating, statue-like head with a diamond underneath it.
  • I continue across the rocky ledges and cliffs to make my way forward (follow the red arrows).
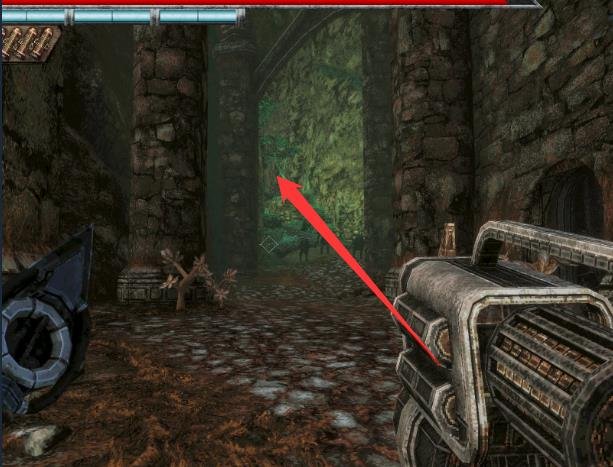
First-person view looking through a stone archway into a lush, green cave area. A red line points toward a glowing green item in the distance. The player's large mechanical cannon weapon takes up the right side of the screen.

4. How I find the Seals (Lenses)

I pick up one more lens by collecting the green glowing item in the distance. After that, I can start looking for the remaining seals.
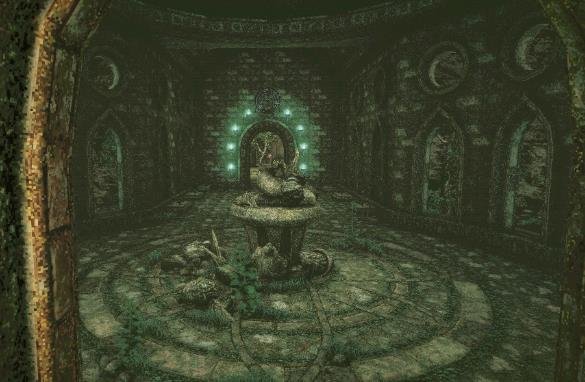
An interior view of a ruined, circular stone room with a central fountain-like structure. The room is dimly lit by green glowing orbs surrounding an arched doorway at the back.

2 Seals Under Tower of Knowledge

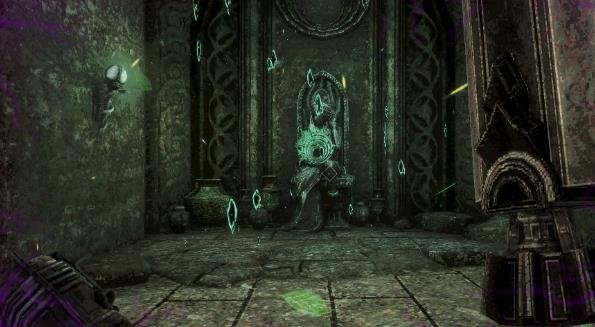
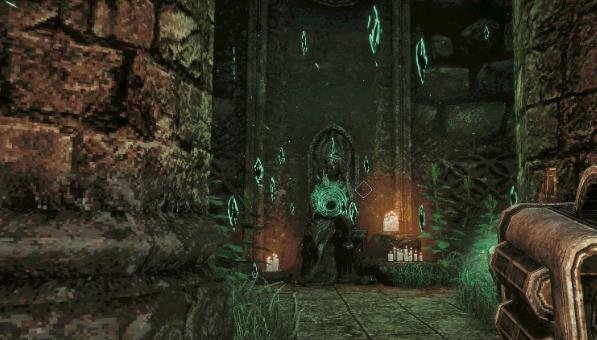
First-person view in a dark stone room facing a large statue of a seated figure on a throne, surrounded by floating green runes and candles. The player holds a shield and a large mechanical weapon. The floor is littered with bones.
  • In the statue room with green orbs, I find the first seal.
  • The second seal is in the boss room, where I find a statue and bones scattered across the floor.
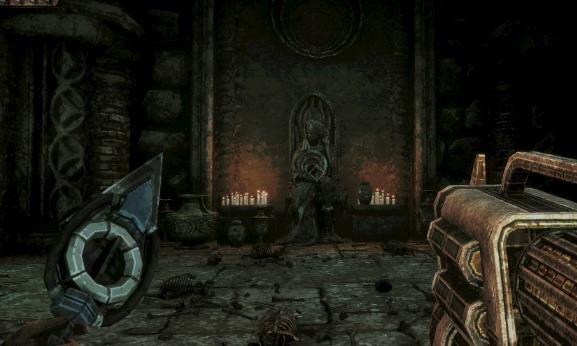
First-person view in a similar dark statue room, but the lighting is warmer, showing candles on the floor. A white diamond crosshair is aimed directly at the circular glowing symbol on the statue's chest.

2 Seals on Isle of Neasied

An outdoor view of an overgrown, multi-tiered stone tower or ruin surrounded by green landscape. A bright blue crystal floats on a pedestal in the foreground. A red box highlights a dark doorway at the base of the structure.

I look underneath the teleport to find a secret room.
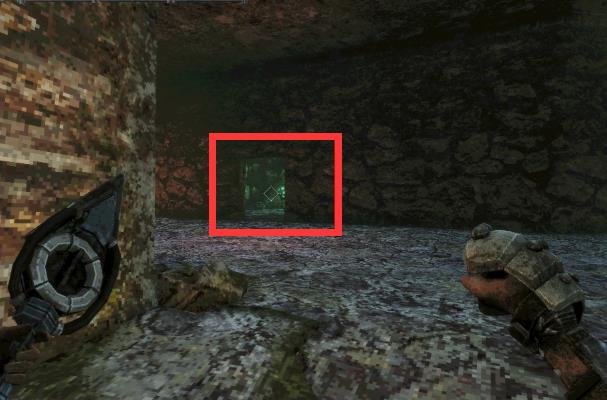
First-person view inside a dark, rough-hewn stone cave. A red box highlights a small, square opening or window in the distance that shows a glowing green area beyond.

First Secret Wall: I follow the red box to find the first secret wall.
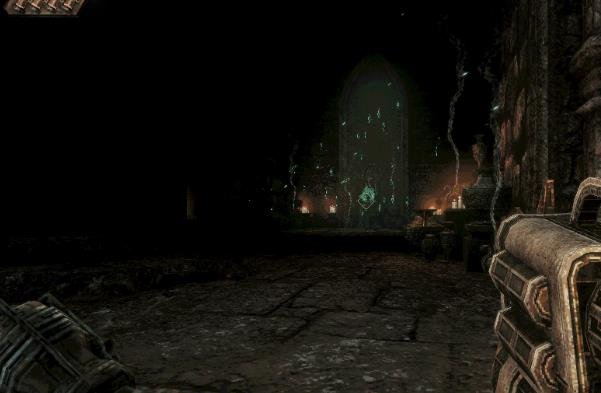
First-person view looking down a dark corridor toward a large, glowing green archway covered in floating runes. Fire and candles illuminate the sides. The player's cannon is visible on the right.

Second Secret Wall: I follow the red box to find the second secret wall.
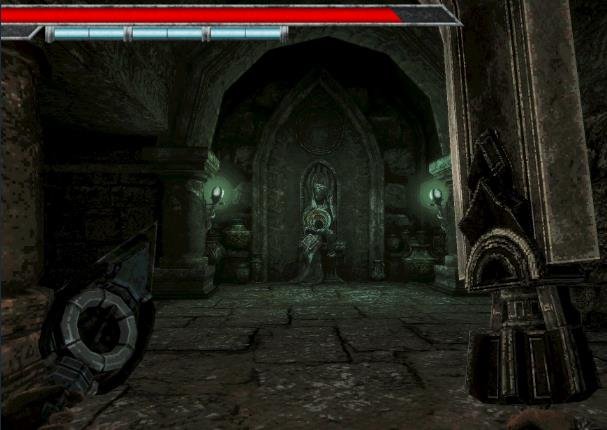
First-person view facing a large statue in a dark alcove, similar to previous rooms but lit with eerie green light from the sides and the statue itself.

1 Seal in Deimpo Mausoleum

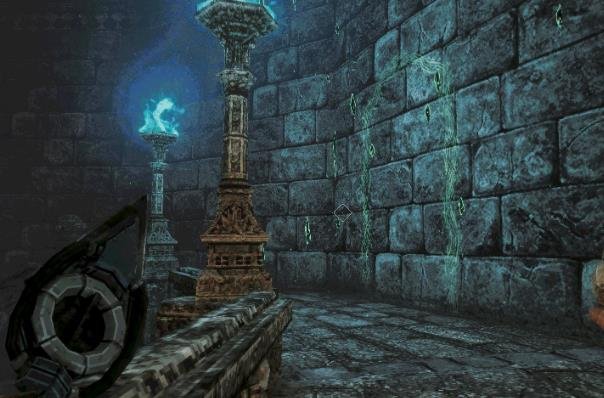
First-person view in a dark stone room with blue-flamed torches and green magical energy flowing down the walls. A white crosshair is aimed at the wall.

I find a secret room on the stairs underneath the teleport (follow the red line).
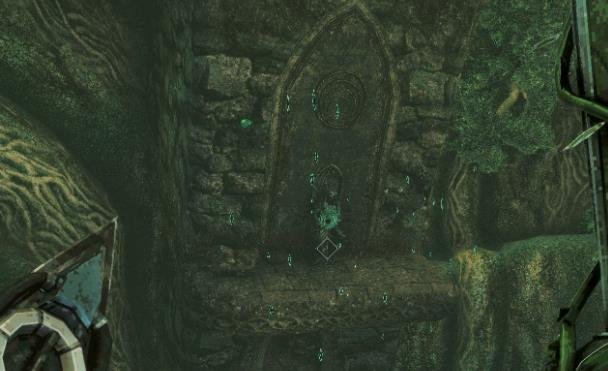
A slightly angled view looking up at an arched stone relief or statue built into a green, mossy cave wall. Floating green runes surround it. The player's shield is visible on the left.

1 Seal in Record of Sins

Then I head through the dark corridor and follow the red line towards the green glowing archway to find the seal.
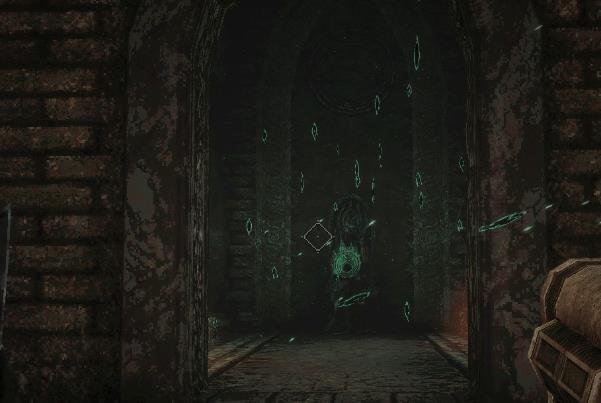
A view through a dark stone archway looking into a room where a statue is heavily obscured by a swarm of floating green runes. A white crosshair is aimed at the statue.

1 Seal in Rotting Cave

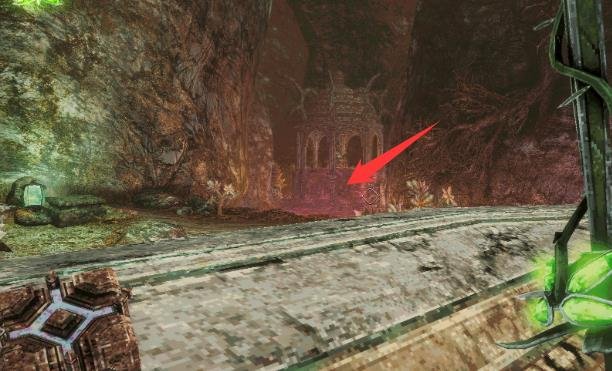
I first need to add a lens to my mask using the guide mentioned earlier for this seal to appear. Once that’s done, I follow the red arrow to find it.
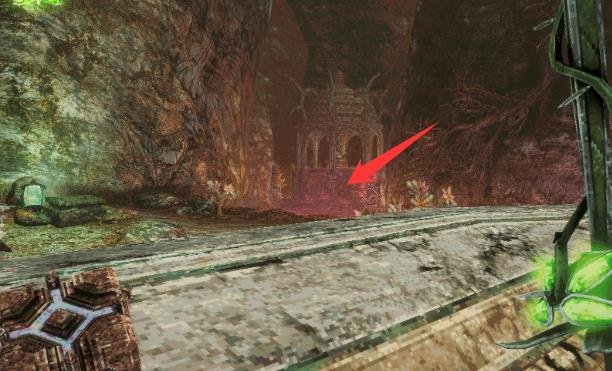
First-person view looking across a flat, light-colored stone floor toward a small, ornate ruined structure or gazebo in the distance, set against a reddish, cavernous background. A red line points toward it. The player holds a green glowing weapon.

1 Seal on Fish-man Island

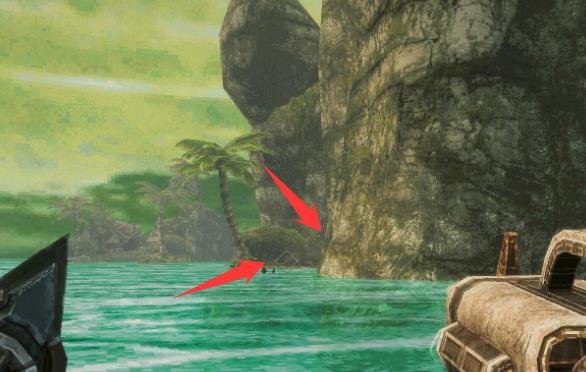
I head towards the water area near the cliffs and palm trees. I follow the red arrows to reach the island.
A scenic outdoor view over bright teal water toward a rocky island with palm trees. Red arrows point toward a small cave opening or shadow at the base of the cliff.

Finally, I return to the statue room with the floating green runes and candles to complete the last step.

Reward
First-person view in a dimly lit stone room facing a statue on a throne. The statue is surrounded by floating green runes and candles on the ground. The player's large mechanical weapon is on the right.

It is an assault rifle with an underbarrel grenade launcher.

How I get Jigeki’s Lens

I show you how to get all the parts of the Jigeki Key to obtain Jigeki’s Lens. Without this, you can’t remove any seals; therefore, I collect these lens. This lens is also required to open the door in the Temple of Puwema.

1st Lens – Deimpo Mausoleum
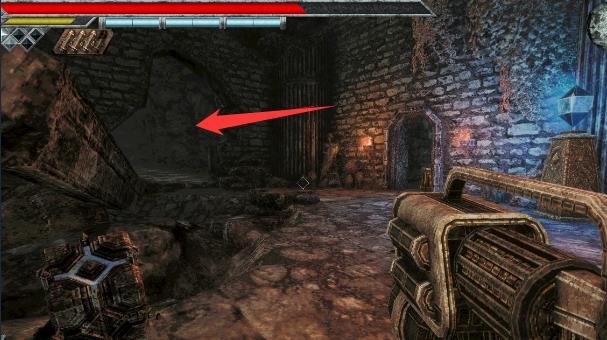
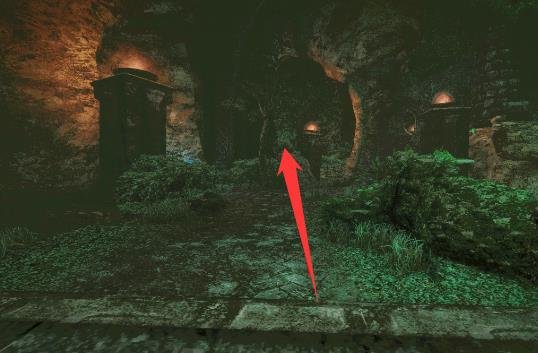
I find the first lens in Deimpo Mausoleum and follow the location shown in the screenshots below to reach it.
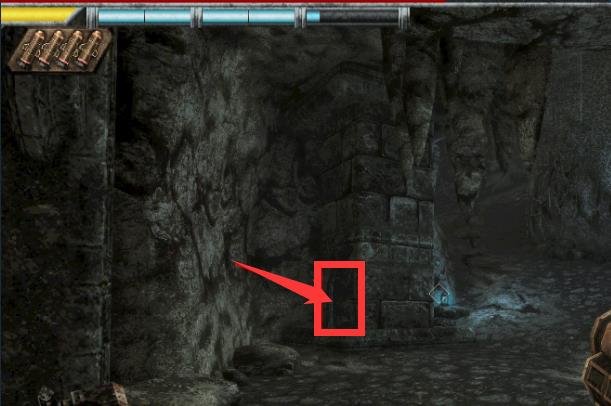
2nd Piece – Rotting Cavern

I can obtain the second piece in Rotting Cavern. When I run across the rotten water, a big fish starts chasing me. I kill it to get the second piece.

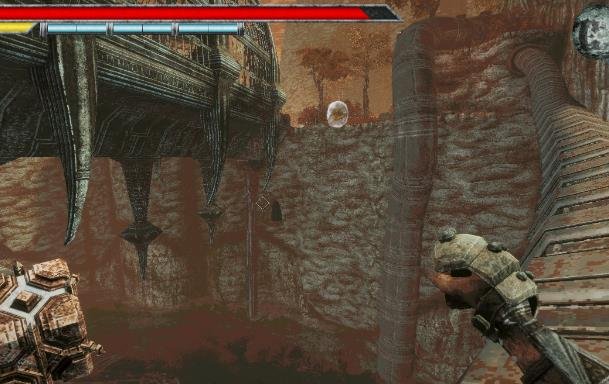
3rd Piece – Ancient World

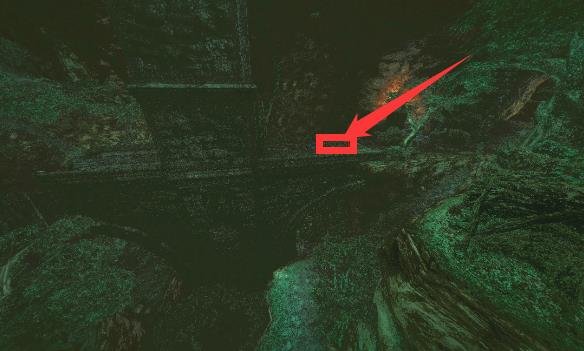
In Ancient World, I find the third piece underneath the bridge.
Where to Place the Pieces
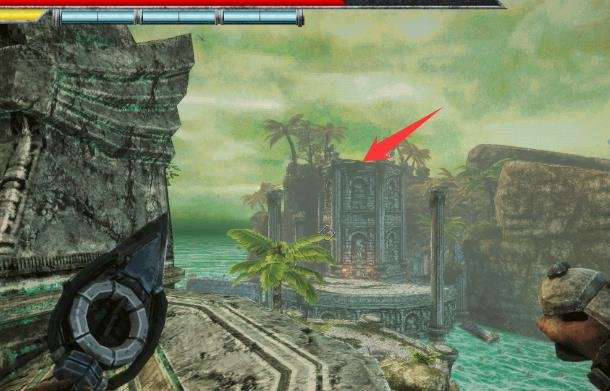
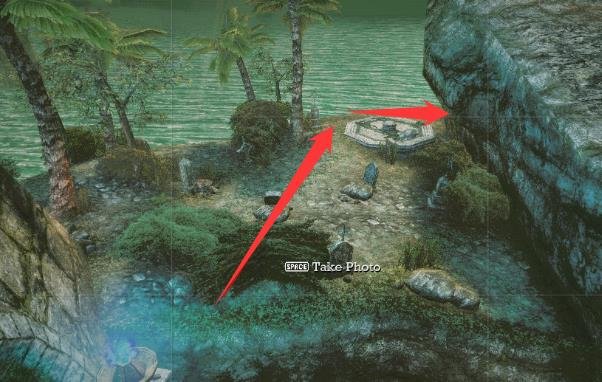
I head to the top of one of the cliffs on Fish-man Island to find the location where I need to place the pieces.
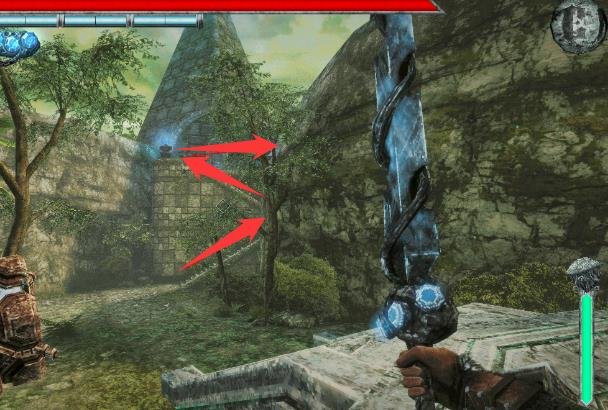
Here, I need to collect 4 Ceremonial Stone Tiaras located nearby and place them in the correct order.
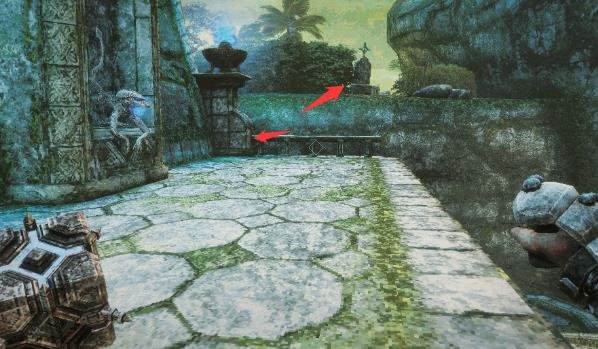
From left to right, the correct order is:

  • 1st: Red, White, White.
  • 2nd: White, Red, White.
  • 3rd: All White.
  • 4th: White, Red, Red.

How to Reach the Location

I follow the route shown in the screenshots below to reach the top of the cliff.
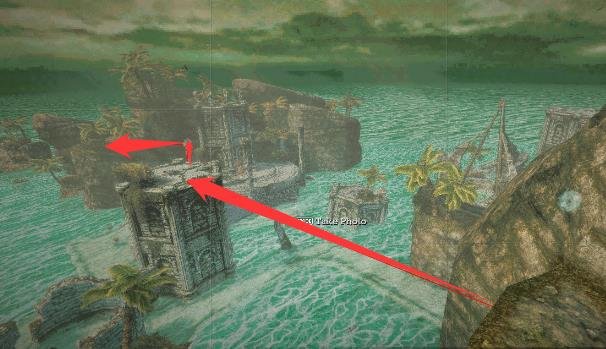
I use the Cestus to perform a high jump and reach the upper area.