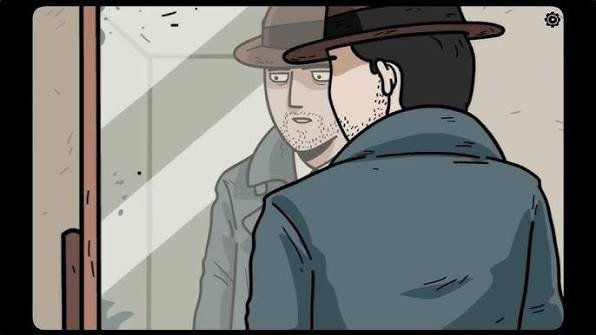
In Ghost Case, I play as detective Ren Larsen and investigate a mysterious murder case where the victims’ souls are still looking for answers. I explore different locations, interact with objects, collect useful items, and solve puzzles to uncover new clues.
This Ghost Case Walkthrough covers the full investigation, including the Murder House, Lian’s House, Anna’s House, Graveyard, Store, and other locations. I show the steps I follow to solve the puzzles, find important items, and progress through the mystery until I uncover the truth behind the case.
Ghost Case Walkthrough – All Locations Guide
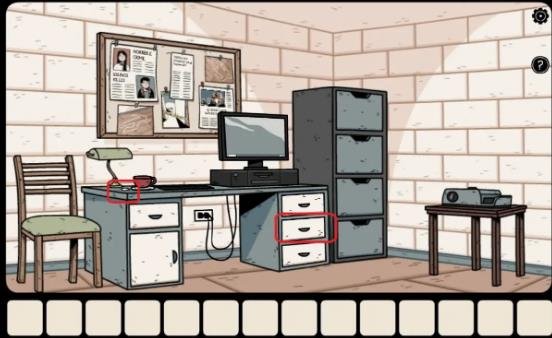
- I click on the table to collect the Coffee Sachet and open the drawer to get the Map.
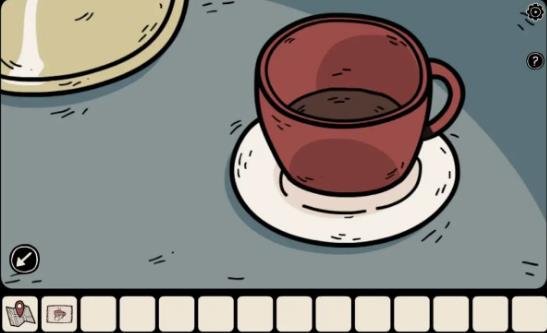
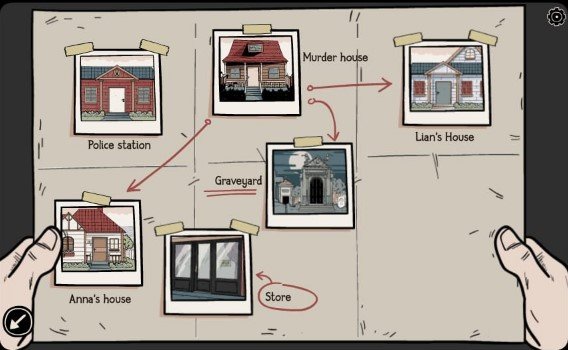
- I open the map to check the available locations. There are two places I can visit: Police Station and Murder House.
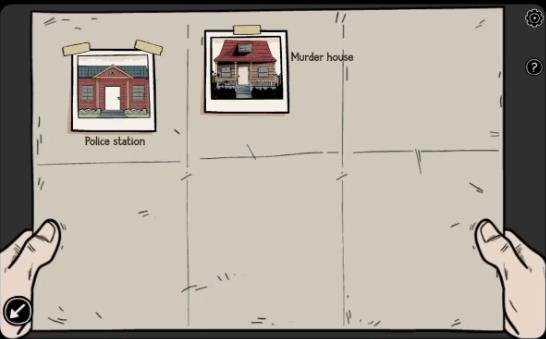
House
I start by selecting House from the map. The game takes me inside the house, where I find a closed door covered with wooden planks and several old objects around it. I can use the arrows on the left and right sides to move between rooms.
The house has four rooms, and each one is messy. I don’t need to clean everything, but I do need to interact with objects to find the clues.
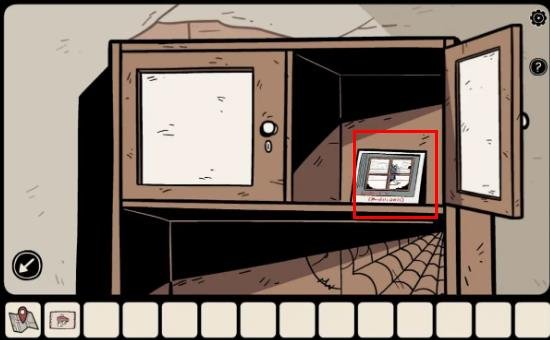
- In the first room, I click on the table to find a box with a photograph inside. I open the box, check the photo, and remember the date and time.

- I move to the room on the left and find a TV and Cupboard. I open the cupboard and remember the date and time shown there.
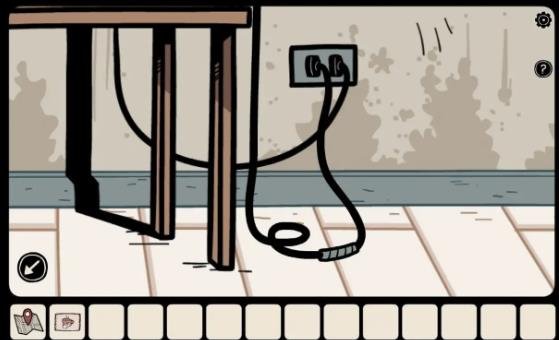
- I click on the TV to collect the TV Cable and keep it in my inventory.
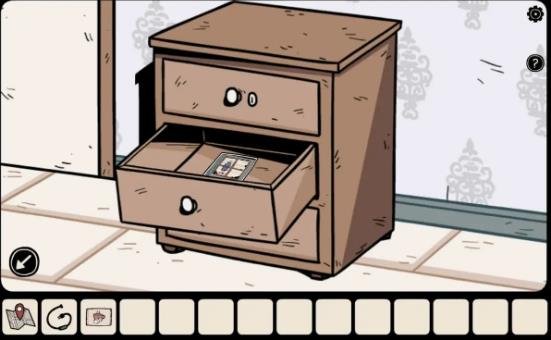
- I move to the next room and find a wardrobe. I open the drawer to get another photo and remember the date shown on it.
- I move to the fourth room, where I find a sofa and table. I click on the table to collect the Broken Bottle.
- On the right side of the sofa, I find a drawer filled with termites. I place the broken cup there, fill it with the Coffee Sachet, and wait for the termites. Once they appear, I tap the cup to put it back in my inventory.
- I return to the main room, select the Broken Bottle, and pour it onto the main door.
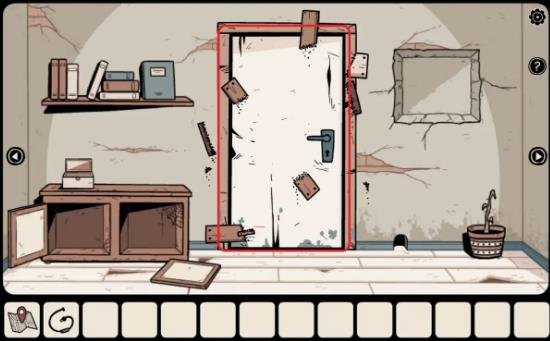
- I open the door and enter the other side of the house, which is clean and fully furnished.
Other Side of the House
I now explore the other side of the house. My goal is still to find objects, collect clues, and solve the mystery. This side also has four rooms with different objects to interact with.
- I enter the room with the bed and click on the table to collect the Book. I also check the painting to see the finger position.
- I leave the room and check the photograph above the classic phone to find the finger’s direction.
- I then find the briefcase between the fireplace and the door. I set the arrows to Down, Up, Right, Left to open it.
- Once the briefcase opens, I collect the Bulb and check the clothes, their tags, and the numbers written on them.
How to Unlock the Book in Ghost Case?
- I select the Book from my inventory and set the three shapes in order: 1 — Square, 2 — Sand Clock, 3 — Wind.
- After opening the book, I turn the pages to find more clues. I also check the Robot, the geometric shapes, and their positions because I need this information for the fireplace puzzle.
- I go to the fireplace and set the shapes in the same positions shown in the book to open it and collect the Pencil and Puzzle Piece.
- Above the box, I find a holder with three bulbs. I collect the first and third bulbs, place the new bulb in the second holder, and turn it on.
- I move to the room with the mirror and connect the Cable from my inventory to the socket beside the lamp. I then place the bulbs into the first and second holders.
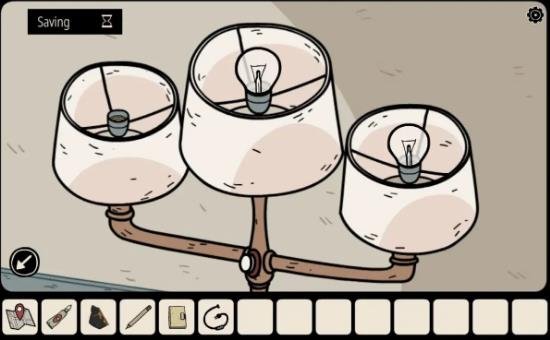
Note: The bulb positions may be different in your game. I use the diagram as a reference when solving this puzzle. The lower diagram shows the bulb above the suitcase, while the upper diagram shows the bulb stand near the mirror.
- After I place the bulbs correctly, something strange happens and a girl appears in the mirror. She asks me to help her.
Ghost Case Piano Solution
- I go to the room with the two doors around the classic telephone and enter the left one. I open the drawer to collect the Tube.
- I select the Pencil and use it on the book to reveal some images.
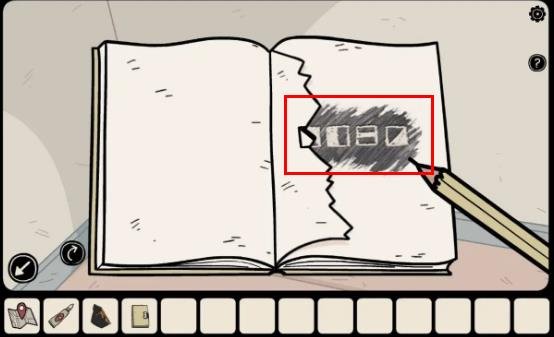
- I go to the room with the Cupboard beside the painting. I open the first drawer and set the images I found in the notebook.
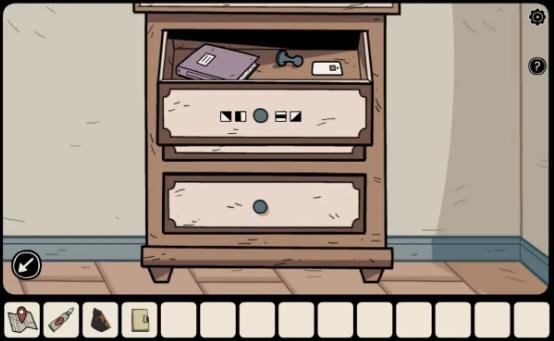
- Once the drawer opens, I collect everything inside, including the Chess Piece and Book.
- I leave the room and go to the room on the left side of the classic phone. I use the Card with a Microchip to open the drawer and collect the Teddy Bear.
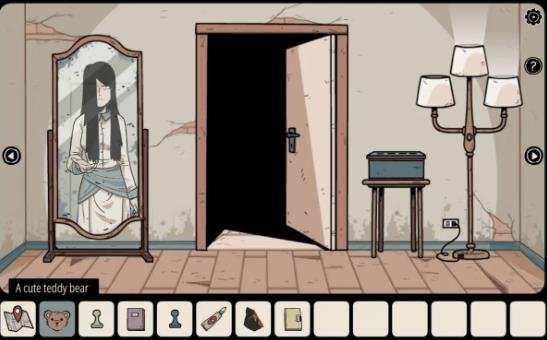
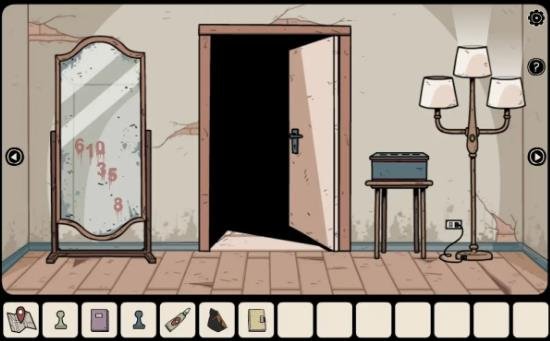
- I take the Teddy Bear to the mirror and give it to the girl. After a few seconds, numbers appear in the mirror: 610358.
Telephone
- I return to the telephone room and dial 610358. I wait until I hear the music.
- I then enter the room on the right side of the phone and check the device above the table. I play the same music by pressing 7, 4, 2, 6.
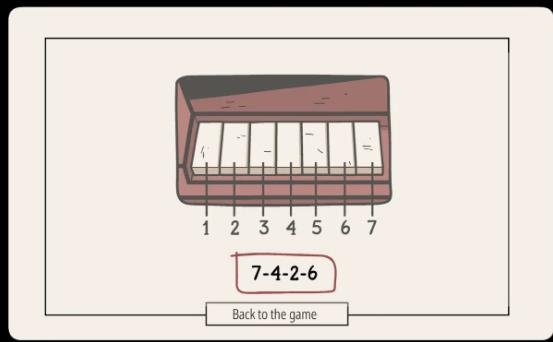
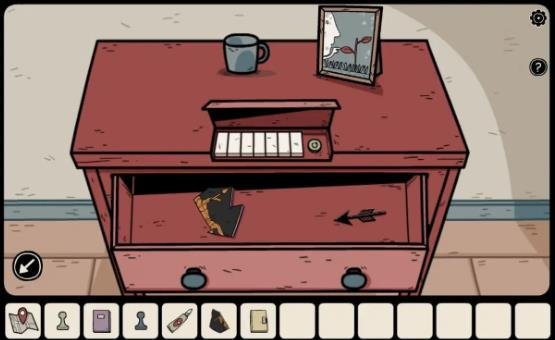
- Once I enter the correct sequence, the drawer opens. I collect the Vase Piece and Arrow from inside.
How to Repair the Vase?
- I return to the room with the vase and select the Glue from my inventory.
- I place all the vase pieces together to repair the vase.
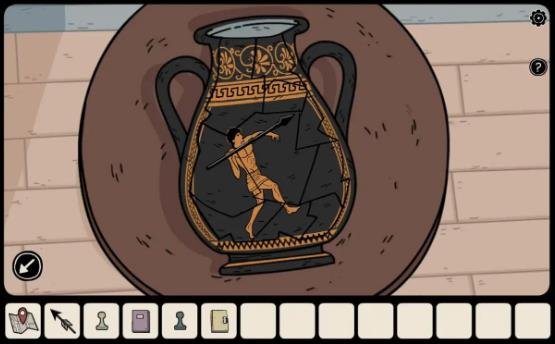
- After repairing the vase, I tap the arrow to collect it and return to the second room near the phone.
Ghost Case Clock Puzzle
- Above the table, I find a clock without needles. I select the Arrows from my inventory and place them on the clock.
- I open the purple book to check the positions of the three needles and set the clock to 02:10:40. This opens a small window, and a puppet comes out holding a Key.
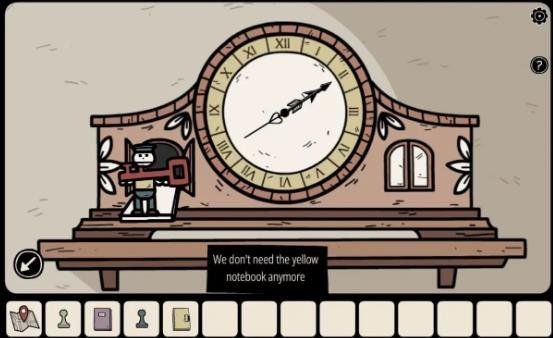
- I collect the Key from the puppet and open the second window to find an owl.
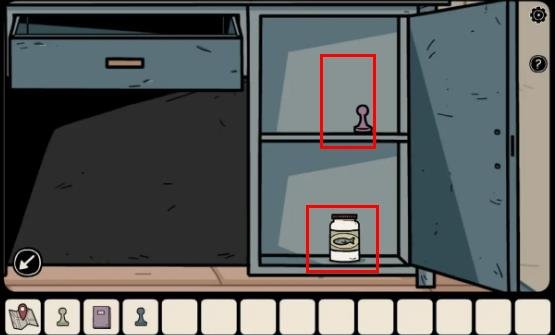
- I return to the first room and use the Key on the cupboard to collect a Chess Piece and Fish Food.
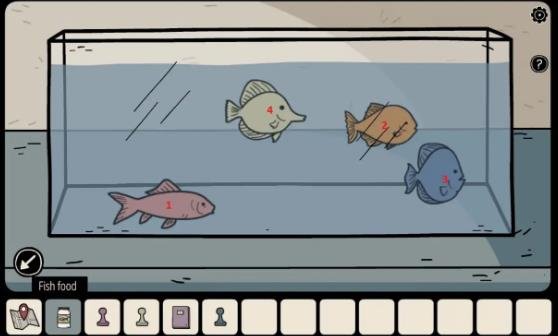
- I select the Fish Food and use it on the fish tank to move closer to the jar.
- I open the book to check the fish directions, types, and patterns. I use these patterns to solve the box puzzle near the lamp.
- I set the patterns correctly to open the box and collect another Chess Piece.
Chess Board
- I open the third drawer to collect another Chess Piece. I then go to the table on the left and place all the chess pieces from my inventory onto the board.
- After this, a strange sound plays and a boy’s hand appears on the screen before disappearing and leaving me another clue.
- I collect the Round Tile near the board and place it on the cupboard to complete the design.
- I set all four tiles according to the positions of the pieces on the chessboard. Once the puzzle is solved, the cupboard opens and I collect the Letter and Projector Slides.
- I select the Map from my inventory and choose Police Station. I place all the slides into the projector and press the play button to discover the truth.
- Following these steps reveals another location, Lian’s House.
After investigating the Murder House in Ghost Case, I now move on to Lian’s House to find more clues and uncover the truth. During the Murder House investigation, I interacted with the souls of two victims who asked for help. After checking the clues at the Police Station, Lian’s House appears as the next location.
Ghost Case is an Adventure and Hidden Object game where I need to investigate rooms, interact with objects, and solve different puzzles instead of simply searching for hidden items.
In this Ghost Case Lian’s House Walkthrough, I show where I go, what items I collect, and how I solve the puzzles. The game follows detective Ren Larsen, who arrives at house number 430 with a Map and Letter in his inventory.
Ghost Case – Lian’s House
I continue the investigation by checking the environment, rooms, and objects around Lian’s House. I interact with everything needed to find clues and progress through the case.
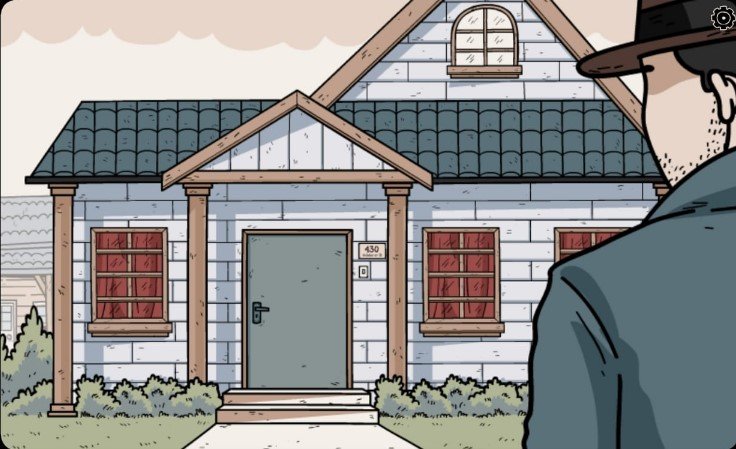
- I tap the door to ring the bell and talk to the man who answers. He closes the door before I can finish the conversation, so I select the Letter from my inventory and slide it underneath the door.
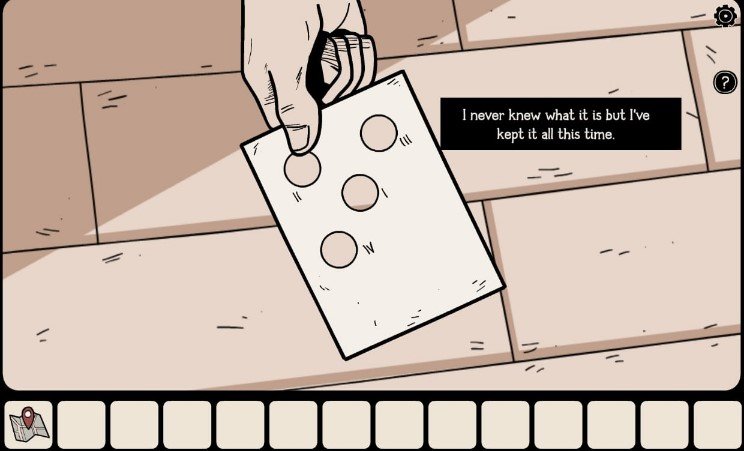
- The man soon gives me a paper with four holes and Roman numbers written on it.
- During the conversation, I get several choices that can affect the ending. I make sure to ask the case-related question when I am unsure about what to ask.
Go Back to Murder House
After getting the card with holes, I open the Map, select Murder House, and return to the door with the Digital Locker.
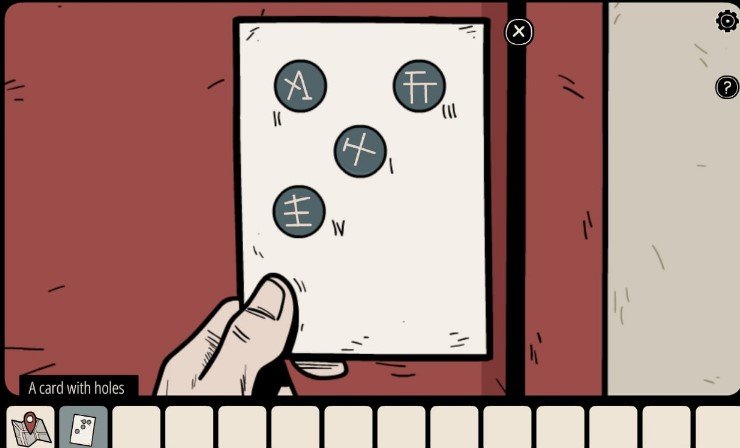
- I check the buttons through the card and remember their positions. I then remove the card and press the same buttons to open the door.
- I enter the new room and start looking for hidden objects and clues.
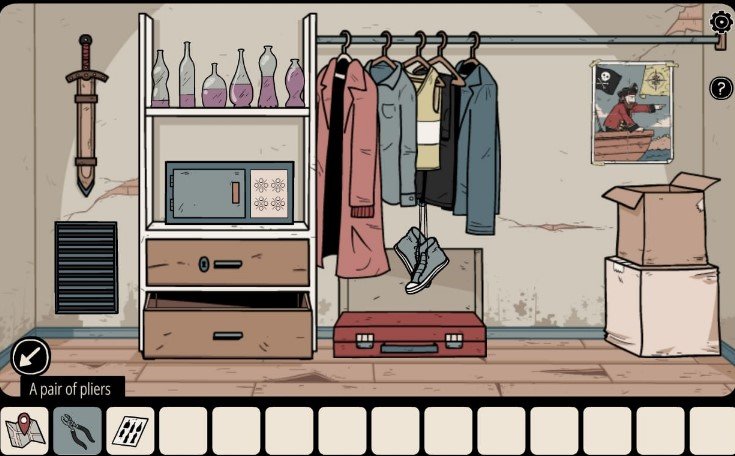
Room
- I head to the cloth stand and move all the coats to the left. This reveals a cotton area where I find a Paper.
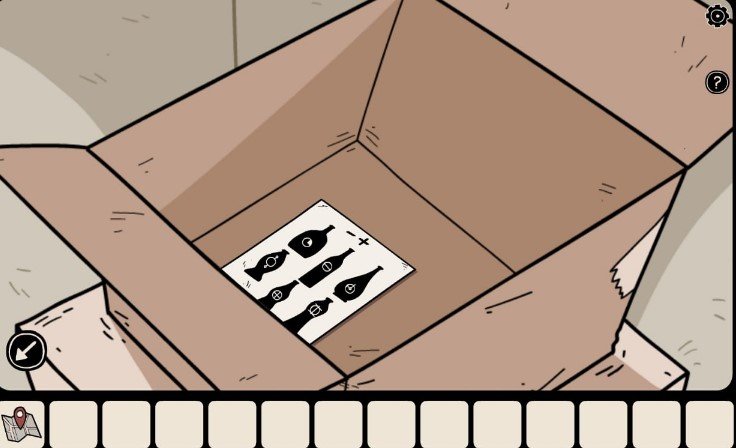
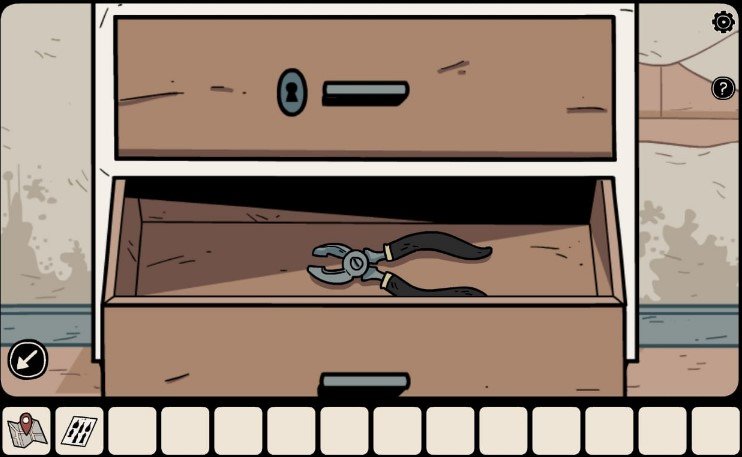
- I open the cupboard drawer and collect the Pliers.
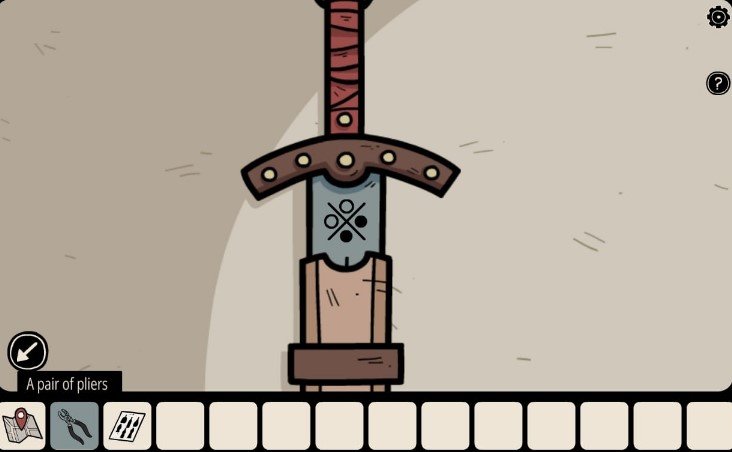
- On the left side, I find a Sword framed on the wall. I remove the sword from its cover to discover another clue.
- Above the cupboard, I find several bottles. I arrange them from the lowest-filled bottle to the most-filled bottle to reveal a secret area containing a Briefcase.
Ghost Case Briefcase Puzzle
- I tap the Briefcase and try to solve the button pattern, but it does not open yet.
- I check the Paper from my inventory to see the arrangement of the bottles. I then return to the briefcase and set the shapes according to the clues.
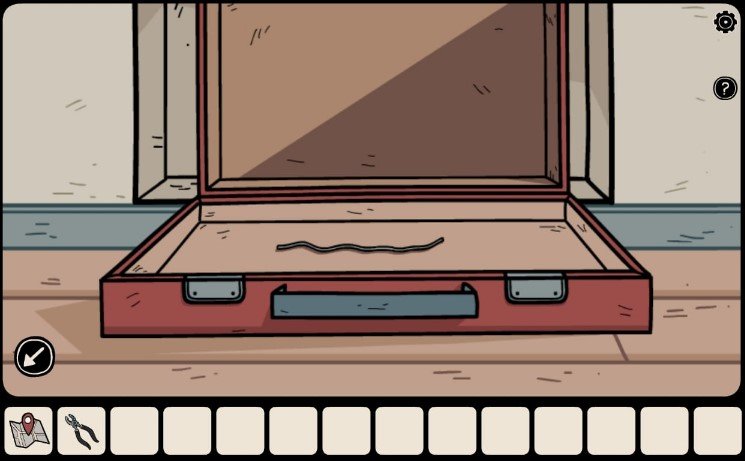
- I open the Briefcase and collect the Wire.
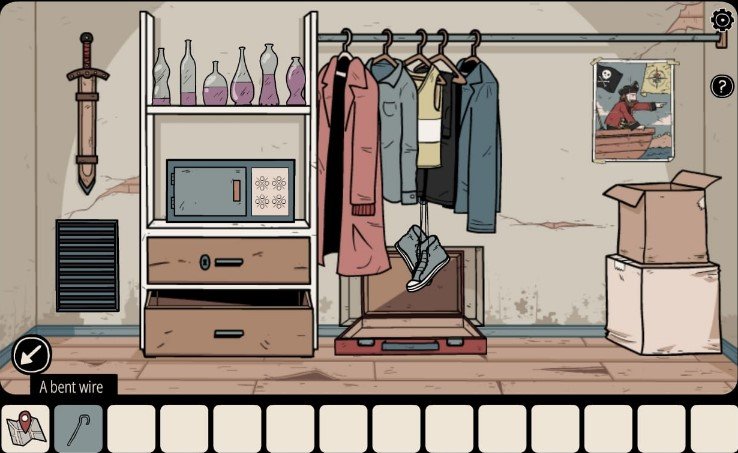
- I combine the Pliers and Wire in my inventory to make a Bent Wire. I use it to reach the key inside the Vent.
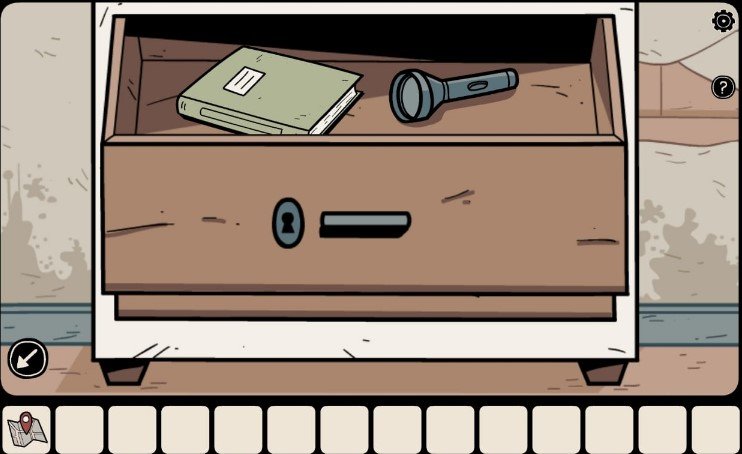
- I use the Key to open the top drawer of the cupboard and collect the Torchlight and Notebook.
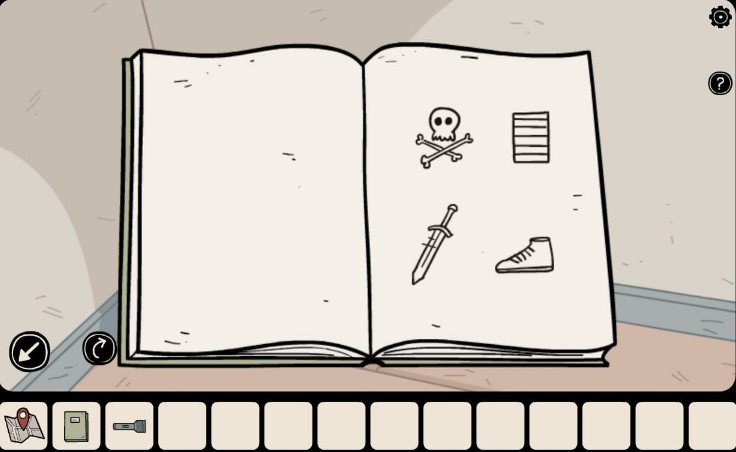
- I open the Notebook and find four diagrams: Skull, Vent, Sword, and Shoes.
- I investigate each of these objects to find the dots needed for the next puzzle. First, I check the pirate poster behind the coats and remember the direction of the pirate’s hand and the red compass needle.
- I then check the Sword for another clue.
- I use the Torchlight inside the Vent to reveal another hint.
- Finally, I investigate the Shoes to find the last clue.
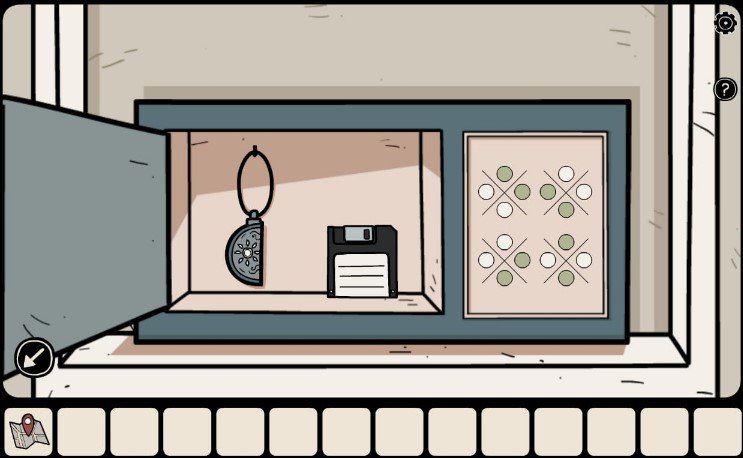
- I set the dots according to the clues to open the vault and collect Half of a Broken Medallion and a Floppy Disk.
Police Station
After collecting both items, I return to the Police Station to continue the investigation.
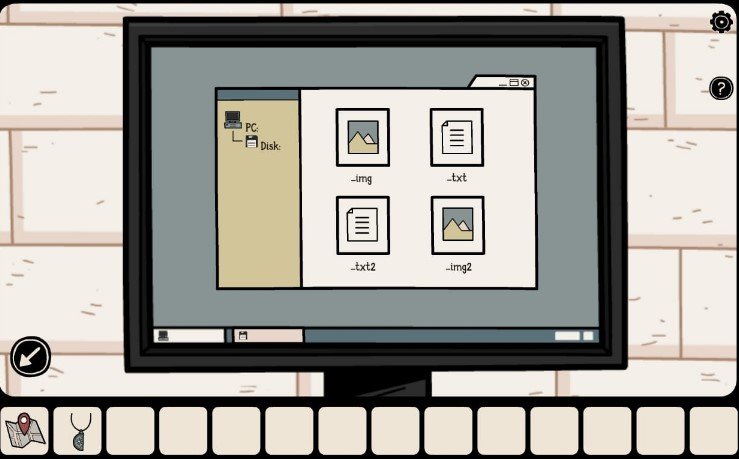
- I select the Floppy Disk and insert it into the PC.
- I start the PC and check the information stored on the floppy disk. After investigating the data, I discover a new location called Anna’s House.
Ghost Case – Anna’s House
I open the map and select Anna’s House. The house number is 1014, so I go there and ring the bell.
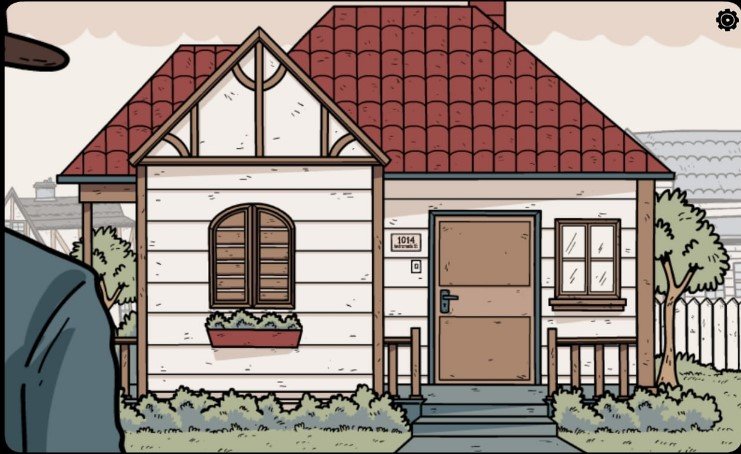
- I ring the bell and talk to the person who comes to the door.
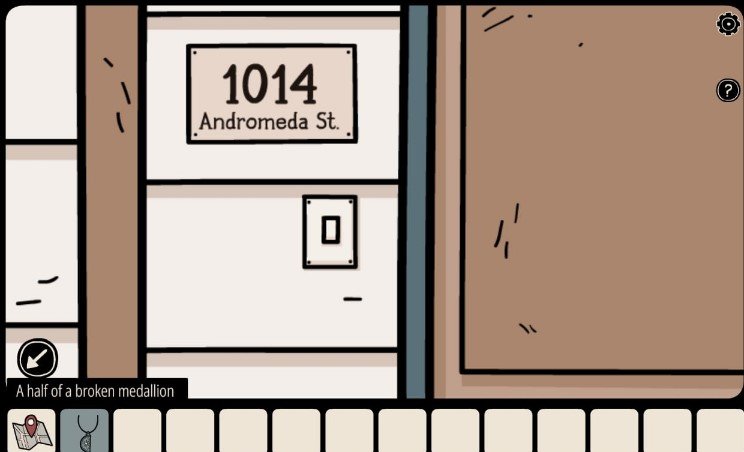
- The person leaves before I can finish the interrogation, so I ring the bell again and show her the Half of a Broken Medallion.
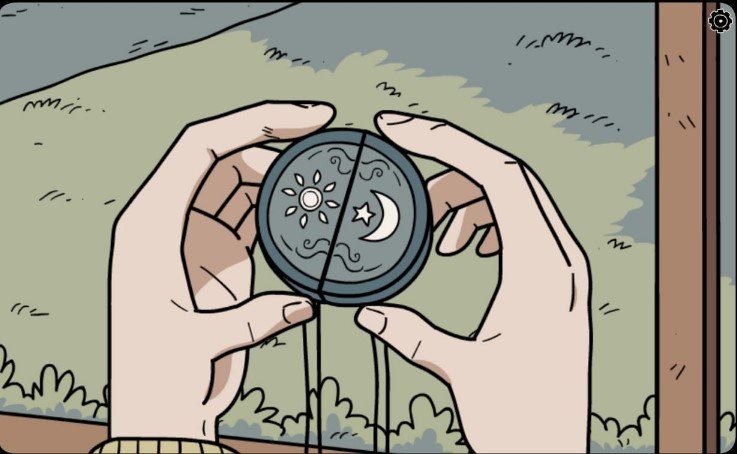
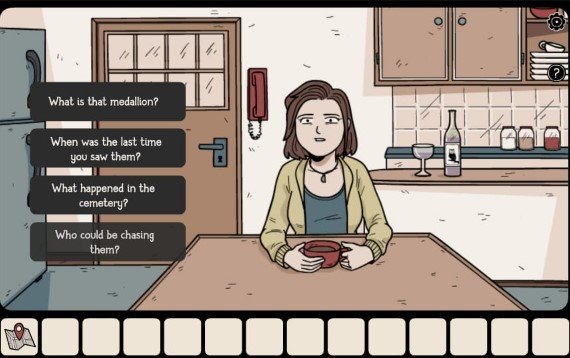
- The next scene takes place at the dining table, where I question the lady. My first question is about the Medallion.
- After I finish asking the questions, she gives me an image drawn by Mia.
- I open the map and select the newly available Graveyard location.
Graveyard
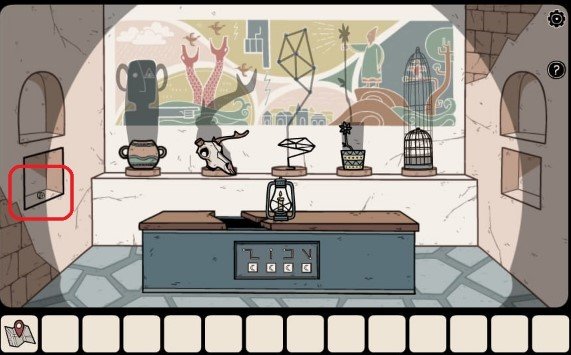
I visit the Graveyard to look for more clues. I can skip the introduction, and I soon find myself in front of a grave with several ancient objects placed on the shelf behind it.
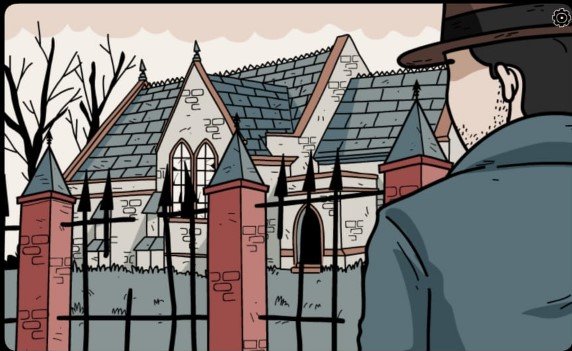
- I first collect the Lantern and Matchbox from the area.
- I combine both items in my inventory to create a Lit Lantern.
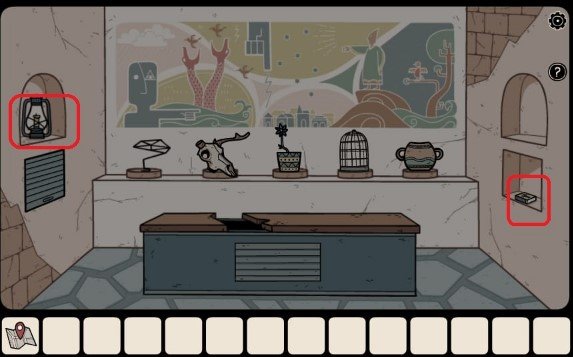
- I place the Lit Lantern on the grave to light up the area and reveal more objects.
- Once the lantern is placed, shadows appear behind the objects. I arrange the shadows in the correct positions shown in the image.
- Solving the shadow puzzle reveals another clue on the sidewall of the grave. I collect the Ring with a Strange Insignia.
Police Station
I return to the Police Station to investigate the newly found Ring with Strange Insignia. After checking the information, another location appears on my map: Store.
Store
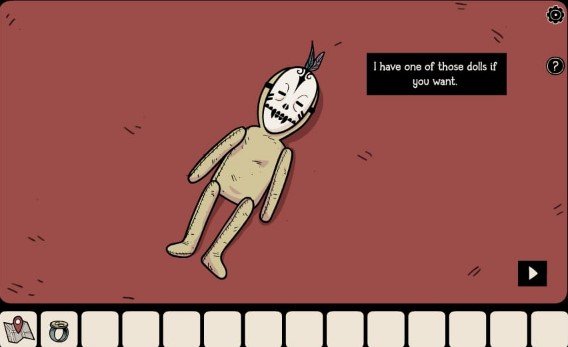
I open the map and visit the Store to investigate the ring and the bottle found behind Anna. The shopkeeper shows me a book and a doll.
- I collect the Doll and add it to my inventory.
- After checking the newspaper, a new location appears on the map called Mental Hospital.
- I go to the hospital to investigate the mad security guard.
- The nurse takes me to the room where I can talk to the mad man.
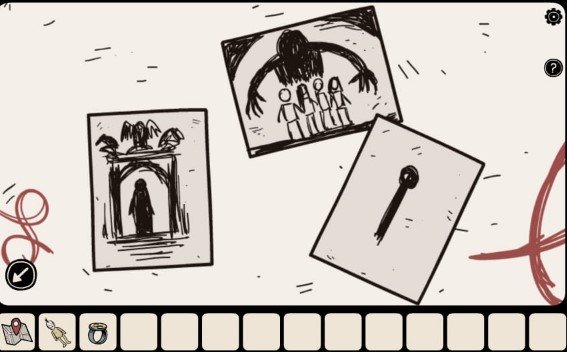
- I check the clues on the wall and listen carefully to the hints from the security guard. These clues are needed to unlock the secret passage below the grave.
Clues
- The wind blew strong at the start — Wind (1)
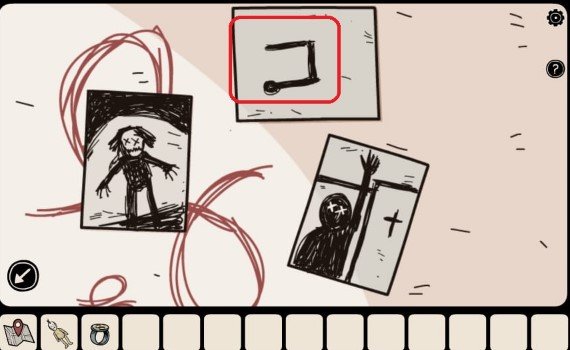
- Then the sun came out — Sun (2)
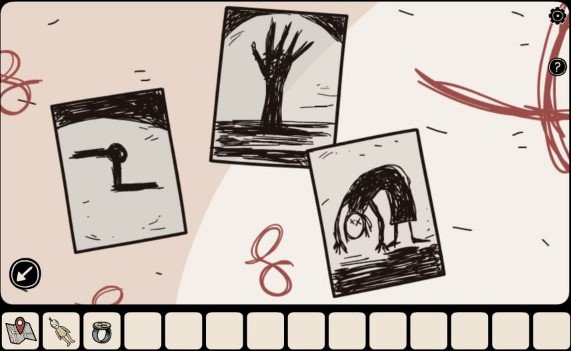
- The first and the last are the same — Wind at the last (4)
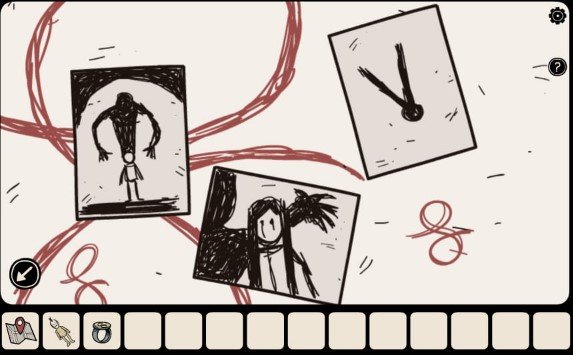
- One, two, three, the frog sings — Frog comes third on the grave (3)
Other Hints
- In the end, there will be fire — Fire
- But first, you will see the sea — Sea
- The moon will light up first — Moon
- And then the hurricane will come — Tornado
- After going through the secret passageway, I reach the ground floor where I find a trunk and several other items.
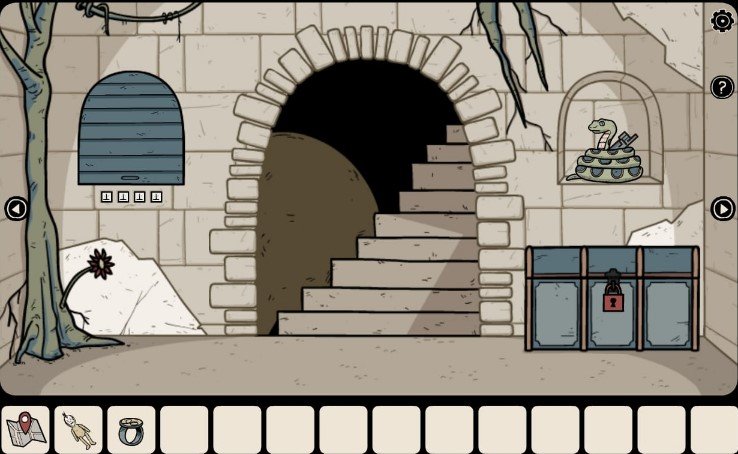
- Similar to the Murder House, the graveyard has four different rooms, and each one is fully furnished.
- I find a passage without a door and go through it to reach another side of the graveyard.
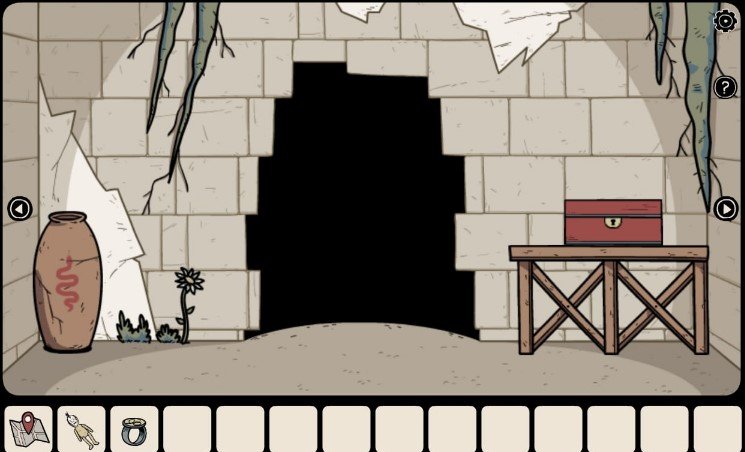
- Next, I find a room with four animal statues. I bring the statues to the table and arrange them so all of them become equal when they reach the same level.
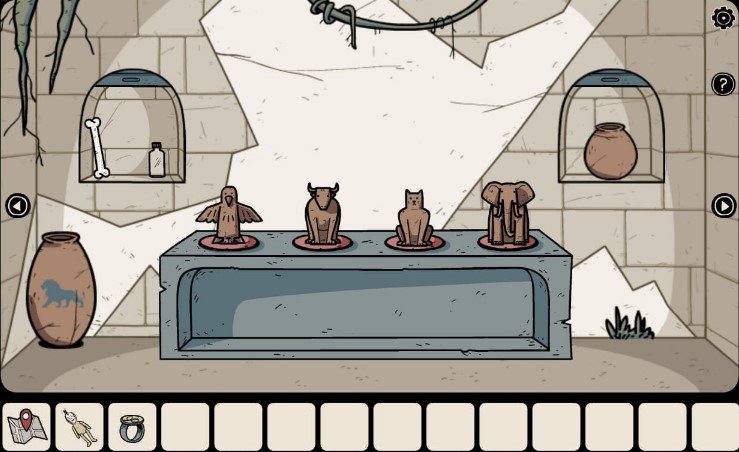
- Once I set all the statues correctly, two secret areas open and reveal a Pot, a Bone, and a Small Bottle.
- I collect the Bone and Small Bottle, then tap the pot to release a bee. I follow the bee and tap it whenever it lands on a flower.
- When the bee crosses the ruined tree, it comes to life. I tap all the Flowers and collect them, including the Mushroom.
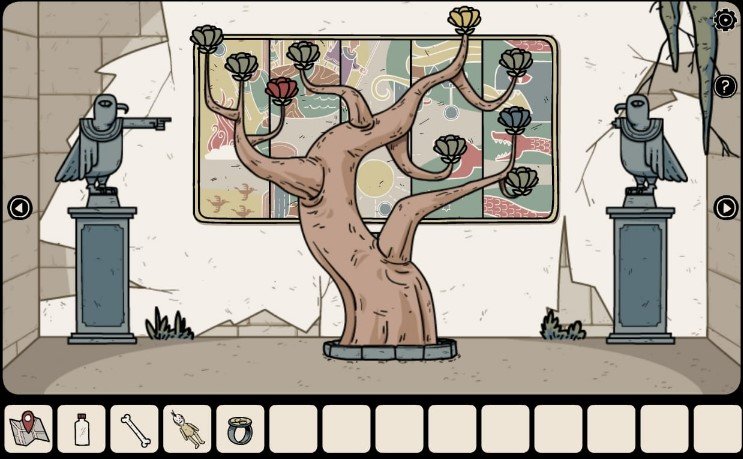
- Afterward, I tap the painting behind the tree and scroll through all its pieces to connect them correctly and complete the painting.
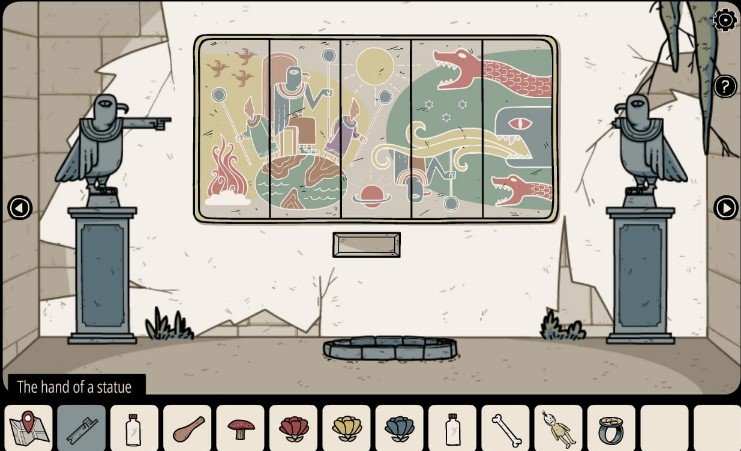
- After completing the painting, I collect a key and go to the room where a red box is placed on the table. I use the key from my inventory to open it and collect a Pestle, a Jar, and a Wooden Flute.
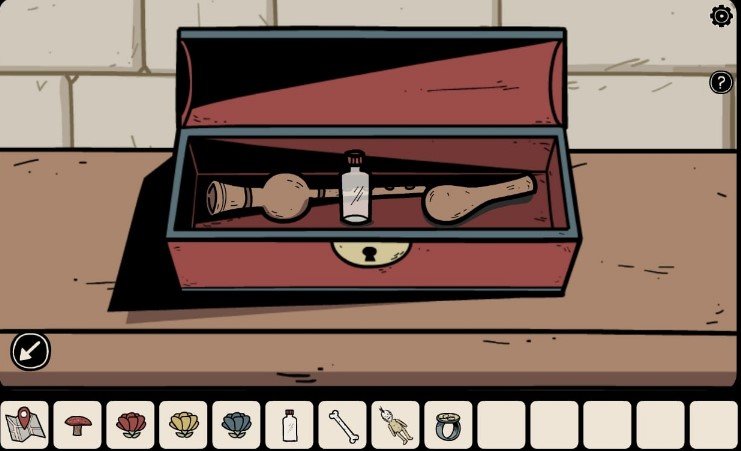
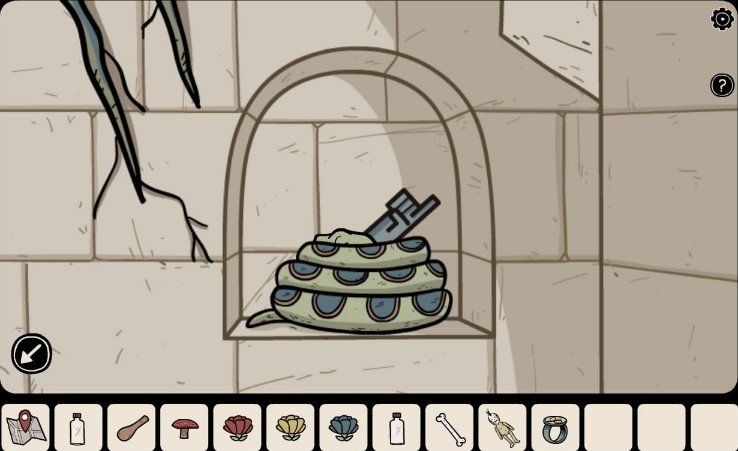
- I use the Wooden Flute to put the snake to sleep. Once it falls asleep, I collect the Hand of a Statue.
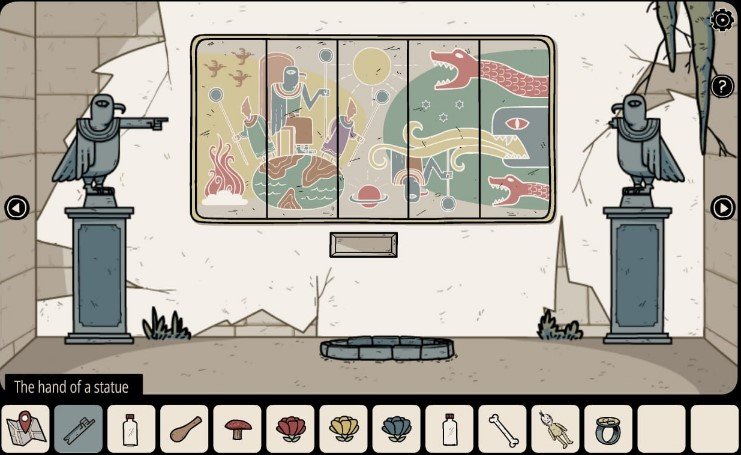
- I find two statues pointing at each other and use the Hand on the statue on the right side. This reveals a few shapes that I need to unlock another box.
- I go back to the first room and find a locker below the vent. I set the shapes revealed after fixing the hand to unlock it.
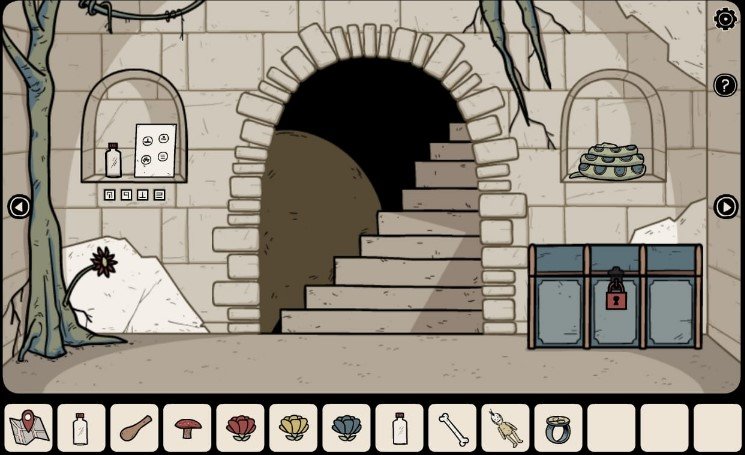
- After opening the secret area, I collect a Jar and a Note showing four flowers.
- I go through the dark passageway to find more clues and investigate the paintings on the wall.

- On the wall, I find a painting of four men in different colors pointing in different directions. I match their colors with the diagram on the paper and note the signs:
- Yellow: Flower and 9 o’clock
- Light Green: Three Circles, 4 o’clock
- Red: Three Triangles, 8 o’clock
- Dark Green: Three Lines, 1 o’clock
- I go through the dark door again and find a stone circle between two paintings. I set the rotating buttons correctly to unlock a Stone with a Sun Drawing and a handle that starts the water flow from the lion statues.
- I place the stone into the painting and get a key that I use to open the trunk in the main room.
- From the trunk, I collect an Hourglass and keep it in my inventory for later.
- I visit the area with the drawing of four men. On the left side, I find a pot that I use with the Pestle to make flower dyes. I fill the dyes into the jar one by one.
- After making the paste from all the flowers, I go near the statues and color the water as follows: Eagle — Yellow, Lion — Dark Green, and Red dye for the last statue. This gives me a stone with a Moon Drawing.
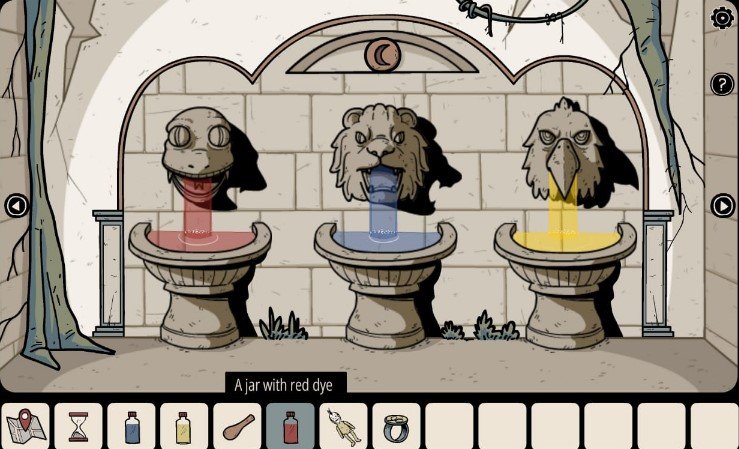
- I take the stone to the other side of the room where I previously placed a stone to get a key. On the right side, I find another painting and place the stone there to collect a Crystal.
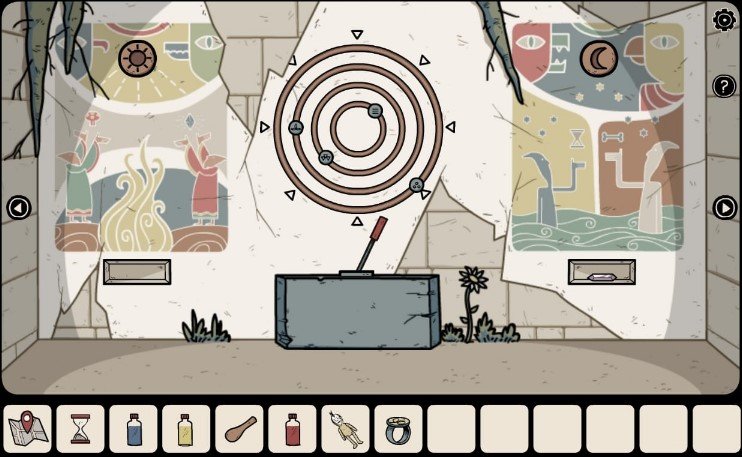
- I leave the area and go to another side of the room where I find two statues next to the lion’s room. I tap the door space between the statues to discover something unexpected.
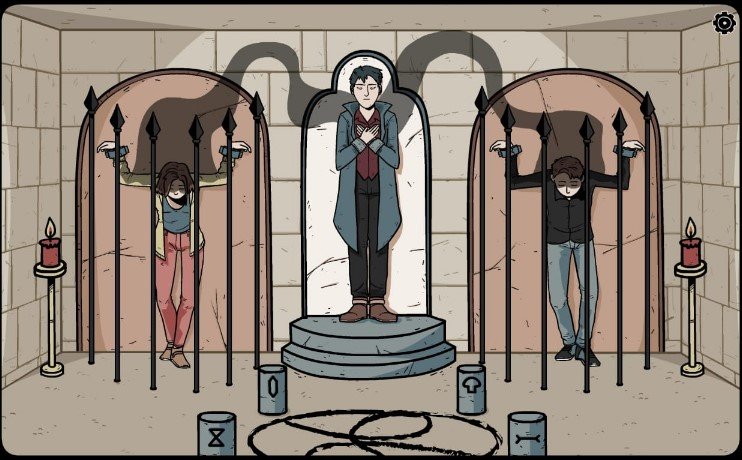
- I place the Hourglass, Crystal, Bone, and Mushroom on their respective boxes. I also place the Coal in the middle of the drawing to summon the souls.
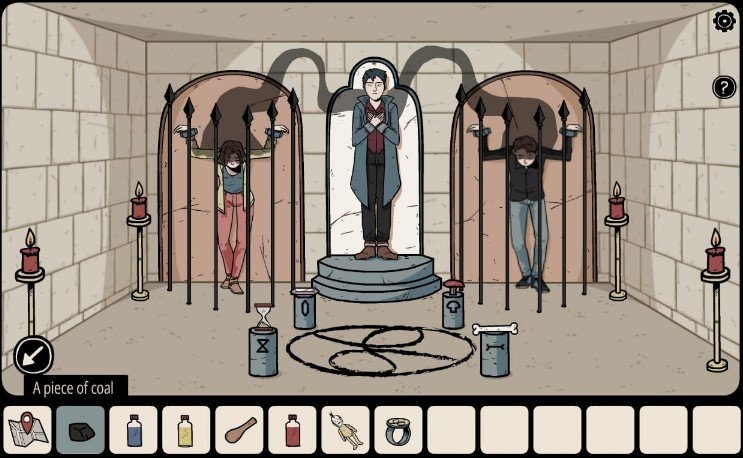
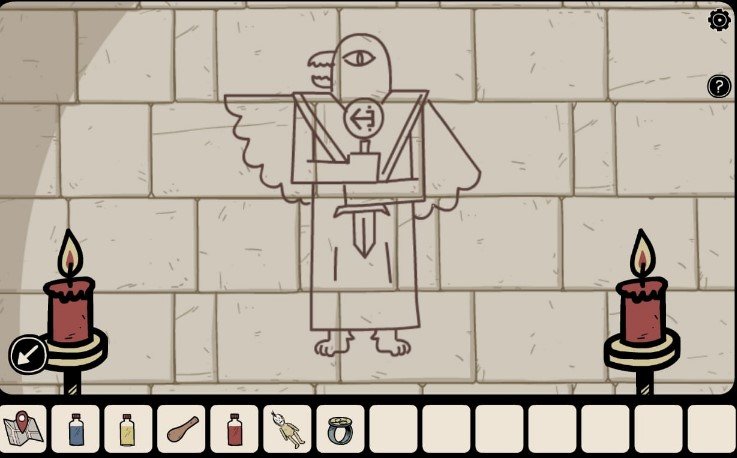
- I go outside the room and set the statues in the same positions shown on the wall. This unlocks Anna and another character.
- After that, the evil character gets angry and tries to destroy everything. I can change the ending by throwing both the Ring and the Doll.
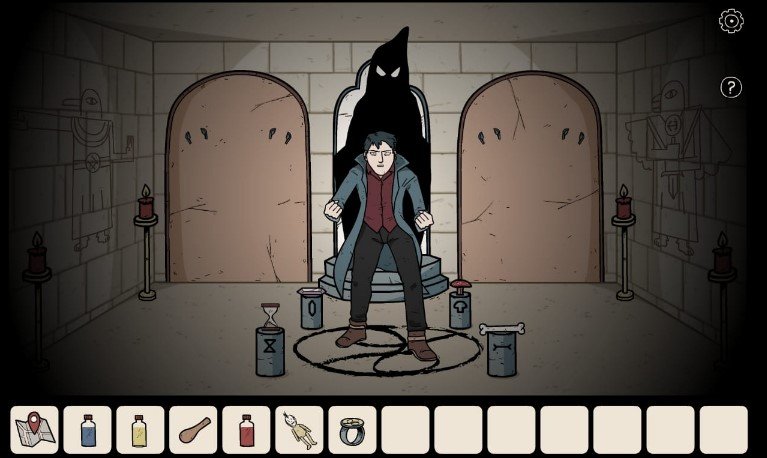
- Finally, I capture the victim and trap him inside the doll using his ring. However, this is not really the end. The game reveals that the shopkeeper who receives the doll from the detective is actually a witch who is killing everyone.