Complete Servant of the Lake with this complete walkthrough guide. Learn how to solve all puzzles, unlock achievements, collect hidden items, and reach 100% completion. In this walkthrough guide, I have covered every puzzle and how to find codes to complete mini-games. Follow the guide instructions to complete the game easily.
Servant of the Lake — Full Walkthrough
Day 1 — Morning: Front Yard
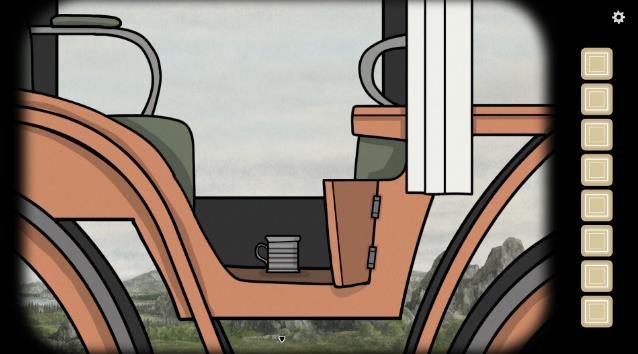
After arriving at the Vanderboom mansion, I get out of the carriage and go to the coachman to collect the first “tin cup.”
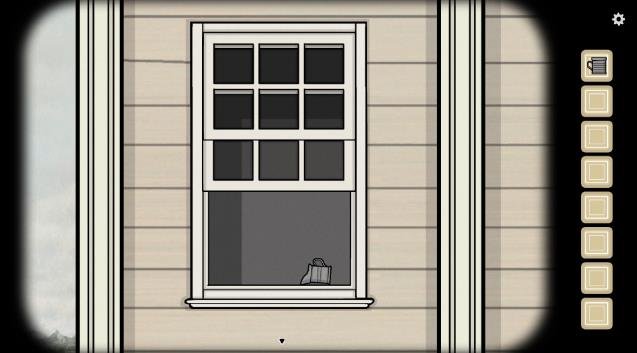
I go to the window on the left to get the second “tin cup,” and I grab the carrot while I’m there.
Then I take the two tin cups to the window on the right. I stack them from left to right according to the number of horizontal lines on each cup. This gives me the carriage fare for the coachman.
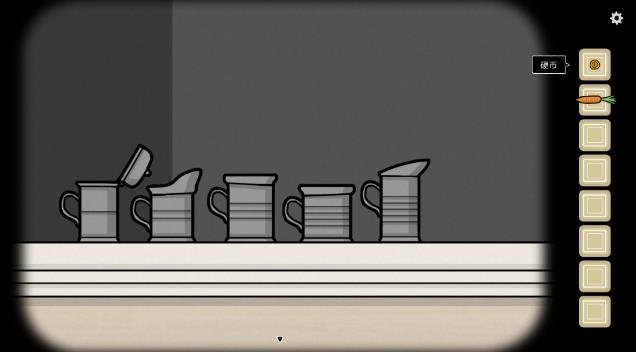
I give the coins to the coachman and the carrot to the horse.
(Before feeding the horse, I repeatedly click on its glasses to get the Front Yard hidden achievement.)
After they leave, I obtain an item that I use to pry open the wooden boards. I use it to remove the boards and take the key behind them.
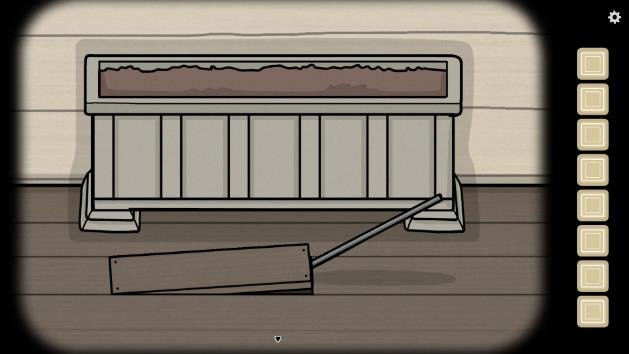
Once I have the key, I use it to open the door.
After entering the house, I talk to the maid to start the story. After the conversation, I take the raven feather she gives me and use it to sign my employment contract.
Unfortunately, I run out of ink while writing it.
I talk to the maid again afterward, and she gives me a notebook. The notebook tells me that every task has a hidden achievement.
Day 1 — Morning: Hallway
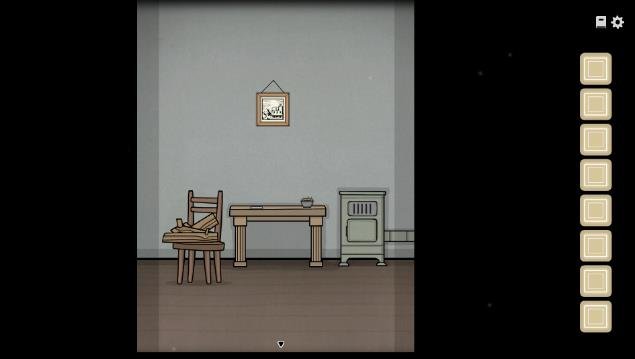
I enter the servants’ room through the door on the left and find some wood on the chair.
There is also a note and some oats on the table. After examining the note, it is automatically added to my notebook under the Archives section.
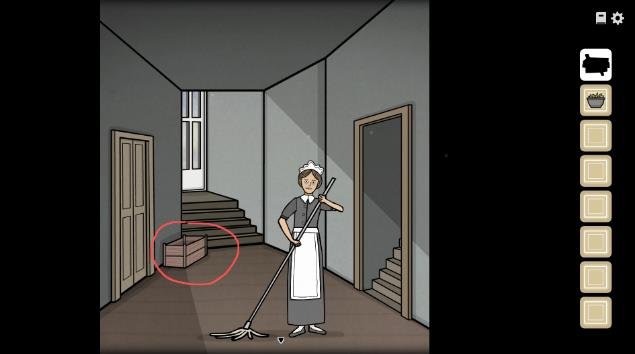
I collect the other materials first, then return to the servants’ room to make the oatmeal.
I leave the room and walk straight ahead until I reach the maid. I click the indicated item to obtain milk.
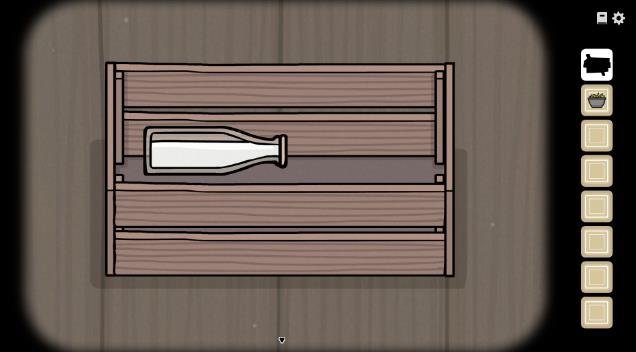
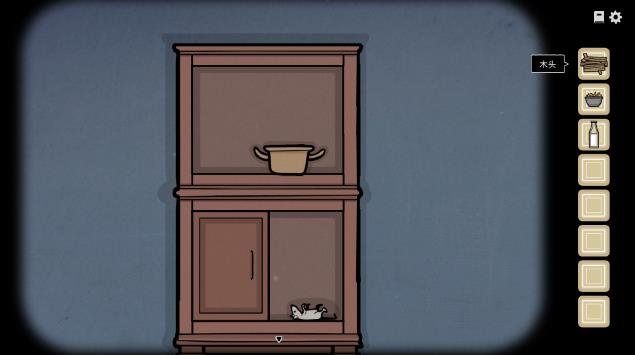
After getting the milk, I enter the room to the maid’s left. I find a small pot and a dead mouse near the cabinet. I take both and return to the servants’ room.
When I reach Rustie, the orange cat, I give it some milk first to unlock the Hallway hidden achievement.
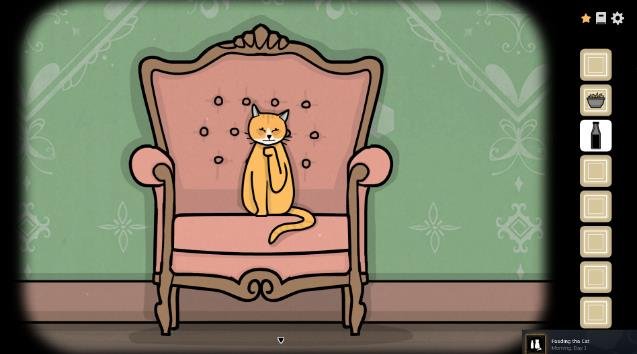
Then I feed it the dead mouse.
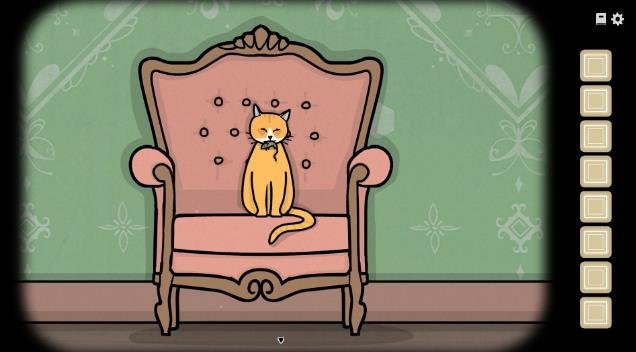
Afterward, I click on Rustie to obtain matches.
I return to the servants’ room and follow the instructions on the note. I add the milk and oats to the pot.
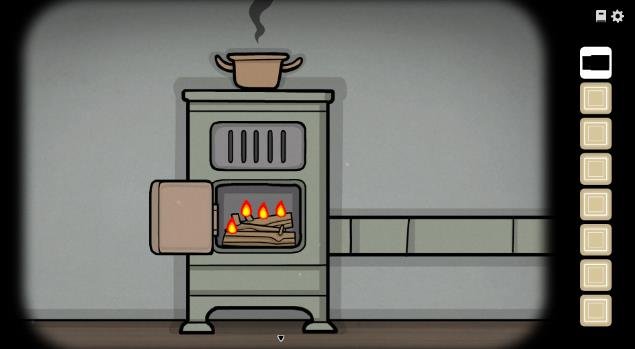
I also make sure to add the wood and light the fire!
Once the oatmeal is heated, I take it to Aldous’s bedroom to continue with the next task.
Day 1 — Morning: Aldous’s Bedroom
When I enter Aldous’s bedroom, I pick up his slippers first. I’ll need them later.
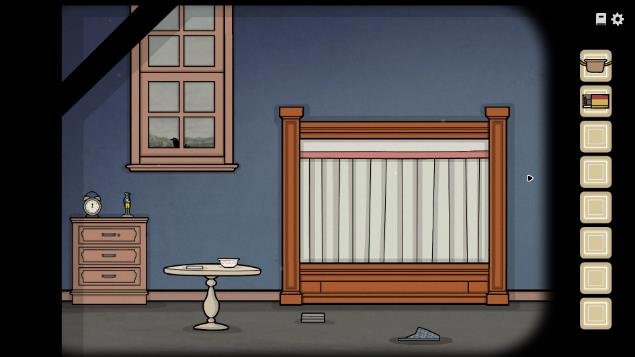
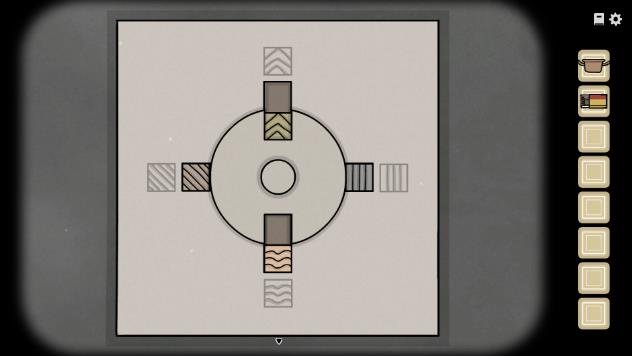
I click the small box near the slippers. In the middle, there are two square-shaped gaps. I place the four different shapes into their corresponding positions.
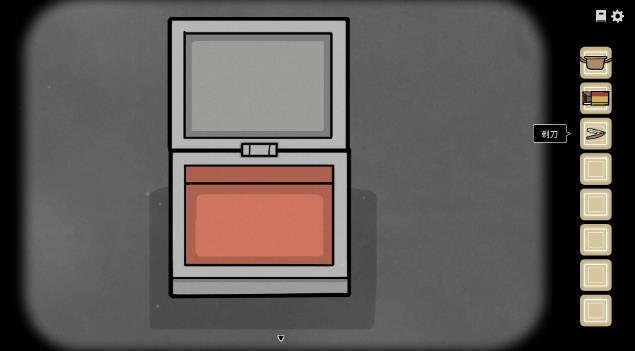
Doing this gives me a razor.
I go to the table and take the bowl and the next note.
Important: I have to follow the order given on the note, otherwise Aldous won’t wake up.
Step 1
I go to the white curtains. I click them and, while holding the button, drag them to the left to reveal Aldous.
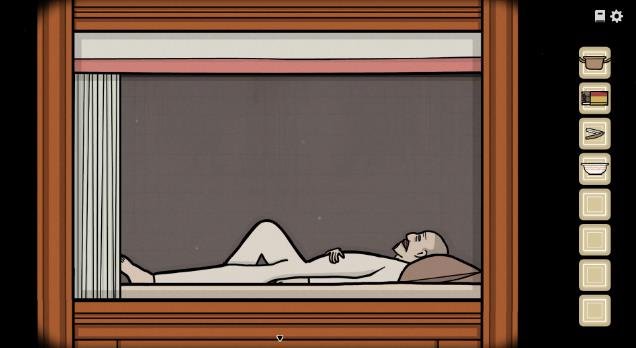
Step 2
I go to the figurine and take the pointer. I place it on the alarm clock.
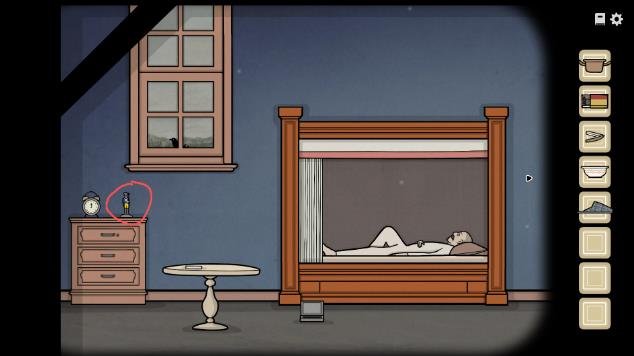
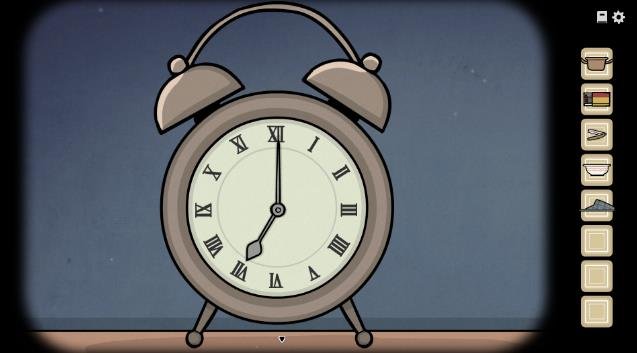
I set the clock to 7:00 to wake Aldous up.
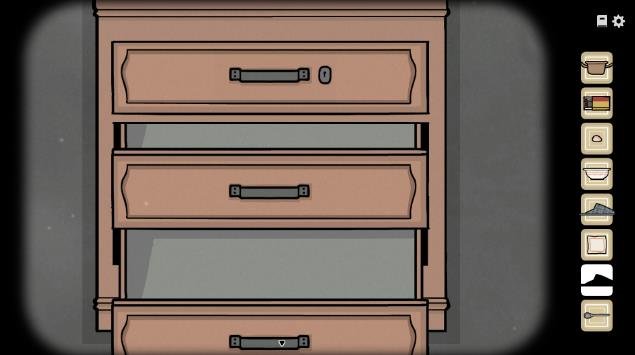
I also remember to take the other slipper and the spoon from the cabinet underneath.
I put the slippers on Aldous’s feet.
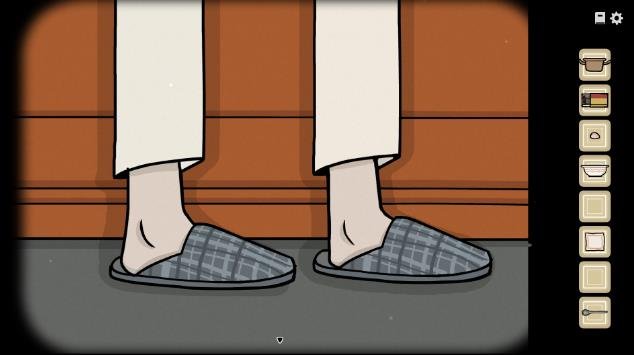
Step 3
I talk to Aldous. Following his instructions, I use the razor to shave him.
Then, through a completely accidental mishap, I cut off his earlobe.
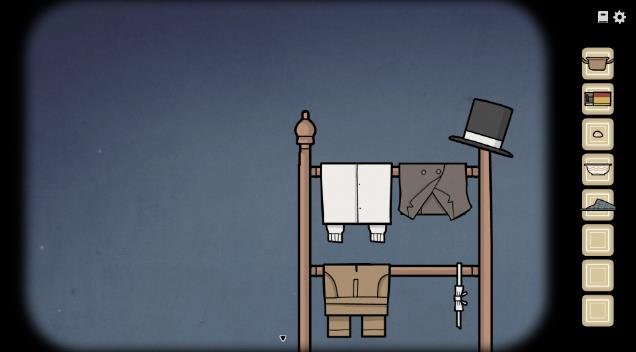
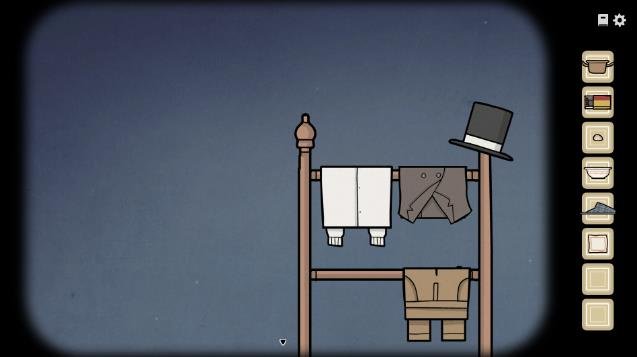
I take the earlobe and go to the clothes rack on the right. I move the pants aside and find a piece of cloth, which I use to clean his ear.
Step 4
I use the cloth to clean Aldous’s ear.
I still need one more thing, so I go to the window, open it, and feed the earlobe to the raven.
Once the raven flies away, I obtain a key.
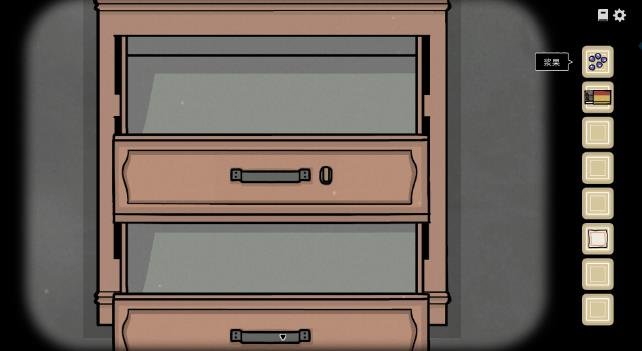
I use the key on the cabinet to unlock it and obtain berries.
Now I start feeding Aldous.
I give him the bowl and add the following:
- Oatmeal
- Spoon
- Berries
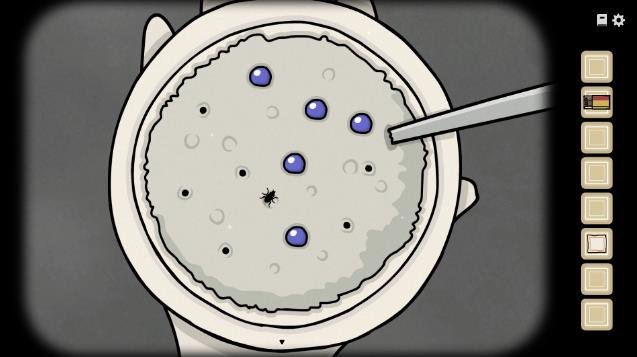
However, Aldous complains that the oatmeal doesn’t taste right.
I inspect the oatmeal and discover that there are bugs inside it.
I need to use the blueberries to block every exit the bug could use, allowing me to crush it.
Now I finally feed Aldous!
Step 5
After I finish feeding him, Aldous appears near the clothes rack and asks me to help him exercise for a while.
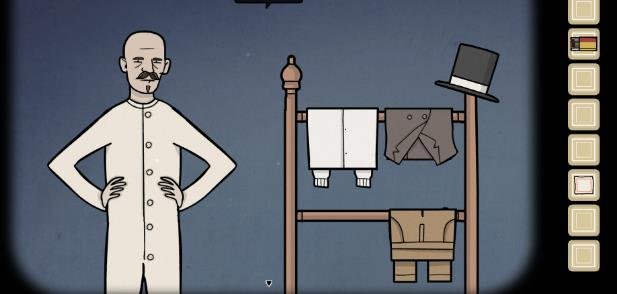
Before doing this, I randomly click on him and make him move around until he says that he’s stuck. This unlocks another achievement.
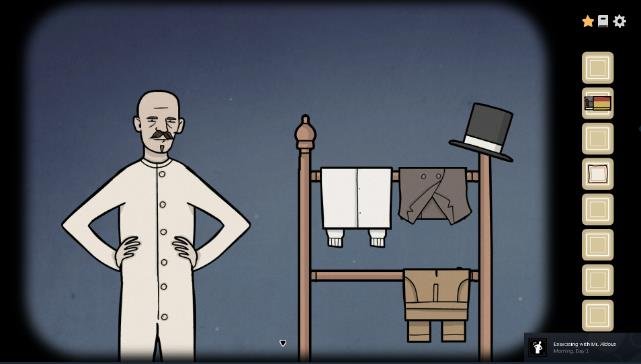
So, how do I do the exercise?
I go back to the little figurine and click it. It performs a sequence of movements.
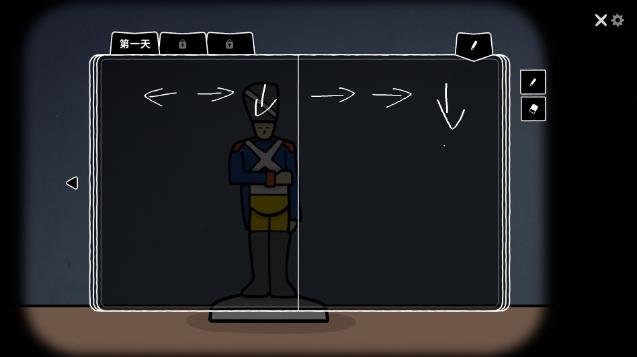
If I can’t remember the sequence, I write it down in the in-game notebook.
Then I return to Aldous and repeat the same movements according to the figurine.
Once I do it correctly, I help him get dressed.
Afterward, Aldous tells me that his younger siblings are almost here.
At this point, I check the window and click on the carriage.
Day 1 — Afternoon: Hallway
It’s now afternoon, and it’s time for me to start cleaning!
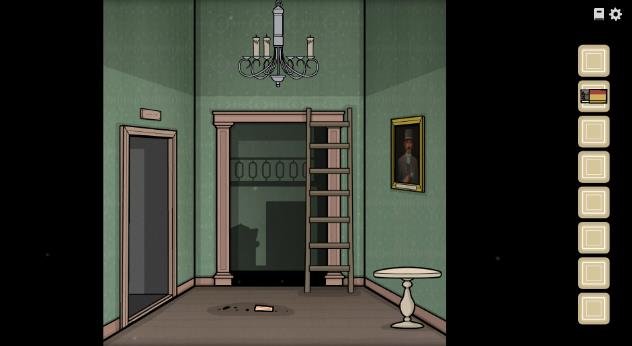
I take out the cloth and begin cleaning.
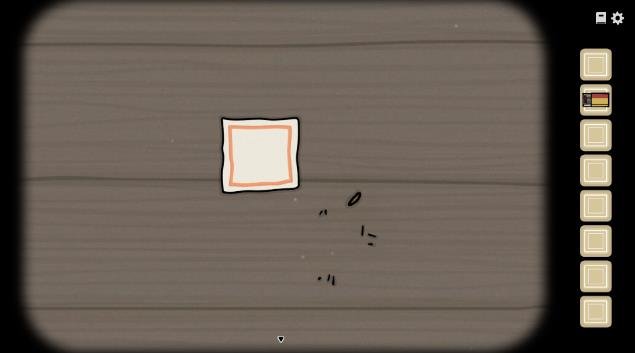
Then I go to the servants’ room, clean the floor, and take the candle from the table.
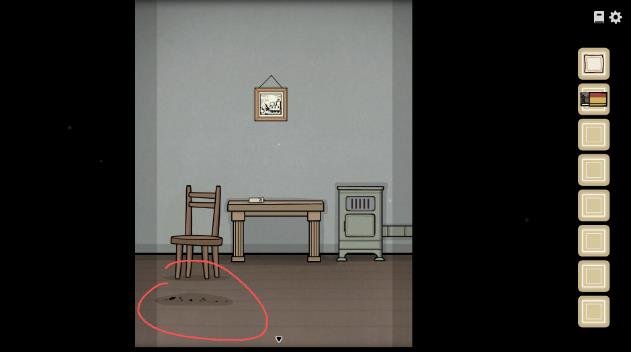
I leave the room and walk straight ahead to find the maid.
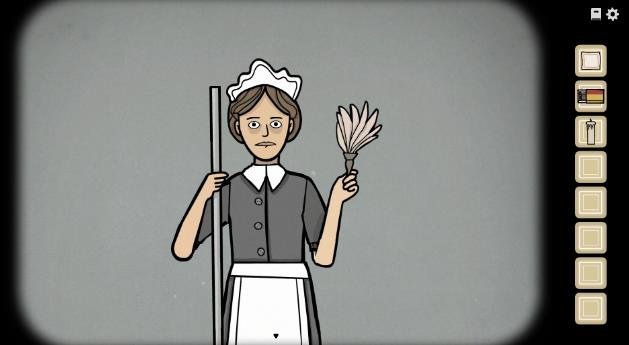
From the conversation, I learn that Mrs. Alexandra and Mr. William are about to arrive, so I need to clean the floor and prepare for them.
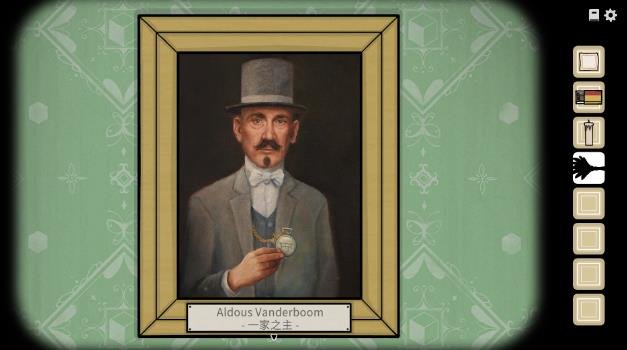
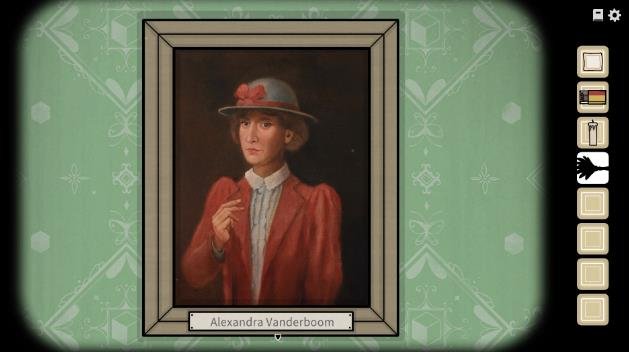
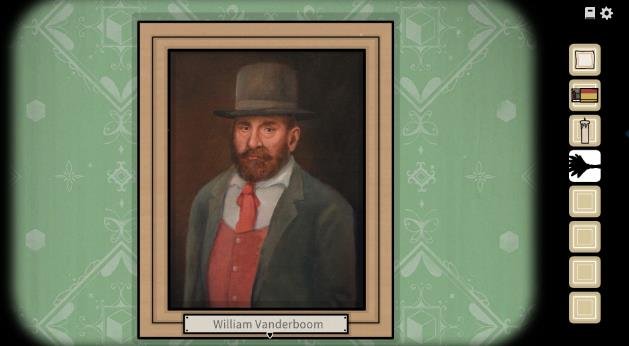
After cleaning, I talk to the maid again. She gives me a feather duster so I clean the dust off the portraits.
I use the feather duster on the three portraits.
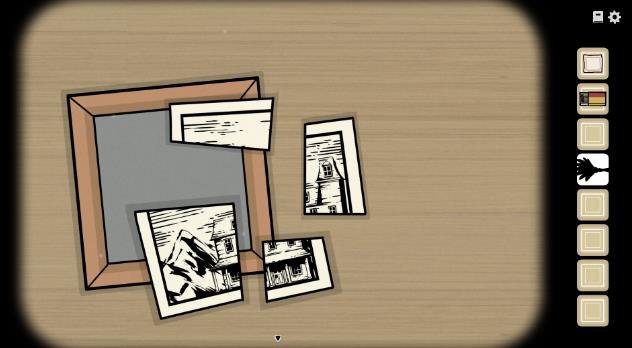
After cleaning them, I return to the servants’ room and repeatedly click the portrait with the feather duster. It falls down.
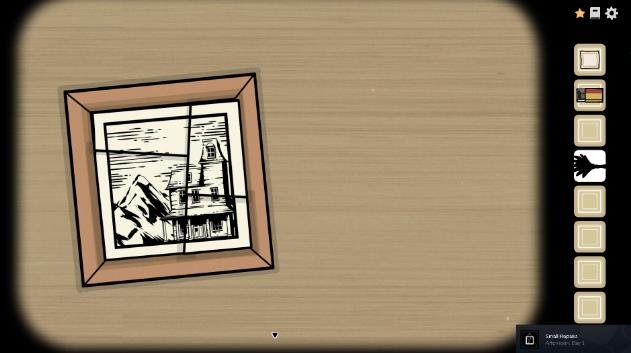
I put the pieces back together to unlock the Afternoon — Hallway hidden achievement.
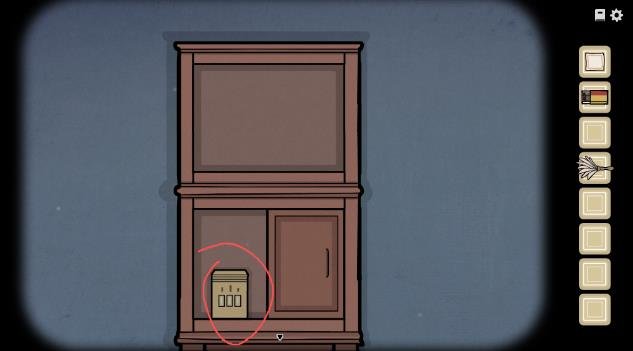
Each time I click the portraits, they perform a different action. These actions are clues for the combination lock on the cabinet.
The code is:
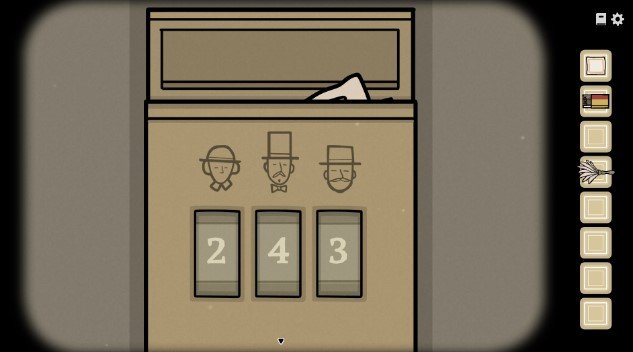
I open it and obtain another candle.
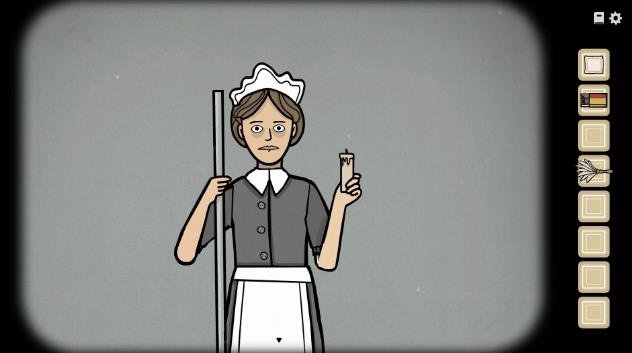
Finally, I talk to the maid to receive the last candle, then return to the chandelier.
I place all the candles I have into the chandelier and light them according to the shapes of the candles.
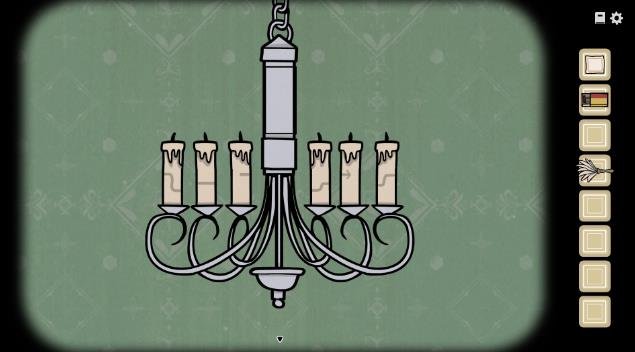
The order is:
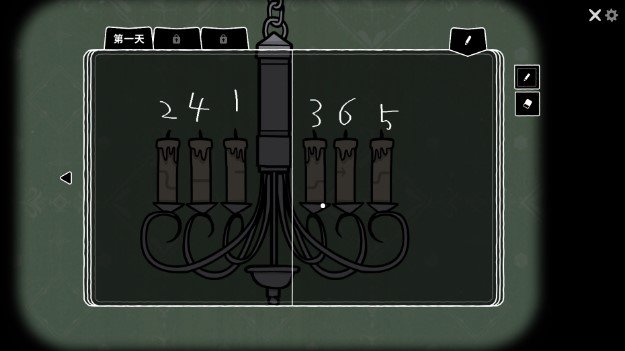
Once all the candles are lit, I talk to the maid. The garden door opens.
Day 1 — Afternoon: Backyard
When I arrive in the backyard, I see…
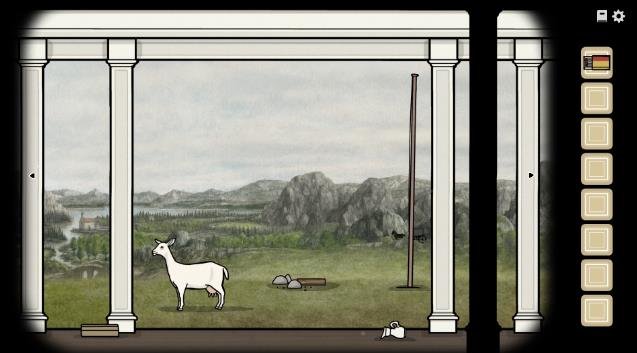
A sheep?!
I pick up the milk jug from the ground.
However, if I want the hidden achievement, I have to obtain a bouquet and feed it to the sheep first.
So, I get the bouquet.
I look to the left and see a flower pot with some flowers. I follow the clues on the flower pot and place the flowers in the correct order.
Eventually, I obtain a bouquet and a stone piece.
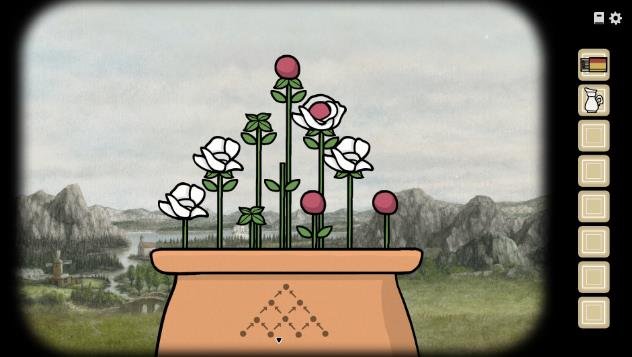
The arrangement is:
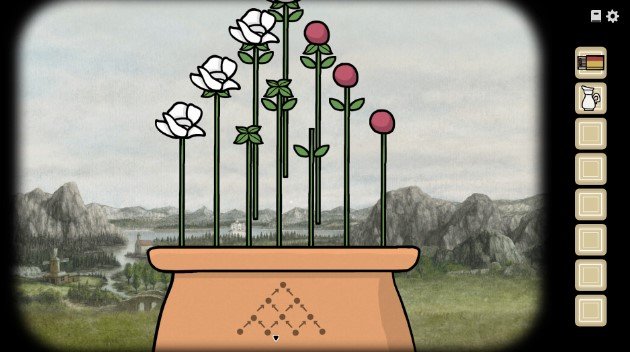
Now I feed the bouquet to the sheep. Afterward, I collect the sheep’s milk and the small key.
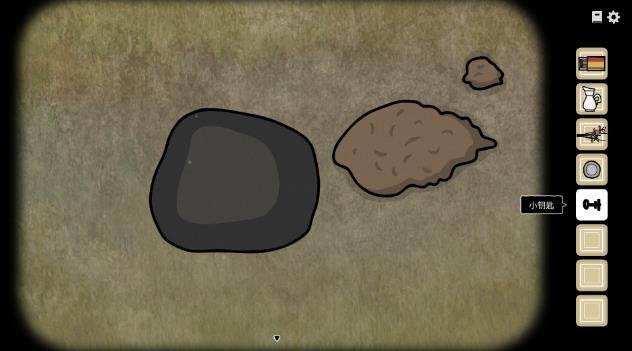
I use the small key on the mailbox to unlock it. I obtain another stone piece and a letter.
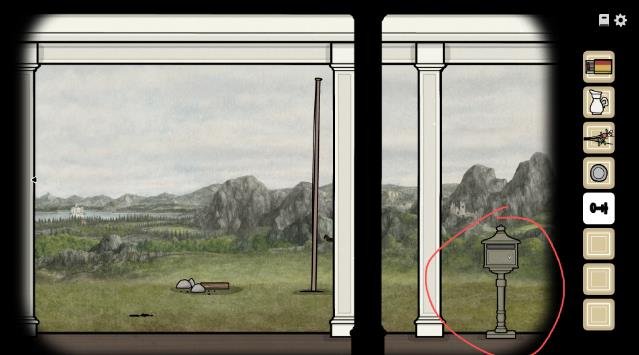
From the letter, I learn what task I need to complete.
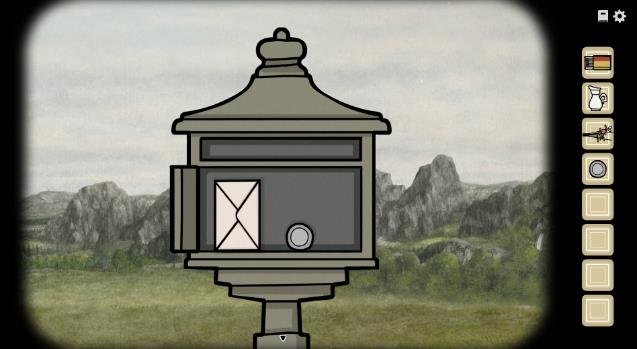
I won’t go into too much detail about that part.
Dealing with the Cockroaches
Now I need to deal with the cockroaches.
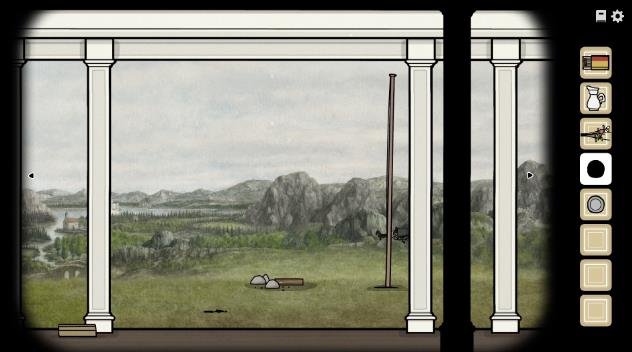
I find several cockroaches here. Since I can’t make a YouTube-style video showing the solution, I only explain the basic method.
I need the four-arrow stone.
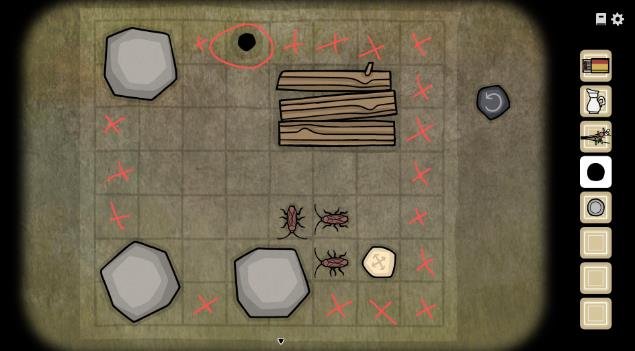
The stone controls the direction in which the cockroaches move:
- If I put the stone to the left of a cockroach, it moves right.
- If I put it to the right, it moves left.
- If I put it below, it moves up.
- If I put it above, it moves down.
I have to be careful not to drive the cockroaches into the areas I marked with an X.
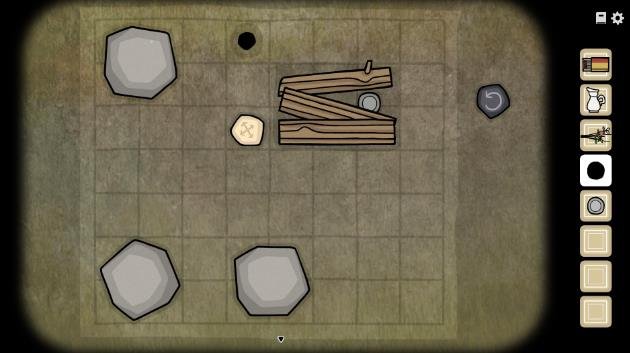
If they reach those corners or get stuck together, it becomes very difficult to guide them into the hole.
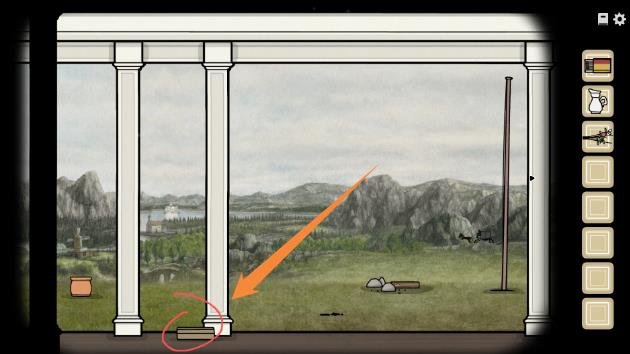
After dealing with the cockroaches, I receive the third stone piece.
Once I have all three stone pieces, I go to the stone-piece box.
I place all three pieces inside.
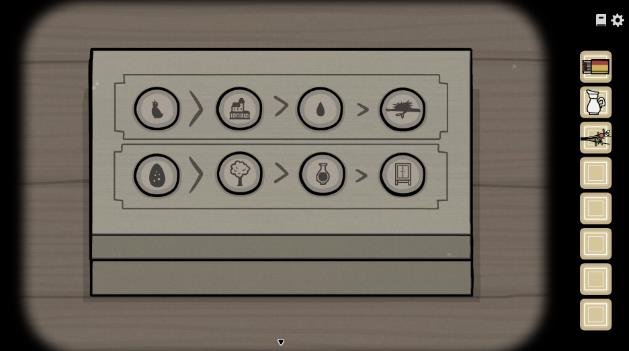
I arrange them into the correct final pattern:
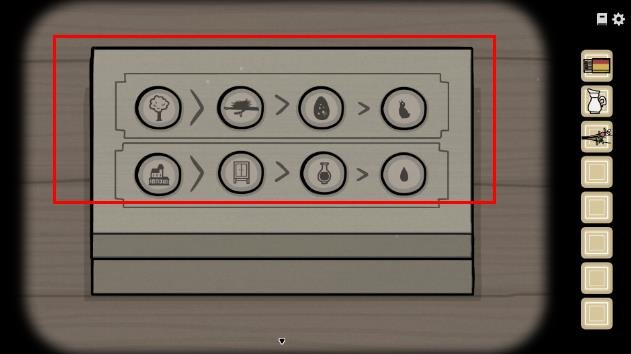
The box opens and gives me a flag.
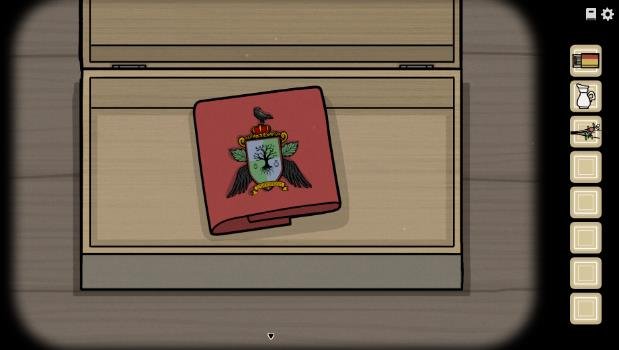
I take the flag to the flagpole.
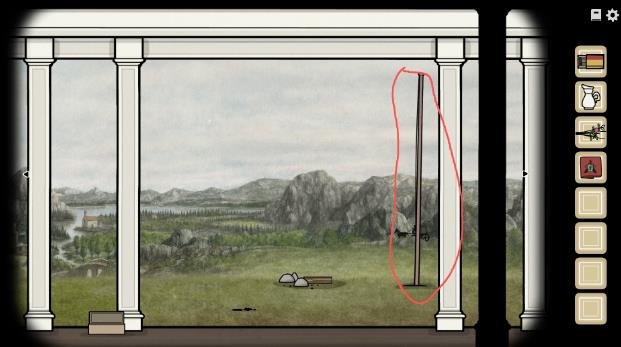
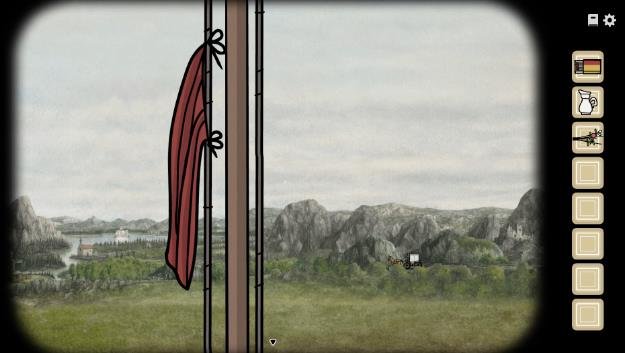
I attach the flag and raise it. The coachman on the other side sees the signal and comes over.
After waiting for a while, the coachman brings the carriage.
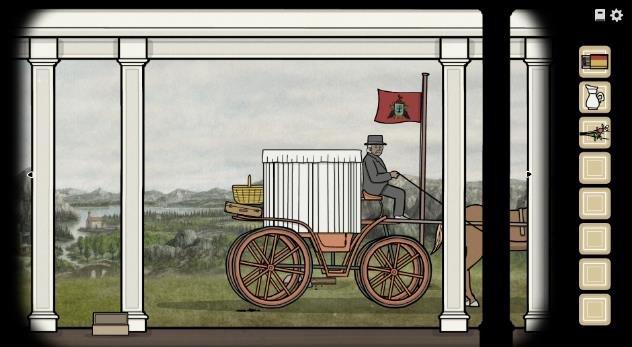
I then take the luggage from the back of the carriage.
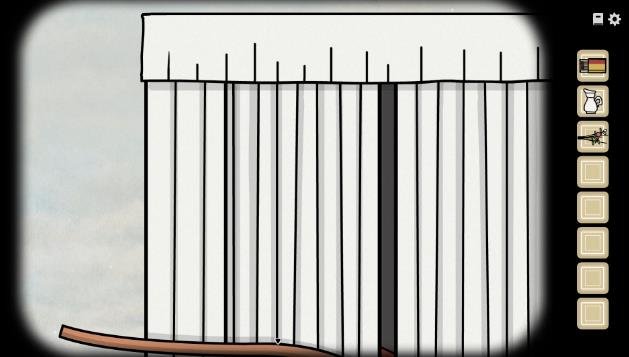
I pull back the curtain and see her.
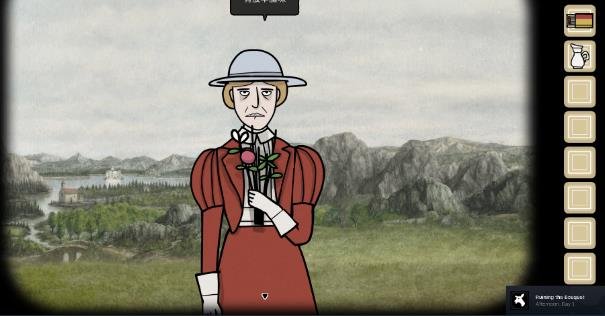
After she gets out, I talk to her. I give her the bouquet that was bitten by the sheep to trigger the hidden achievement.
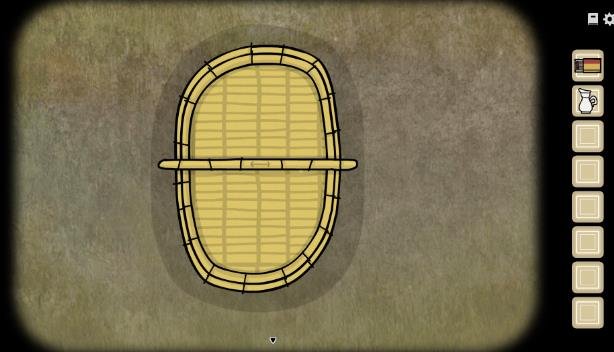
Next, I open the basket beside her. I pull the lid upward to reveal three-month-old James.
The code behind him is the code for the right side of the suitcase. I shake the basket to reveal the three-digit number.
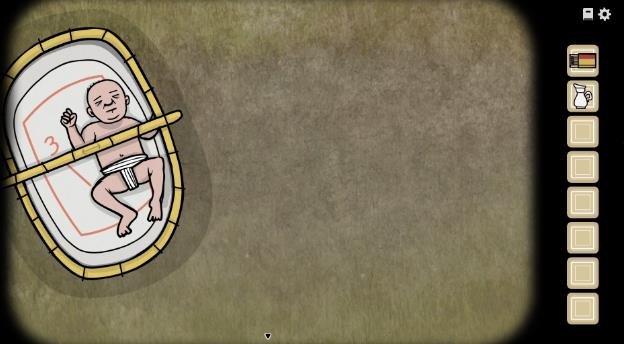
(The faster I shake it, the louder the crying gets. 😂)
I go to the suitcase and enter the code I discovered from the basket.
After entering it, I must not forget to press the square button on the left.
The code is:
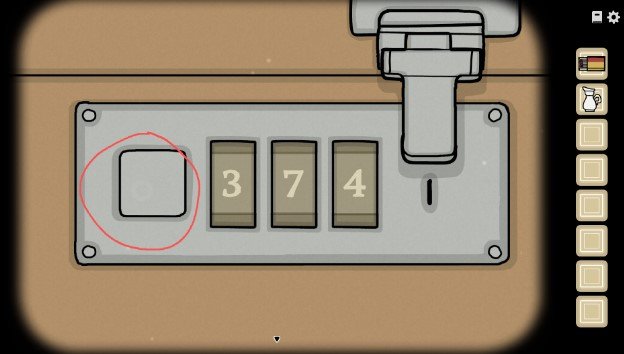
Inside, I find clothes of different shapes.
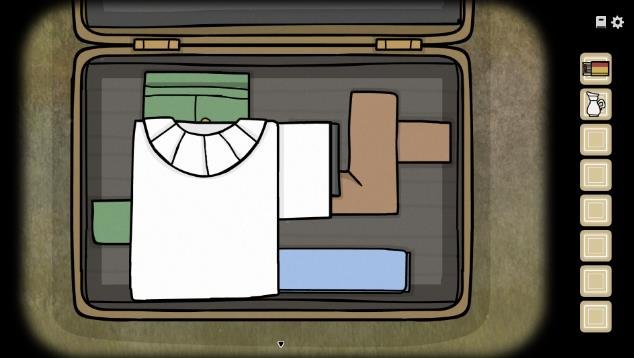
I simply arrange the clothes so that they completely fill the suitcase without leaving an empty space at the top.
The final arrangement is:
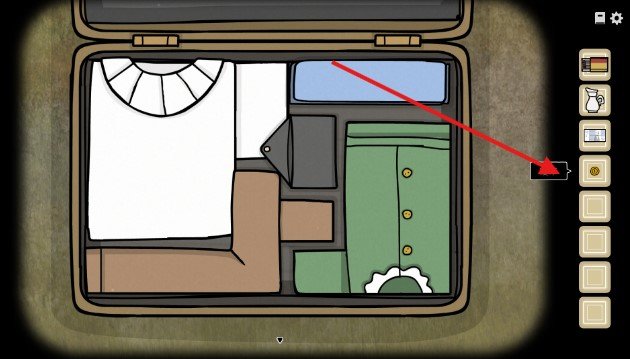
Afterward, I obtain the carriage fare for the coachman and the horse.
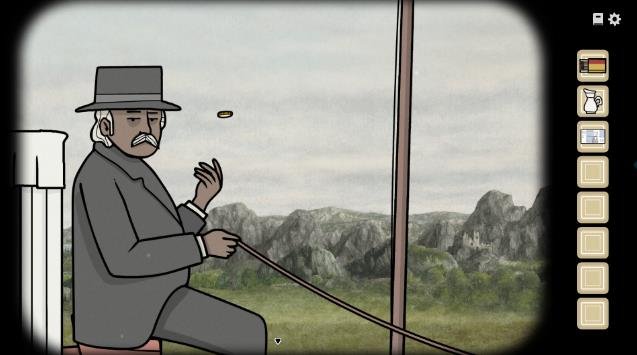
I give the coin to the coachman.
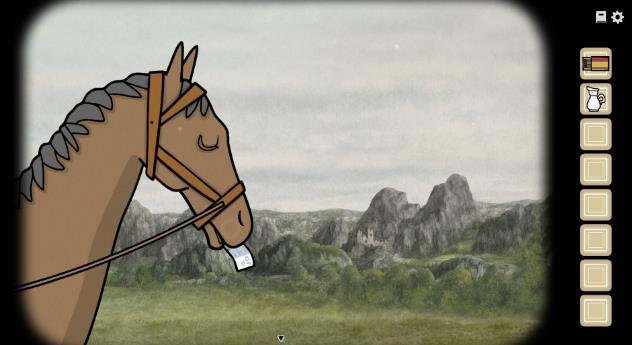
I give the banknote to the horse?
Then I talk to the coachman and the lady, and the game moves on to evening.
Day 1 — Evening: Hallway
The guests have arrived. It’s time for me to prepare some tea!
Hidden Achievement Warning
If I want the hidden achievement, I must not click on the orange cat yet.
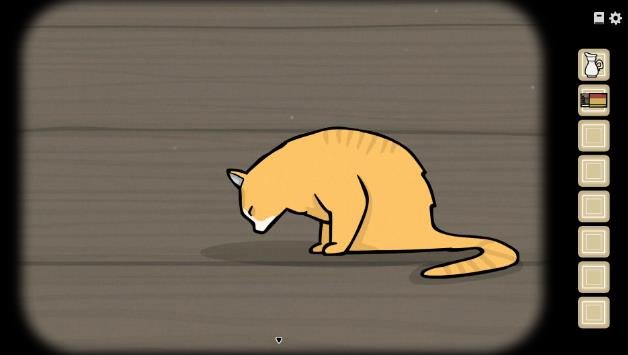
If I do, it spits out a sticky substance and leaves.
If I’ve already done this, I reset the chapter.
First, I go to the servants’ room. I find the maid sitting there, and the hot water is already prepared.
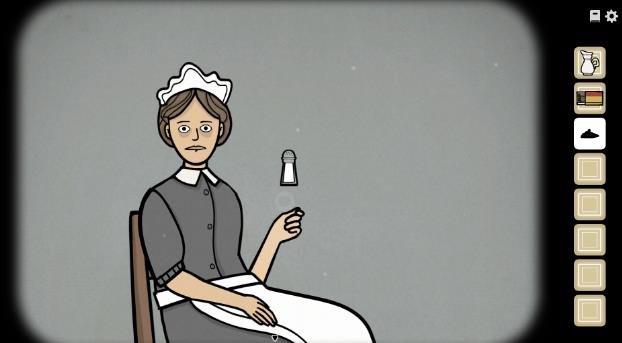
I talk to her to receive sugar.
She warns me:
“Be careful when adding the sugar.”
This is foreshadowing.
I take the hot water and the tea leaves from the table, then go find the lady.
Before I reach her, I give the cat some tea leaves to obtain the sticky substance.
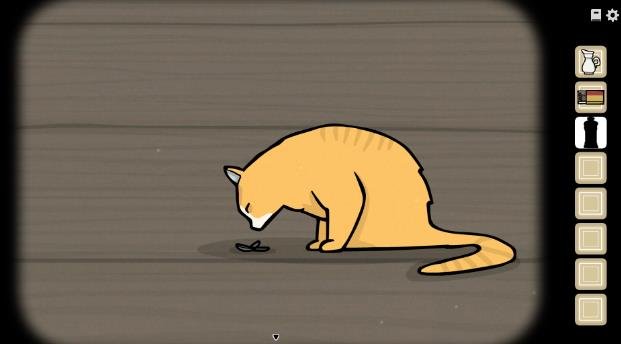
I continue walking straight and encounter the lady.
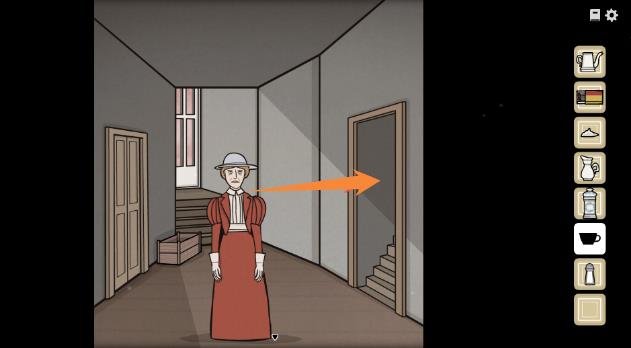
Before making her tea, I go to the room on the right and get the teacup.
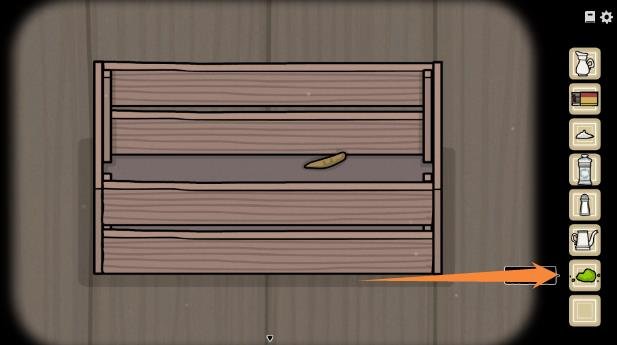
Then I click the basket behind her to obtain green powder.
When she asks for tea, I give her the teacup and add the following in order:
- Hot water
- Tea
- Milk
- Green powder
This unlocks another hidden achievement.
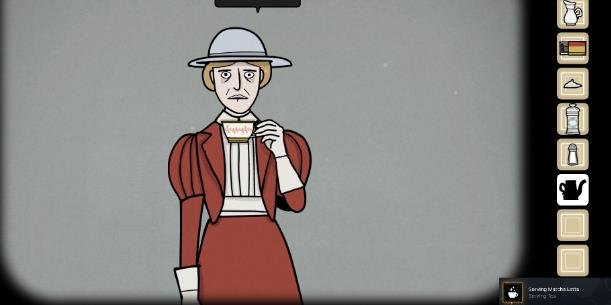
If she says the tea isn’t sweet enough, I add sugar.
Then… oops!
I drop the cup and it shatters.
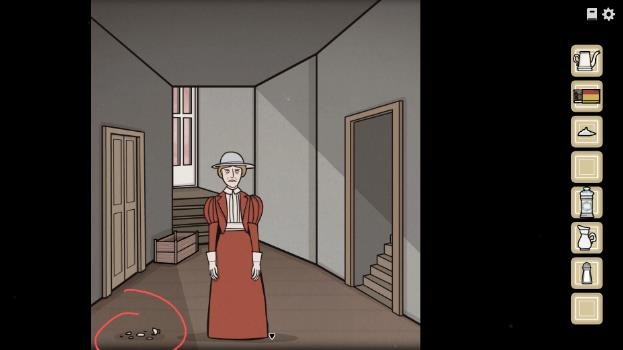
I have to put the pieces back together on the floor.
The repaired cup should look like this:
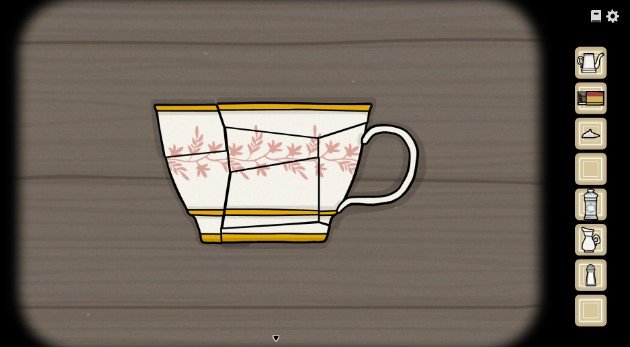
I don’t forget to use the sticky substance to glue it together before picking it up.
Now I repeat the tea-making process, but this time I add two extra spoonfuls of sugar.
This triggers a new conversation.
The living room door then opens, allowing me to enter the living room.
Day 1 — Evening: Living Room
I’ve now entered the living room.
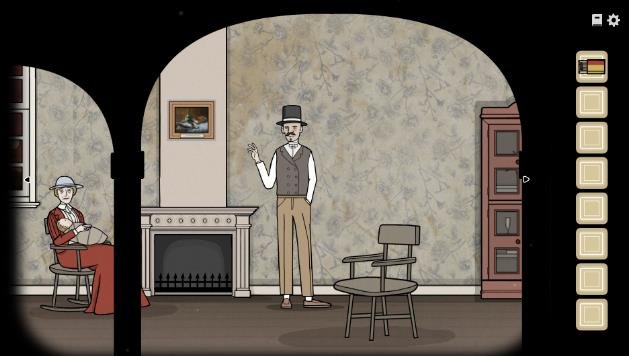
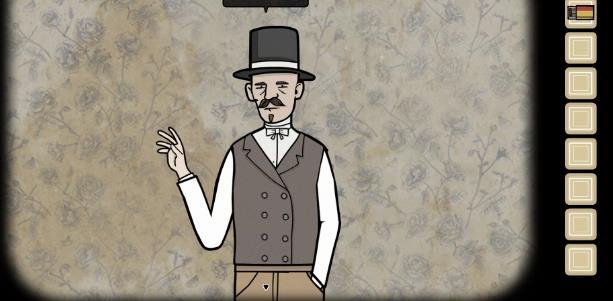
I talk to him first, then look for the wine glass.
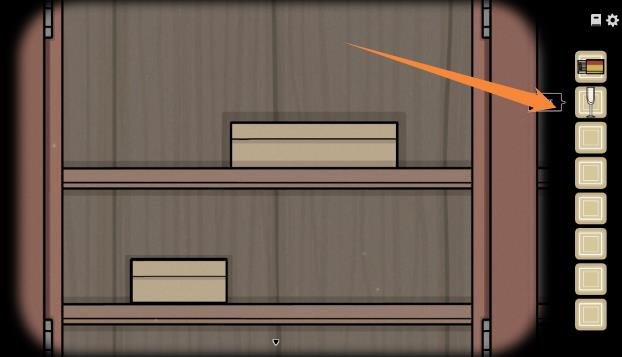
The wine glass is located on the lower shelf of the red cabinet on the right.
Then I click the box on the right.
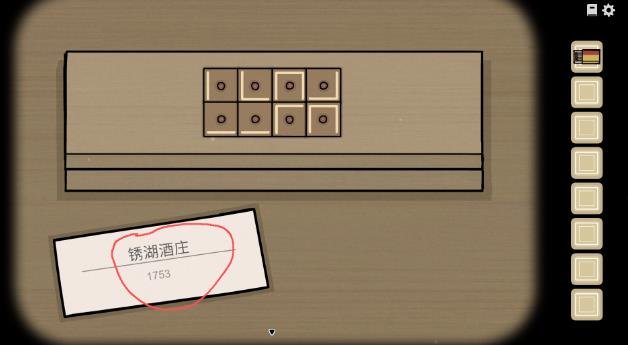
Using the clue from the note about Rusty Lake Winery, I arrange the numbers to form:
1753
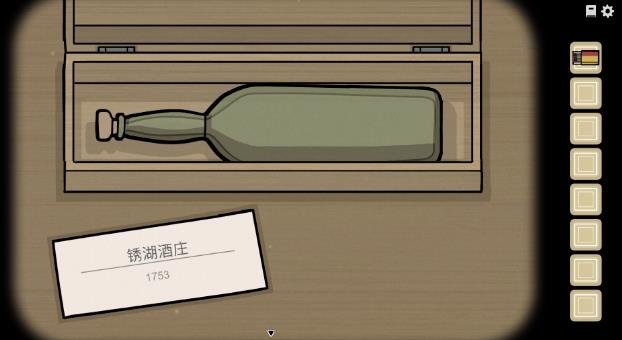
The completed arrangement should look like:
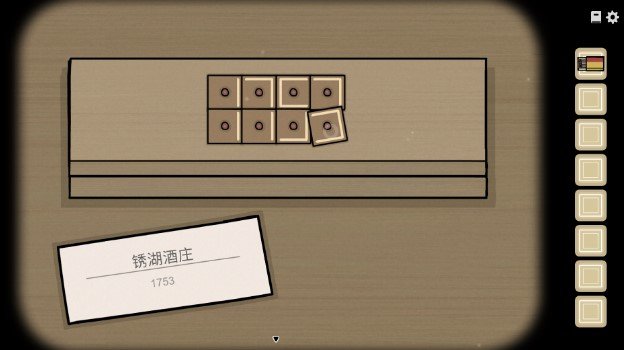
I give him the wine glass and pour in the champagne.
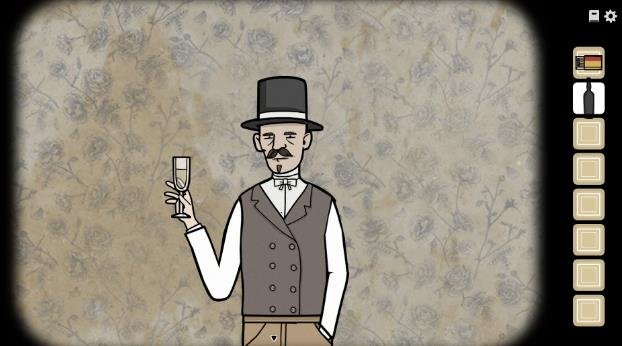
I talk to him afterward, and he tells me that his brother has arrived.
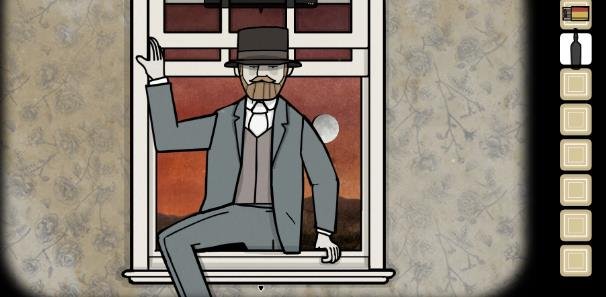
I check the window and see his brother there.
He says that he’s very thirsty.
I must not give him the drink yet.
I give the drink to James (the baby) first to trigger the hidden achievement.
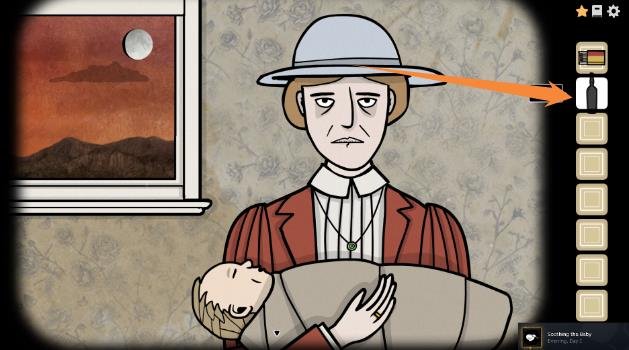
After triggering the achievement, I give the drink to Aldous’s brother and talk to him.
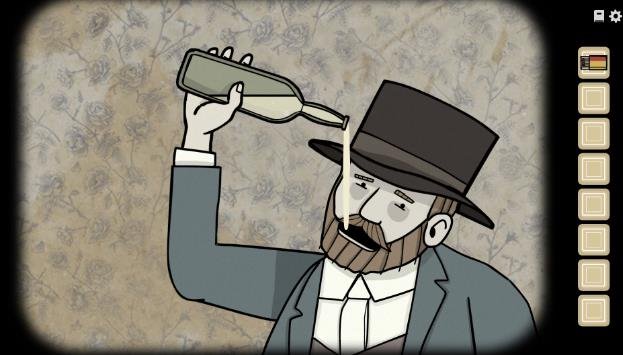
He asks me to get him a cigar.
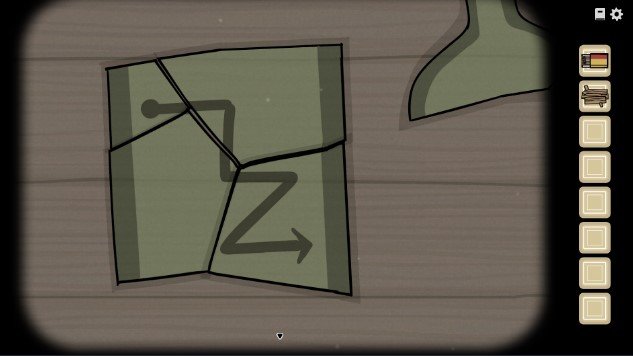
I look at the floor and see that the glass bottle he threw has shattered.
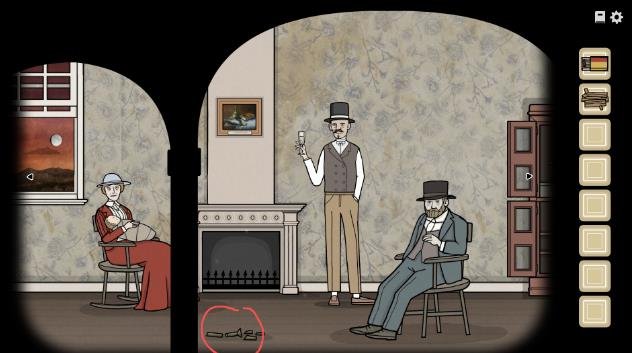
I put the pieces back together like this:
Then I return to the place where I found the wine glass.
I click the small box to reveal a 9-button grid.
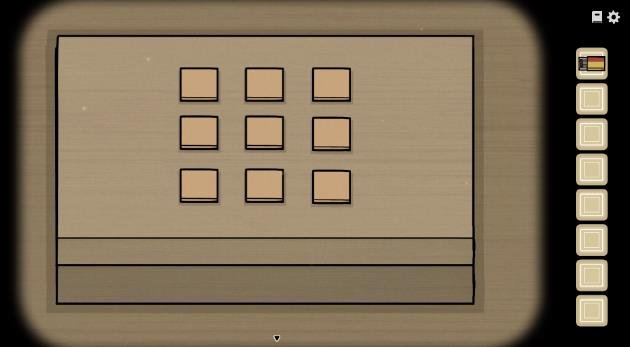
I need to press the buttons according to the clue I obtained near the wine glass.
The order is:
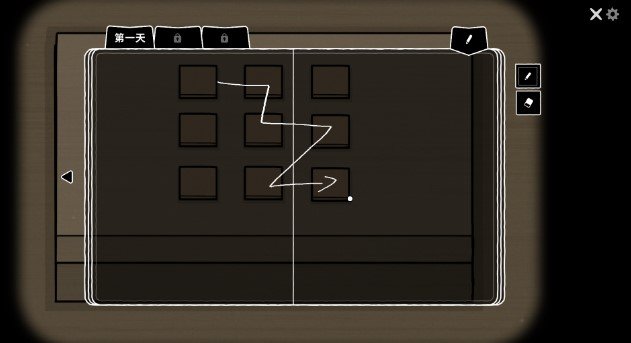
I obtain the cigar.
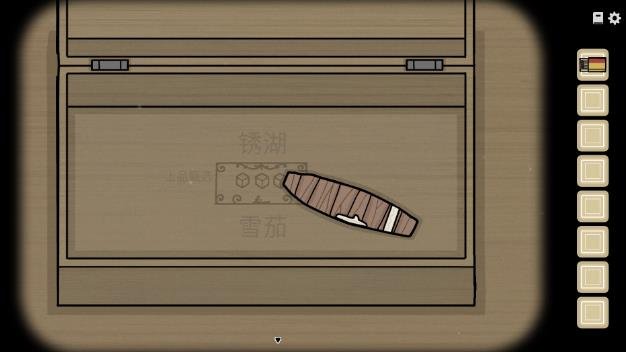
I light the cigar for him.
I click the cigar several more times, and he swallows it.
His mouth then catches fire!
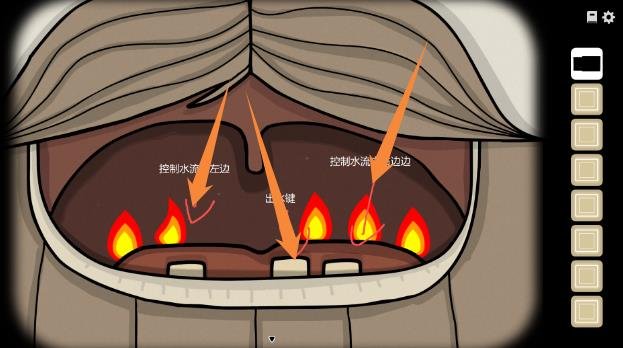
I need to click his teeth to put the fire out.
- I click the teeth on the left or right to control which direction the water flows.
- The middle tooth releases the water.
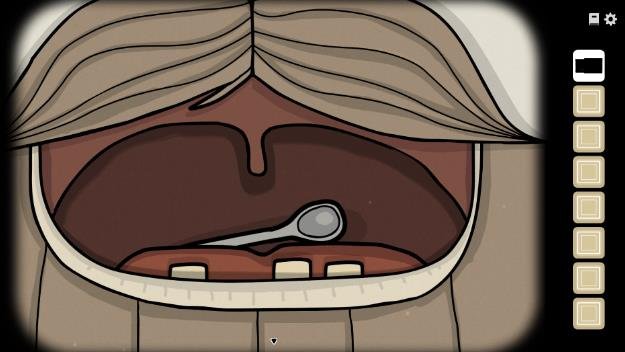
After putting out the fire, I obtain a spoon.
I check the table and find three pieces of cheese and a recipe.
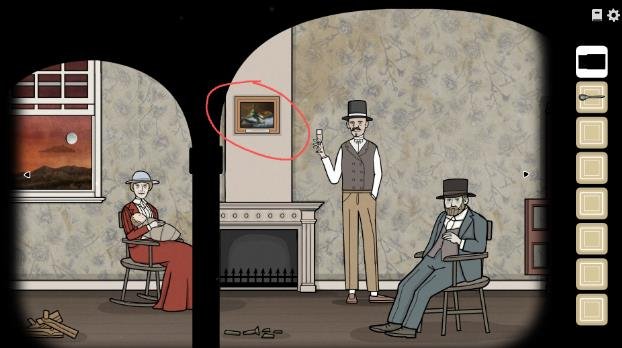
Making the Fish
First, I need to obtain a fish.
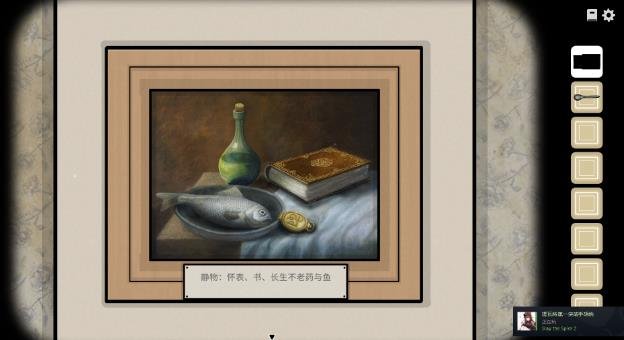
I click the painting on the wall.
I follow the instructions in the text and click the objects in the painting in the correct order.
The order is:
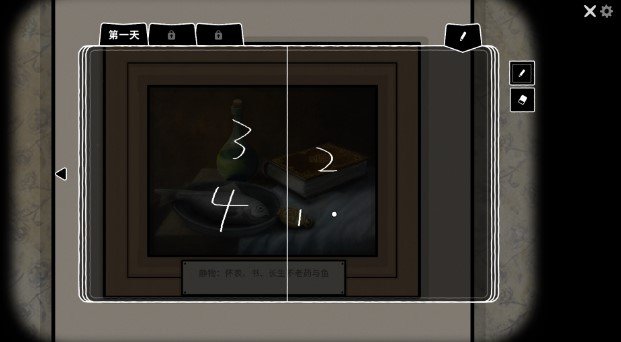
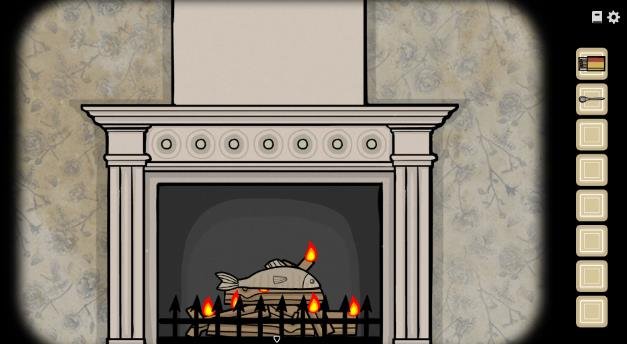
Once I have the fish, I take the wood and roast the fish.
Now I need to prepare the protein.
I go to the upper section of the red cabinet and find this puzzle.
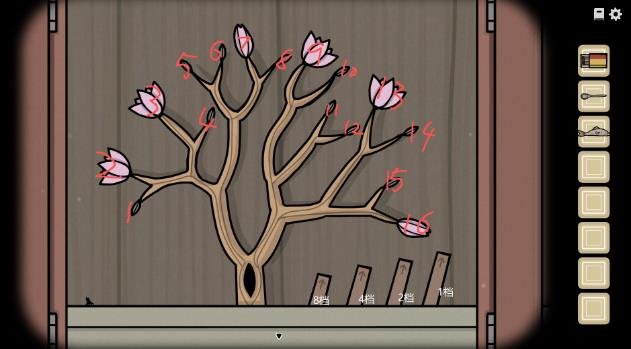
I think of it like addition.
The starting value is 1.
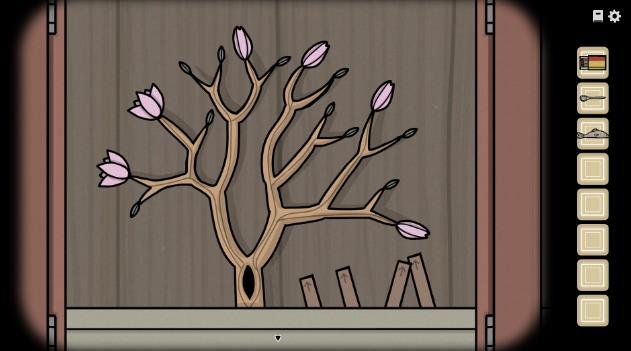
If all four switches are pushed to the left, the result is position 1.
My goal is to open all six flowers.
For example:
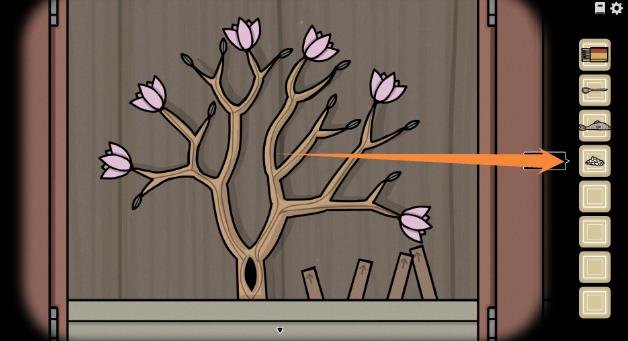
- Starting at 1 + switch 1 = 2, causing the mosquito to appear at flower #2 and open it.
- Starting at 1 + switch 2 = 3, causing the mosquito to appear at flower #3.
And so on.
If I don’t want to calculate it myself, I follow the solution here:
Eventually, I obtain fly eggs (the protein).
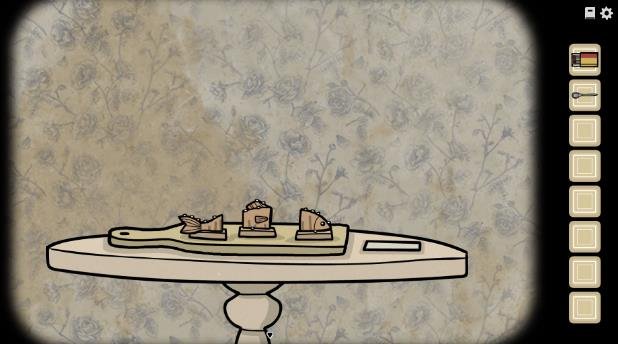
Now I make our Lakeside Grilled Fish Toast.
I give the finished food to everyone to eat.
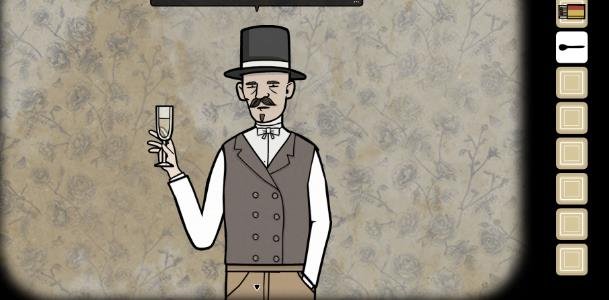
Except James, because he already drank alcohol.
Aldous’s Speech
I talk to Aldous and use the spoon to tap the wine glass.
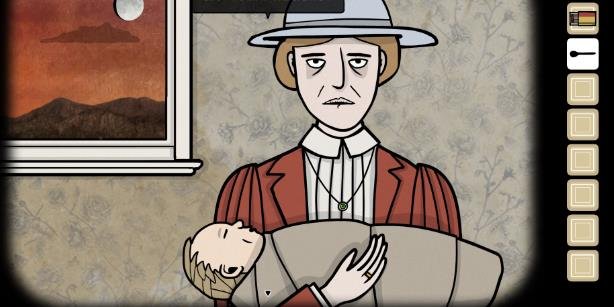
He begins his speech.
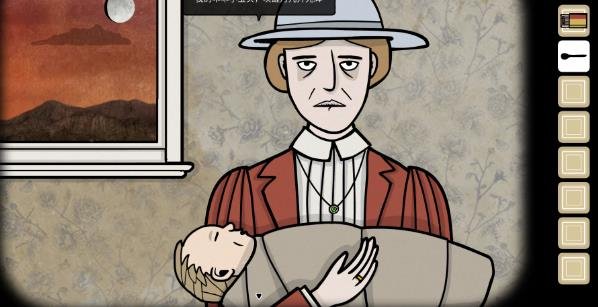
Then James starts crying.
I follow Alexandra’s keywords and click the corresponding objects.
The sequence is:
- I click James’s eyes to make him close them.
- I click the moon.
- I click the swaddling cloth around James.
- I click Alexandra’s gold ring.
- I click her green gemstone necklace.
- I click her lips.
- I click the clouds outside the window.
- I click her eyes, causing her to cry.
This calms James down.
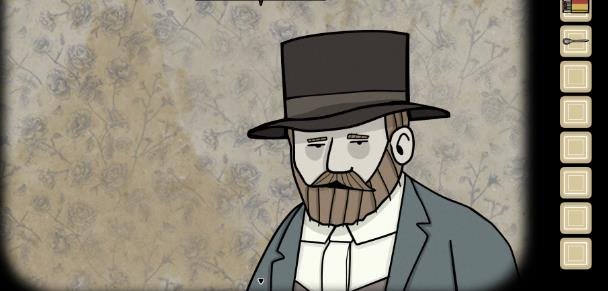
Then I let Aldous continue his speech until his brother, William, falls asleep.
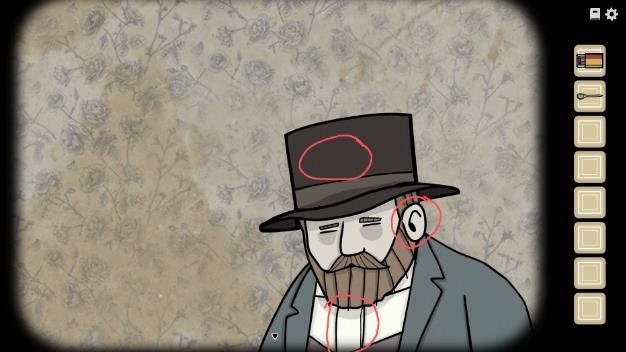
Now I need to wake William up.
There are three interactive areas:
- His hat
- His ear
- His tie
I click any one of them first. Then I watch where his eyes look.
Wherever he looks, I click that spot.
I do this correctly to wake him up. I let Aldous continue speaking, and the evening rest period ends.
Day 1 — Night: Hallway
It’s time for me to begin the night patrol. First, I go to the servants’ room on the left and talk to the maid.
She tells me to patrol the house.
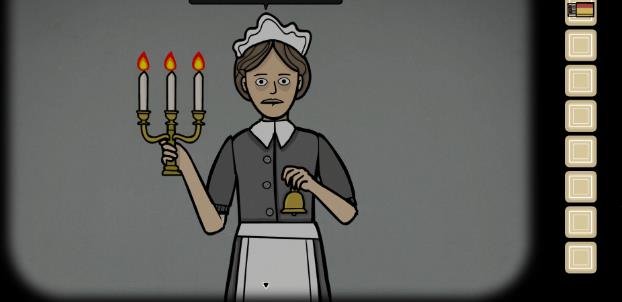
If I find an anomaly, I return to the servants’ room and click the bell in the maid’s hand.
If everything is normal, I only need to blow out one candle.
Basically, I’m looking for anomalies.
I later discover that the anomalies are random, so here are the ones I’ve encountered so far.
Hidden Achievement
During every night patrol, I pay attention to the door leading to the garden.
There is a chance that a person wearing a raven mask will appear.
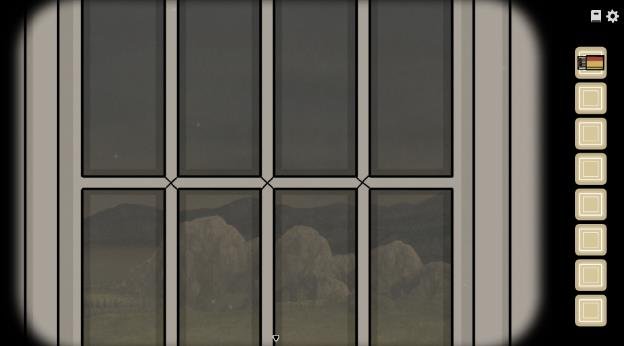
I click them to trigger the hidden achievement.
I had already triggered this achievement before I could take a screenshot, so I’m mentioning it here in advance.
Anomaly #1 — Alexandra’s Portrait
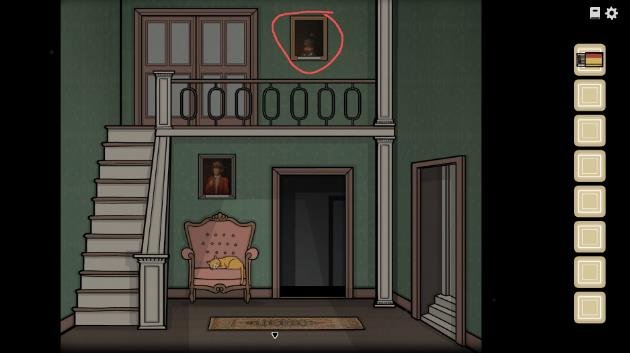
Alexandra’s portrait has turned completely black.
I return to the servants’ room and ring the maid’s bell.
Then I continue the hallway patrol.
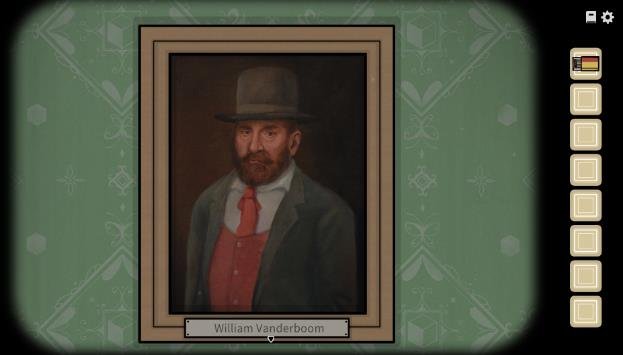
Anomaly #2 — William’s Portrait
Only William’s head is visible in his portrait.
Normally, it should look like this:
Anomaly #3 — Someone at the Second-Floor Stairs
A person appears near the stairs on the second floor.
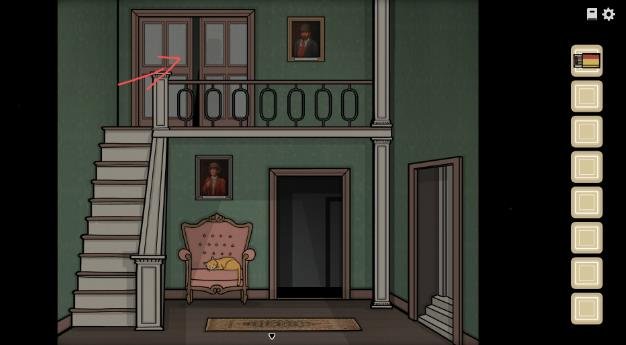
I click on them and a very creepy person appears.
Consider this a small jumpscare. 😱
Anomaly #4 — Aldous Vanderboom’s Door
When I arrive at this room, I see a crack/opening in the door.
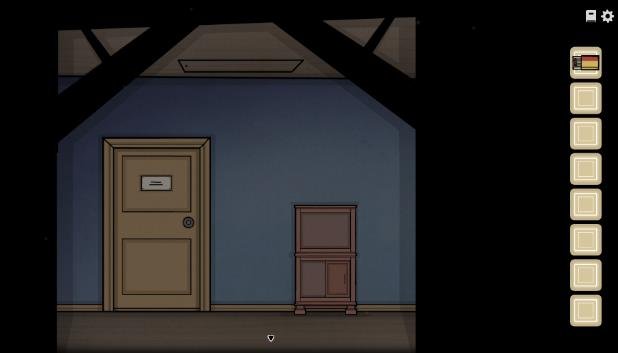
I click it and the door closes.
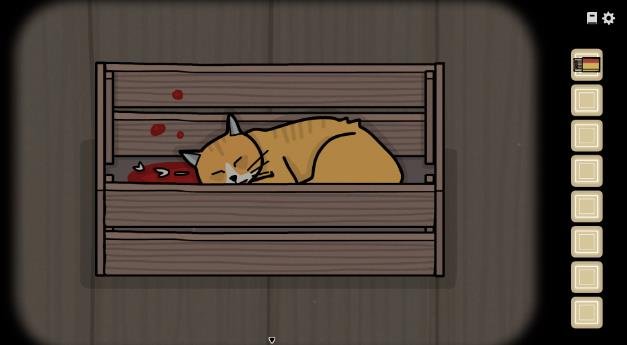
Anomaly #5 — The Cat Moved
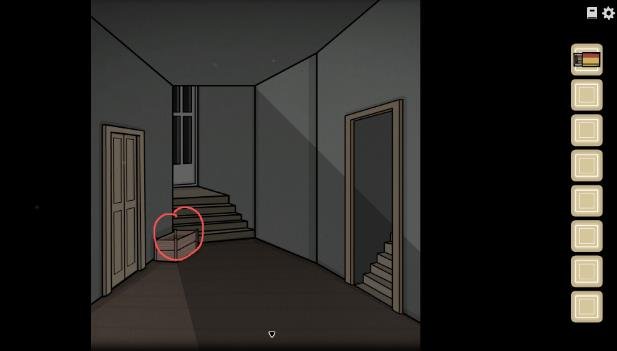
If I don’t see the cat near the stairs, it may have moved here instead.
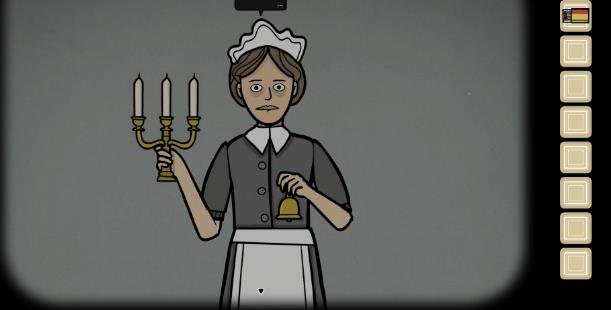
After blowing out the three candles, I leave the servants’ room.
I walk straight ahead and encounter William, who is drinking.
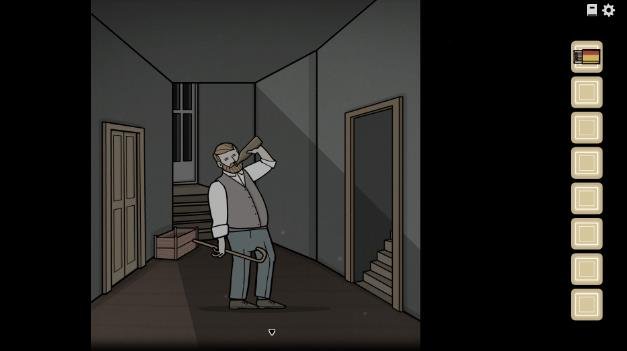
From the conversation, I learn that he needs me to retrieve a scroll from the attic.
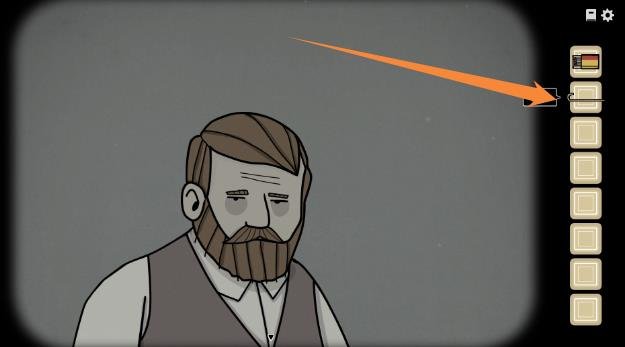
He gives me a cane, which I use to hook down the attic stairs.
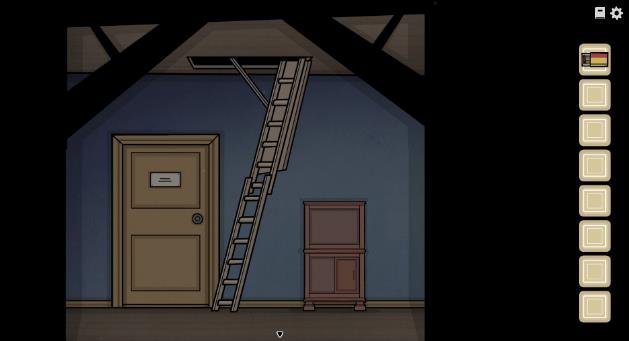
I use the stairs to go up to the attic.